

In 2026, retailers are moving from passive CCTV to smart, rules-based intrusion and perimeter breach detection that actually stops loss, not just records it. If you manage stores or DCs, this is the year to standardize on sub-three-second alerts, video evidence, and copyable zone rules across your estate.
Schedule a free pilot → to see it live in your environment.
What Intrusion Detection Actually Means for Retail (and Why Standard CCTV Falls Short)
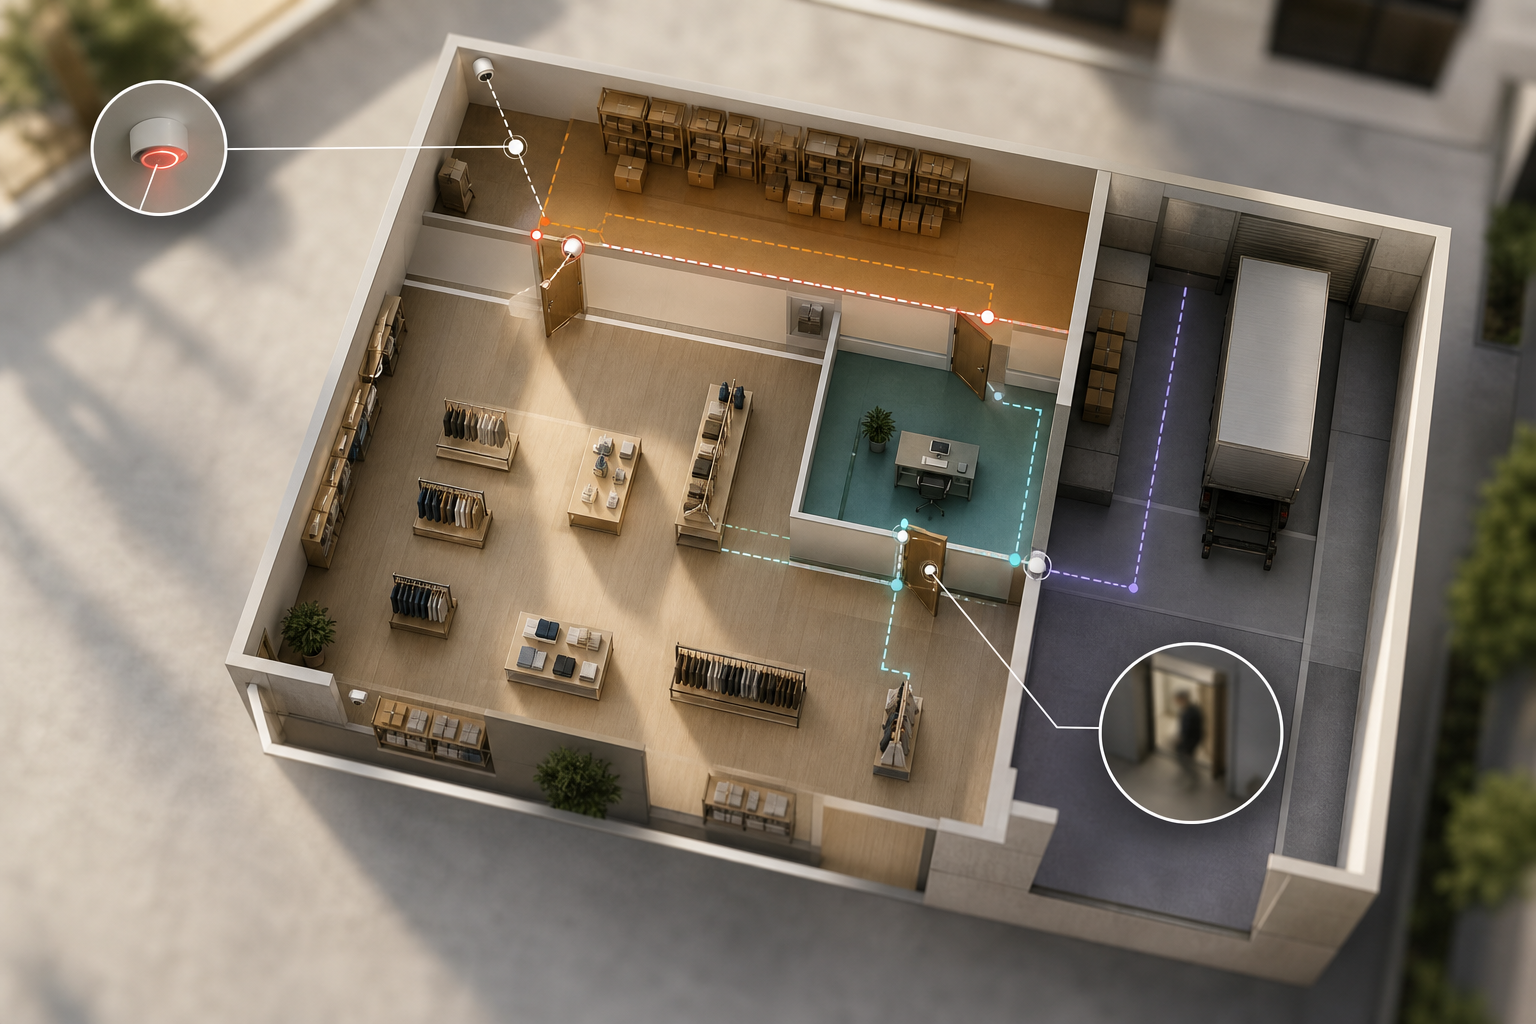
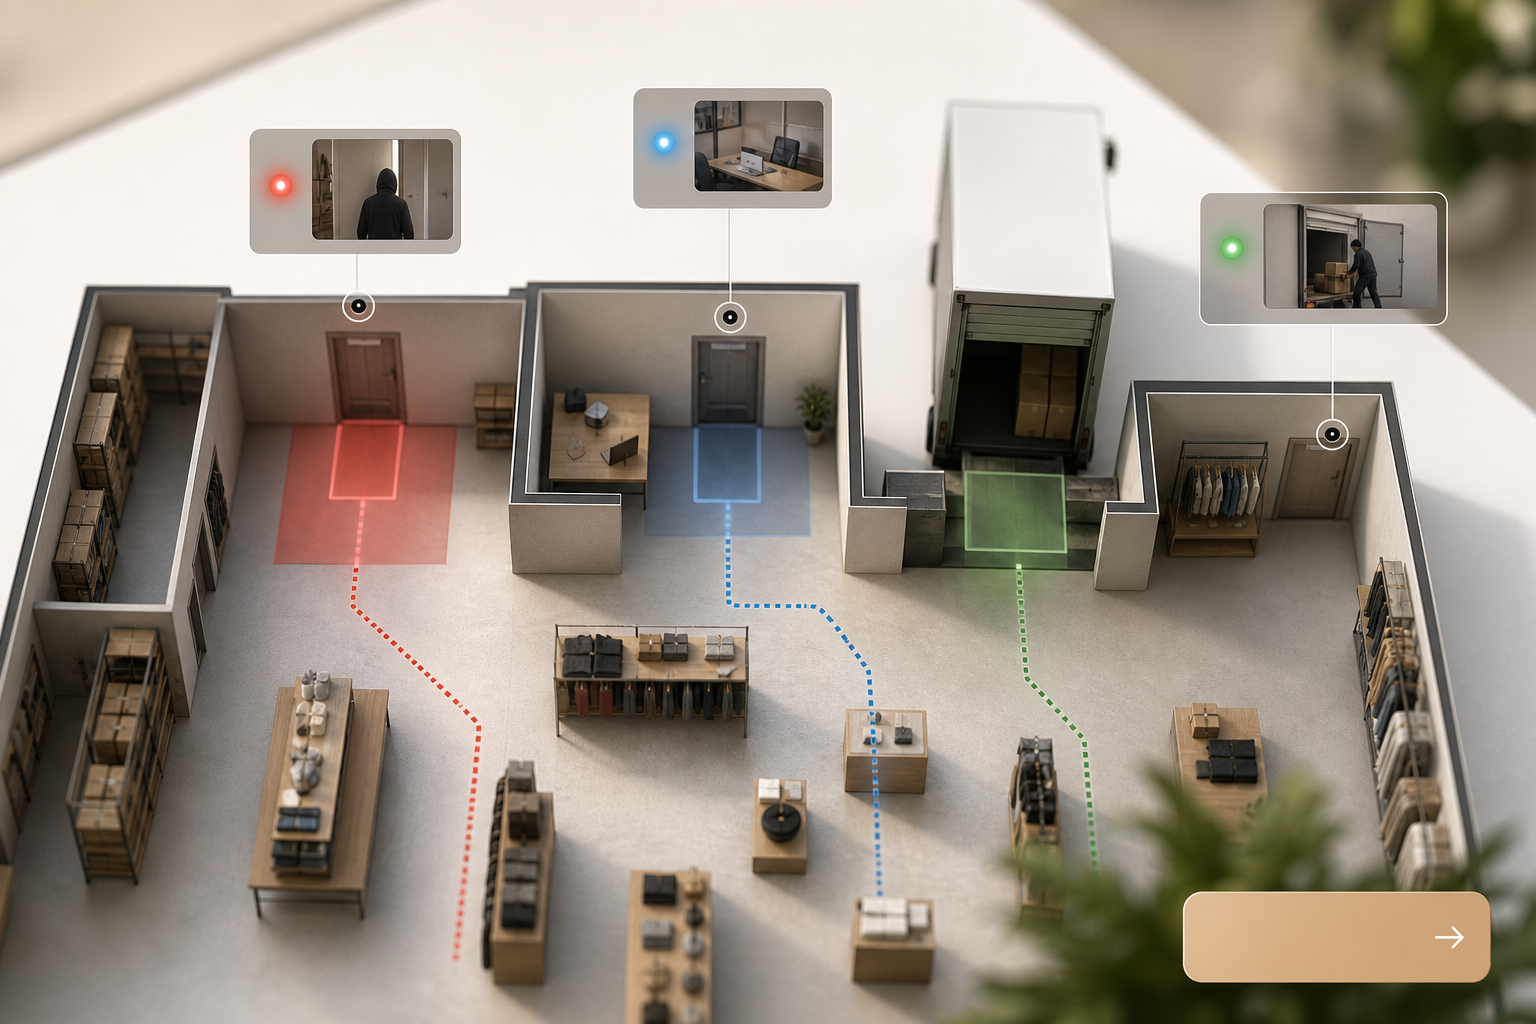
Standard CCTV is a recorder. It shows you what happened after the damage. By contrast, modern systems watch for defined rules and alert you in seconds. Think “someone crossed this line into the stockroom after 9 PM” or “the back door is propped open during a non-delivery window.
Real-world alert scenarios you can test in a store
- Someone enters a stockroom at 11:42 PM, two hours after close. You get a clip, timestamp, and camera location tag in under 3 seconds.
- A back door gets wedged open at 1:18 PM on a no-delivery day. The system flags a boundary breach and notifies the store manager and LP team.
- A person crosses a virtual line onto the loading dock at 3:07 AM. You receive a short clip on your phone before they reach the bay.
Importantly, 85% of CCTV footage is never reviewed. So, passive recording fails by design. It’s not a staffing issue; it’s a signal problem. If you need proof, look up how closed-circuit television has traditionally worked on Wikipedia. It’s a loop, not a live decision.
It’s not about watching more video; it’s about generating fewer, higher-signal alerts that arrive in time to act.
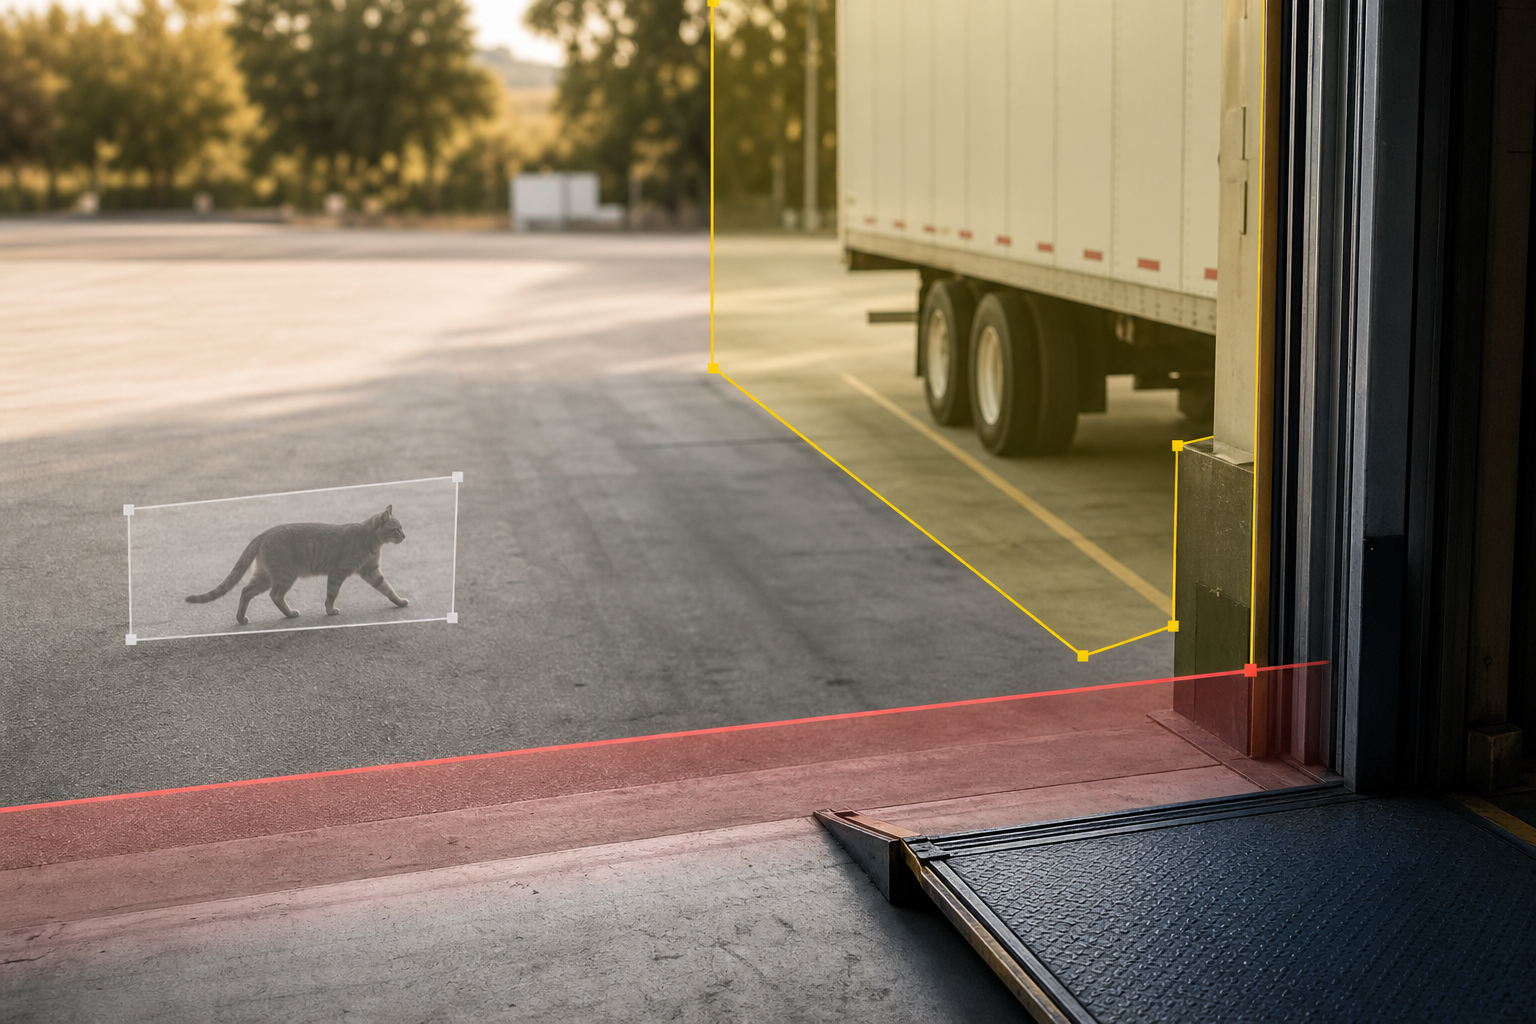
In addition, modern systems use zone-based monitoring. You draw virtual zones around real risks, cash office door, receiving door, perimeter gate. Then, the system watches those zones and ignores the parking lot cat. As a result, alerts stay relevant, and your team acts fast.
Why sub-3-second alert latency matters
Furthermore, alert latency matters. If a system takes 20–30 seconds to ping you, that intruder has already crossed the threshold and gone out of frame. Top platforms deliver alerts in under 3 seconds. That speed plus auto-captured video evidence is what shifts your program from reactive to proactive. In 2026, top providers also include network-resilient delivery (retry logic, dual-path notifications) so that even modest uplinks can sustain reliable alerts.
The Retail Gap You Can Close This Quarter
- Recording-only systems miss the moment that matters.
- Zone rules and line-cross detection catch real entry events.
- Sub-3-second alerts plus video proof let you act, not rewind.
7-Step Framework for Evaluating Intrusion Detection Cameras for Your Retail Locations
You can act this week without a rip-and-replace. Use this framework across all vendors you evaluate. Ask these questions. Make them show proof.
Before you start: quick vendor-neutral checklist
- Confirm your cameras support IP streaming (RTSP/ONVIF) and note models/firmware.
- Document your highest-risk zones by name and hours (after-hours, delivery windows).
- Establish a target: sub-3-second alerts with a video clip and location tag on every event.
- Decide who should receive alerts per store and after-hours escalation paths.
Steps 1–3: Audit, map, define
- Audit your existing cameras
Most modern AI platforms work with existing IP cameras. You may not need new hardware.
Vendor question: “Can you confirm support for our camera brands and RTSP streams, and show a list of 200+ supported brands? - Map your intrusion risk zones
Back entrances, stockrooms, cash offices, loading docks, and perimeter fencing each need specific rules.
Vendor question: “Can we draw virtual zones and lines on a floor plan and copy rules across stores? - Define your detection requirements
Clarify if you need intrusion detection, line-cross detection, zone-based alerts, after-hours motion analysis, or all three.
Vendor question: “Show a demo where a line-cross event triggers a clip within 3 seconds during off-hours.
Pro tip: Put zone names in plain business language (e. g., “Back Door – Receiving,” “Cash Office Entry”) so your alert routing rules and audit logs remain human-readable for LP and store leaders.
Steps 4–5: Latency and multi-site control
- Evaluate alert latency
For retail, anything over 10 seconds is too slow. Sub-3 seconds is the target.
Vendor question: “What is your measured alert latency end-to-end on a 10 Mbps uplink, and can we test it live? - Check multi-site management
You need a centralized cloud dashboard to manage 50–200+ cameras per region without servers in each store.
Vendor question: “Is your platform cloud-based with no on-premise servers required for analytics?

Steps 6–7: Integration and accuracy
- Assess integration with your stack
Avoid lock-in. Look for cloud platforms that work with existing IP video recorders and VMS tools.
Vendor question: “Do you require proprietary hardware, or can you integrate with our current NVRs and cameras? - Validate false alarm rates
High false alarms cause alert fatigue and get muted. Pattern recognition accuracy must be real, not a slide.
Vendor question: “Provide third-party or pilot data showing a low false alarm rate and at least 99.4% detection accuracy on our use cases.
Proof to demand from vendors before you sign
- A timed video of a live line-cross alert arriving in under 3 seconds on your network.
- A pilot dashboard screenshot with false alarm metrics over 14+ days.
- Documentation on supported brands (200+), RTSP compatibility, and VMS/NVR integrations.
- Evidence of centralized policy management across multi-site fleets (50–10,000+ cameras).
- Data retention, privacy controls, and encryption details in writing.
What Good Looks Like in 2026
- Works with existing cameras across 200+ brands.
- Cloud-based analytics; no servers per store.
- <3 seconds alert latency with auto-captured video evidence.
- Zone-based monitoring and line-cross rules.
- Customizable time thresholds for unattended objects.
- Centralized dashboard for 10–200+ cameras per region.
- Role-based access control with audit trails and SSO options (Okta/Azure AD).
- Resilient, redundant notifications (push, SMS, email, webhook) with per-store schedules.
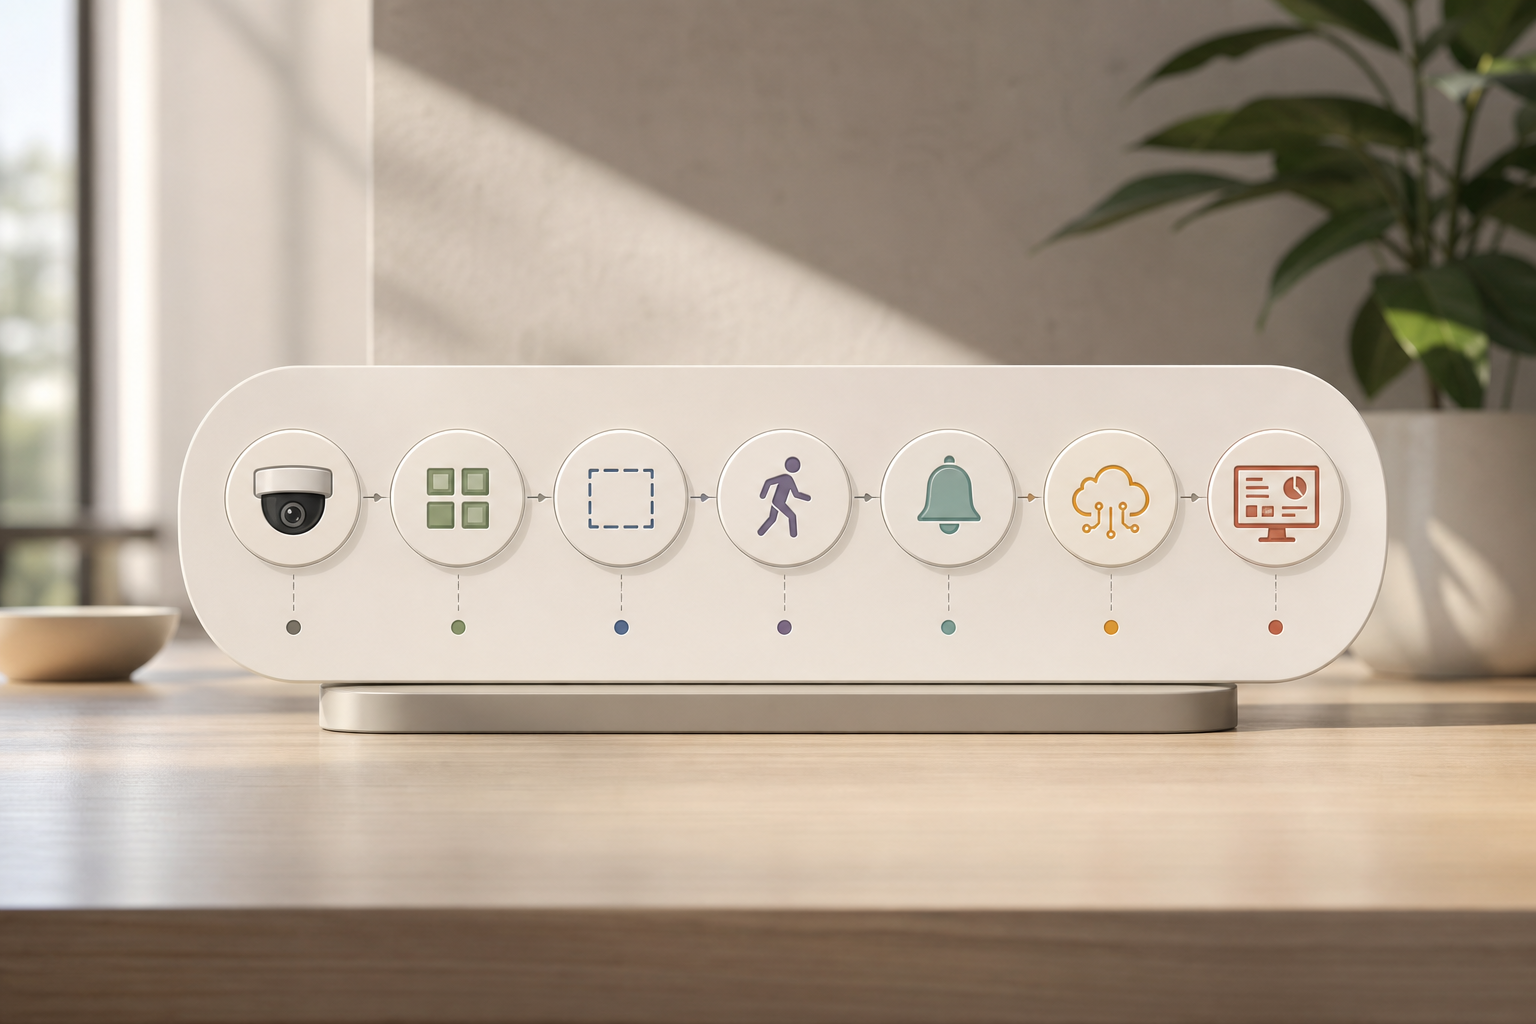
**Get instant alert demos today →.
- Enforce after-hours intrusion, line-cross, and door-prop alerts.
- Go cloud-first to avoid store-by-store servers.
- Use zone-based monitoring to cut noise and raise signal.
- Demand real-time alerts with video proof and location tag.
Tools and Platforms Worth Evaluating for Retail Intrusion Detection
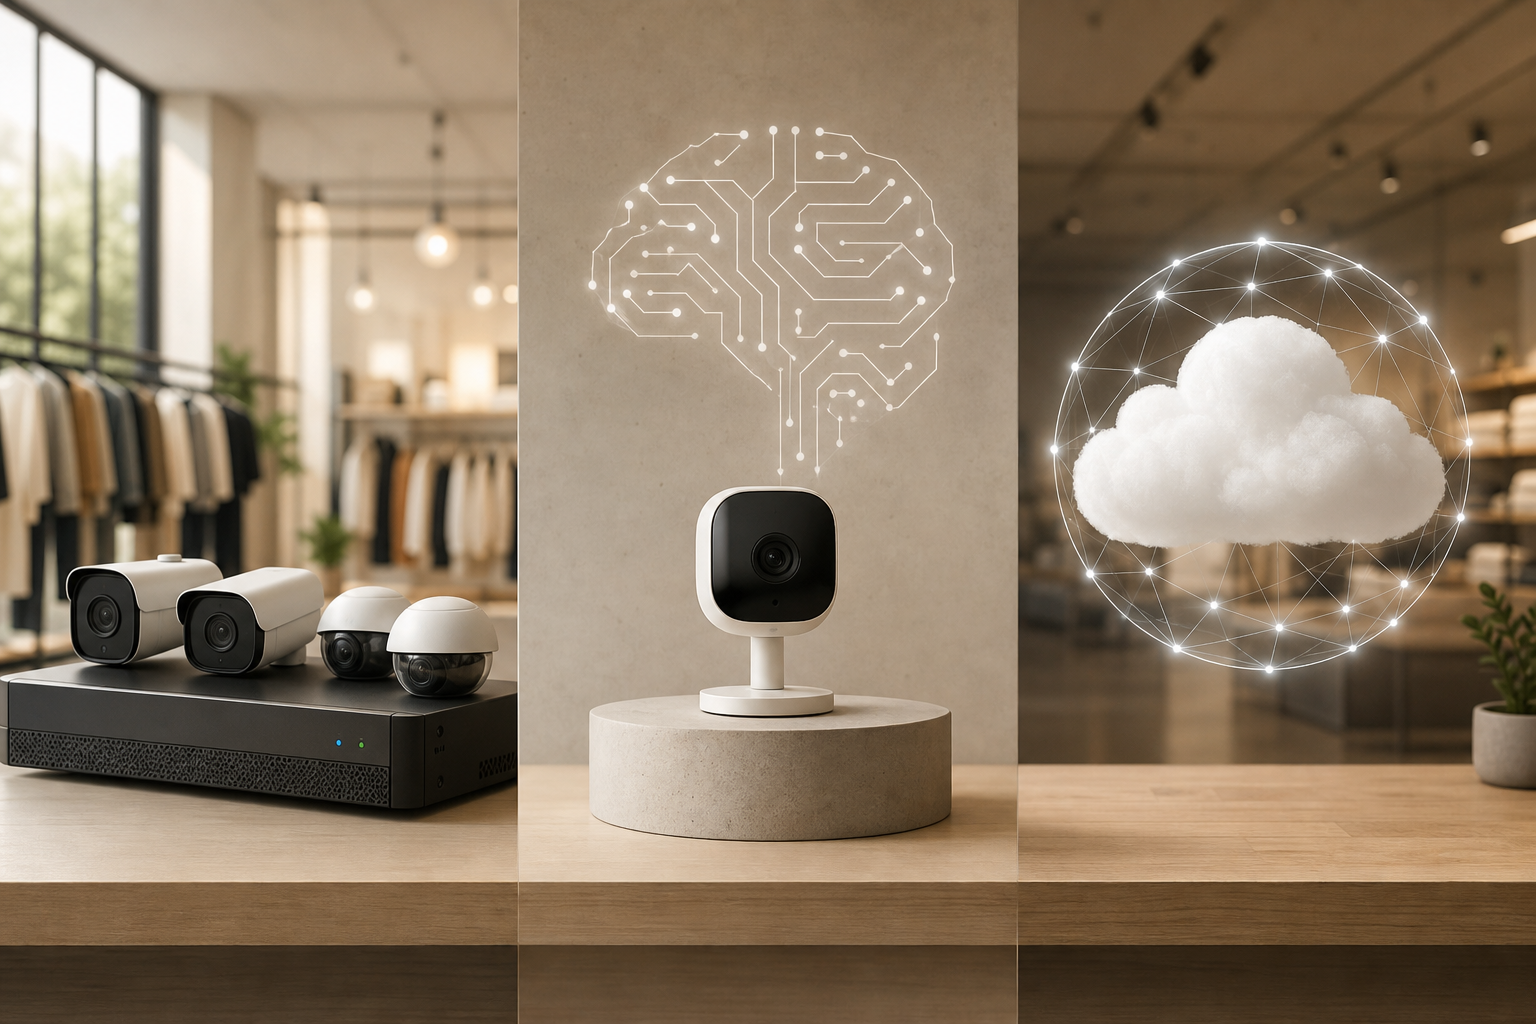
You have three practical options. Each has a place. The right choice depends on store count, risk profile, budget, and your existing cameras.
Option 1: Traditional NVR/DVR systems with basic motion detection (e. g., Lorex, Swann, Night Owl)
- Traditional NVR/DVR systems with basic motion detection (e. g., Lorex, Swann, Night Owl)
These are affordable and familiar. However, they rely on simple motion rules, which means high false alarms from headlight glare, wind, or rain. They record well but don’t provide strong real-time detection. They are the cheapest path if you only need recording and manual review. In 2026, many NVRs claim “AI” but still hinge on pixel change, not true object classification, verify with a live test.
- Pros: Low cost, easy to buy and install, decent for archives.
- Cons: High nuisance alerts, limited analytics, weak chain-scale management.
- Best for: Very small shops with a single entrance, short-term setups, or locations needing only video archiving and occasional manual review.
Option 2: Edge-AI camera systems (e. g., Verkada, Avigilon Alta, Axis with ACAP apps)
- Edge-AI camera systems (e. g., Verkada, Avigilon Alta, Axis with ACAP apps)
These cameras process events on the device. They offer strong analytics and a clean experience, especially for single-site or small fleets. On the other hand, they require proprietary hardware, which can get expensive for chains over 50 cameras. Lock-in is the trade-off for simplicity. For perimeter areas with stable lighting and clear lines of sight, edge-AI can be excellent.
- Pros: High-quality analytics on-device, simplified deployment.
- Cons: Hardware lock-in, higher per-camera cost, potential vendor churn risk.
- Best for: New-build sites with budget for proprietary gear, small-to-mid fleets, and locations where on-site processing is preferred.
Option 3: Cloud-based AI video analytics that overlay onto existing cameras
- Cloud-based AI video analytics that overlay onto existing cameras
These platforms add intrusion detection, line-cross alerts, and zone-based monitoring on top of your current IP cameras and NVRs. Tools like VideoraIQ work with 200+ camera brands, deliver alerts in under 3 seconds, and include nine AI detection engines (intrusion, line-cross, unauthorized access, unattended baggage, cashier absence, face recognition, object and license plate recognition, and fire & smoke). In fact, this category helps you keep your camera investment, scale to 10,000+ cameras monitored, and standardize rules across regions deployed in 7+ countries.
The trade-off is you need reliable internet uplink. Also, confirm data handling. GDPR and HIPAA compliance should be verified for any vendor touching video. If you operate in multiple jurisdictions, ask for regional processing and data residency options.
If you already have IP cameras in most stores, a cloud overlay is usually the fastest path to consistent intrusion and perimeter breach detection without a rip-and-replace.
- Pros: Uses existing cameras, rapid deployment, strong analytics with centralized control.
- Cons: Dependent on network health/uplink, must validate data handling and residency options.
- Best for: Chains with mixed camera fleets, multi-region operations, and teams standardizing rules without buying all-new cameras.
Compare the Trade-Offs
| Option | Cost to Start | Hardware Lock-In | Alert Quality | Chain-Scale Fit |
|---|---|---|---|---|
| NVR/DVR + motion | Low | Low | Low (high false alarms) | Medium |
| Edge-AI cameras | Medium–High | High | High | Medium |
| Cloud AI overlay | Low–Medium | Low | High (<3s, zone-based) | High |
Privacy, compliance, and data retention you should verify
- Written GDPR and HIPAA statements; ask where video is processed and stored.
- Encryption in transit and at rest; customer-managed keys optional.
- Role-based access and audit logs for every alert view/export.
- Data minimization: clips for alerts only, with configurable retention.
- Face blurring or privacy masking options for public areas.
What to Do This Week: Your Retail Intrusion Detection Action Plan
Day 1: Walk your highest-risk store
Photograph every entry point, restricted zone, and the loading dock. Build a spreadsheet with zone name, risk level (High/Med/Low), and current camera coverage. Mark gaps in red. This audit should take 60–90 minutes. Add a column for “desired alert type” (intrusion, line-cross, door-prop) so you can tie risks to rules.
Day 2: Pull 12 months of incident reports
Sort by time of day and entry point. You’ll see your real pattern fast, for example, “dock door props spike on Tuesdays 12–2 PM.” Use that to define when and where alerts must fire. Layer in weather or delivery schedules; many “propped door” events correlate with peak receiving windows.
Day 3: Inventory your cameras
List brands, models, year installed, and IP/analog status. Most cameras installed after 2015 are IP-based. If yours are IP, you can likely add a cloud AI overlay without replacing hardware. Note bandwidth per store so you can test alert latency. Capture RTSP URLs and VMS/NVR details to speed up pilot setup.
Midweek checkpoint: align people, process, and network
- Share the Day 1–3 findings with LP, store ops, and IT; agree on two highest-risk zones per store.
- Confirm who gets which alerts (LP, store manager, DM) and after-hours escalation rules.
- Validate uplink bandwidth/QoS; test a sample push notification to confirm device reachability.
Day 4: Contact 2–3 vendors (one from each category)
Ask the seven framework questions. Require a live test showing a line-cross alert under 3 seconds with a video clip. Confirm centralized dashboards and no on-prem servers required for analytics. Request written SLAs for alert delivery and support response times.
Day 5: Request a pilot at the highest-risk site
A credible vendor will offer a 14–30 day pilot. Set success criteria: sub-3-second alerts, low false alarm rate, video evidence on every alert, and easy zone editing. If you need price anchors, expect “starter” tiers for small sites (up to 20 cameras) and “professional” tiers for multi-site (up to 200 cameras with 30-day retention). Use the pilot to validate numbers, not slides. Include a small runbook: who gets alerts, how they acknowledge, and how to escalate after-hours.
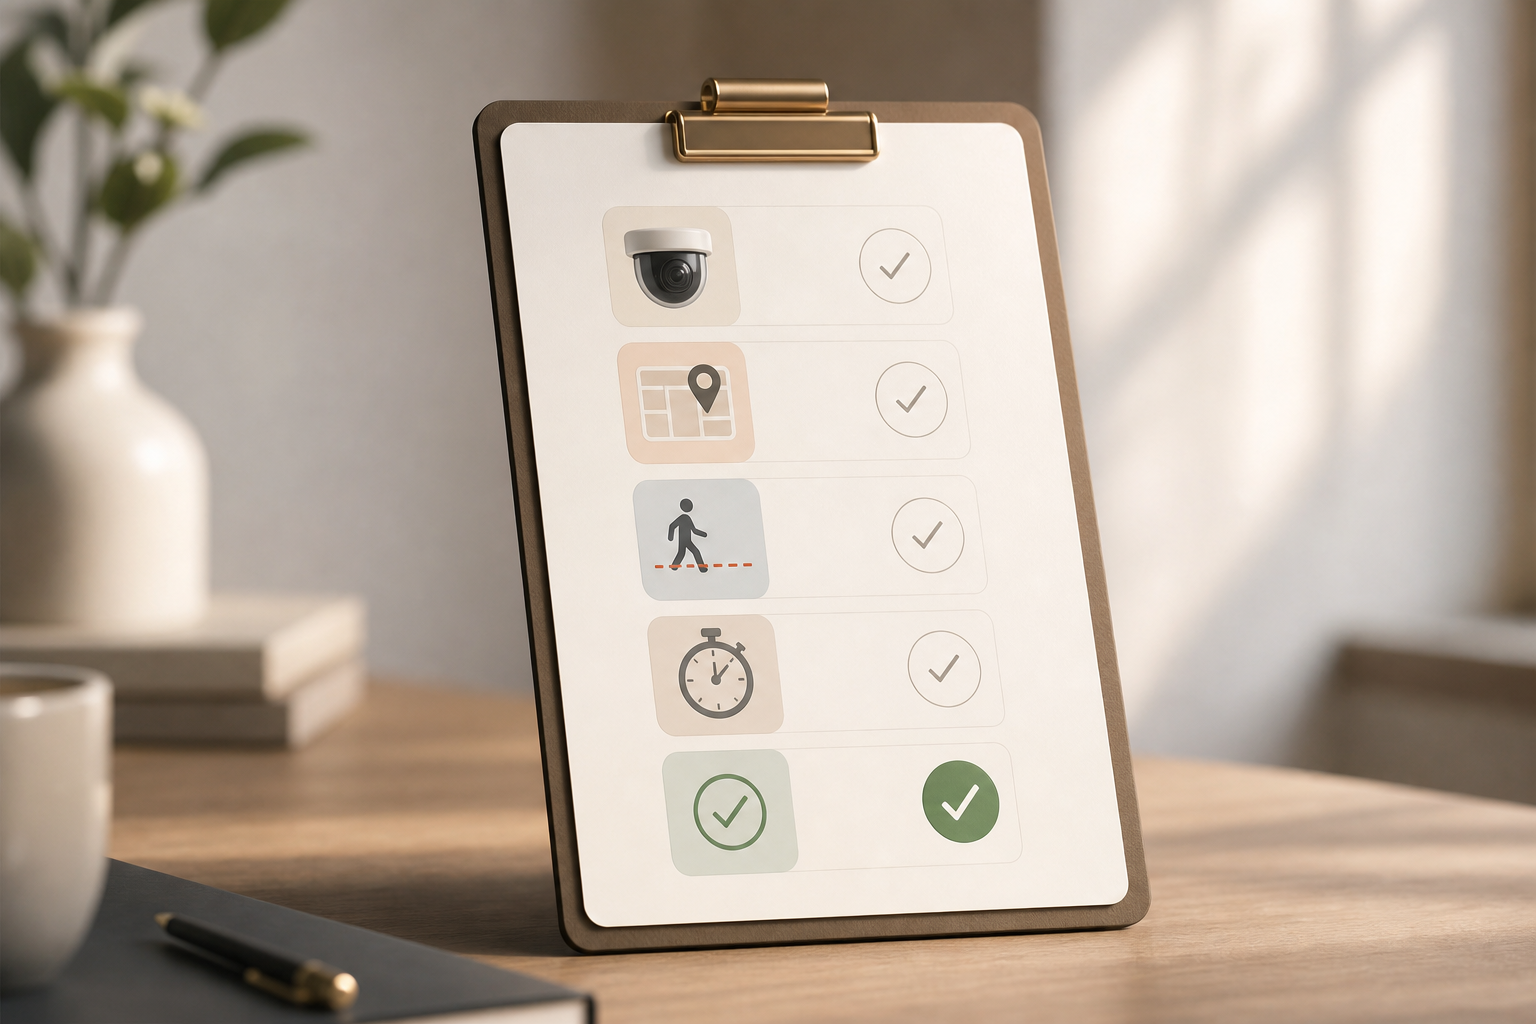
Pilot Checklist You Can Copy
- Map 5+ virtual zones (stockroom, cash office, back door, dock, fence line).
- Require <3s alert delivery with auto-captured video and timestamps.
- Test line-cross and after-hours intrusion events three nights in a row.
- Confirm dashboard can manage 50–200+ cameras without local servers.
- Verify data handling: ask for GDPR/HIPAA compliance statements.
- Run an after-hours door-prop test with a 60-second threshold and verify alert routing to LP and store leadership.
- Export an alert audit report and confirm it includes user acknowledgments.
**Book a fast pilot setup today → for any vendor handling video.
What to do next: walk one high-risk store today, pull last year’s incident reports, and book two pilots, one cloud overlay and one edge-AI, to measure results side by side. You can add intelligent detection to legacy cameras this quarter without an infrastructure overhaul.
Extra guidance: avoid these common pitfalls
- Turning on “motion alerts” everywhere. Start with the highest-risk two zones per store.
- Ignoring network health. Validate uplink bandwidth and QoS for push alerts.
- Skipping night tests. Verify performance in low light, rain, and with headlights.
- Not training staff. Provide a 10-minute playbook for acknowledging alerts.
- No owner for continuous improvement. Assign one person to tune zones monthly.
Network and deployment tips for 2026 retail environments
- Use substreams for alerting (D1/720p) and full streams for evidence (1080p/4K) to balance bandwidth.
- Prefer PoE cameras with UPS-backed switches to keep video flowing during power blips.
- Place line-cross rules orthogonal to likely approach paths; avoid diagonal lines across deep fields of view.
- Adjust object size and dwell thresholds to reduce false alarms in wide outdoor areas.
- For malls or multi-tenant centers, coordinate with property security to de-duplicate alerts.
By aligning your 2026 roadmap with intrusion and perimeter breach detection that’s fast, accurate, and easy to manage at scale, you’ll convert cameras from a cost center into a prevention engine. The difference is seconds and signal, and you can prove it this week with a pilot.