

**Get instant AI alerts today →
To choose right outdoor camera in 2026, match your scene to seven essentials: field of view, resolution, weatherproofing, night vision, storage, AI alerts, and power. Pick a model that deters bad behavior, detects people or vehicles, sends alerts within seconds, and captures clear evidence you can share.
85% of CCTV footage is never reviewed. That simple shift, from “record and review later” to “detect and act now”, is the real upgrade. The right setup lowers risk at the front door, the driveway, the loading bay, and the fence line. It also reduces false alarms and saves you the late-night phone scroll.
In this guide, you’ll learn a clear 7-step process, the specs that matter, common traps to avoid, and the tools that add brains to cameras you may already own. You’ll leave with a weekend action plan you can do without calling an installer.
What Should an Outdoor Camera Actually Do for You?
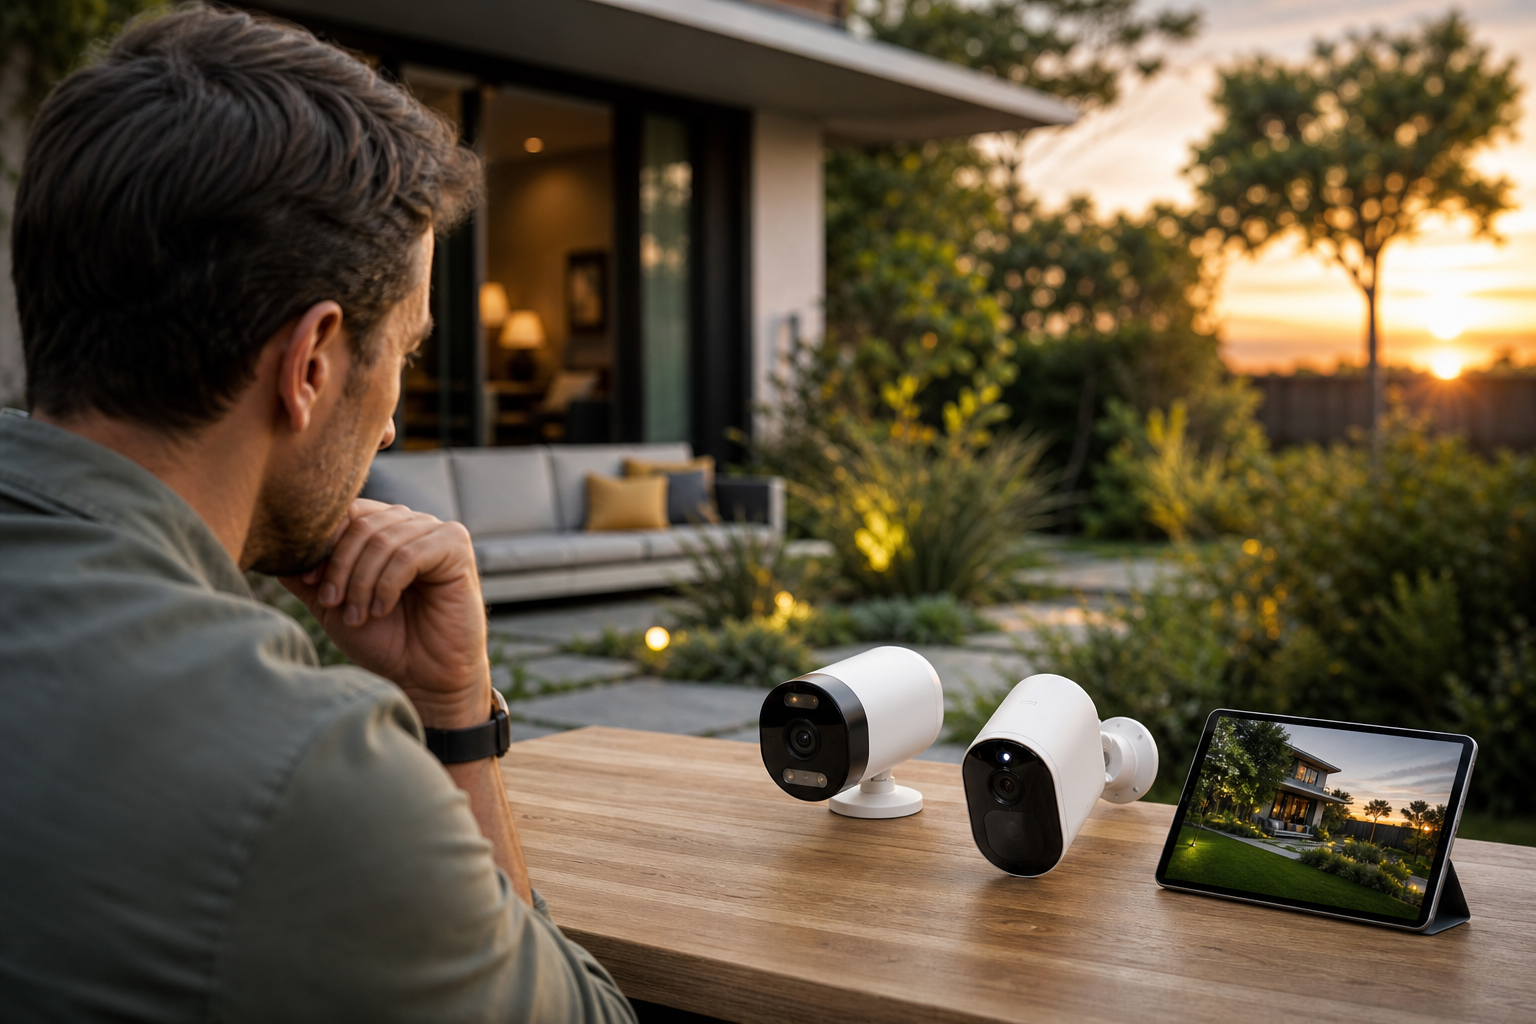
The best outdoor cameras don’t just film. They change behavior on your property. A visible device with a spotlight or siren can make someone think twice before they try a door. Clear two-way audio lets you say, “Can I help you?” without opening a gate.
More important, smart detection narrows signals to what matters. Instead of the usual flood of motion clips, you want alerts for people, vehicles, or set events, not wind-blown trees. Since 85% of CCTV footage is never reviewed (Source: VideoraIQ Stats), a camera that only records is like a smoke alarm that writes a report but never beeps.
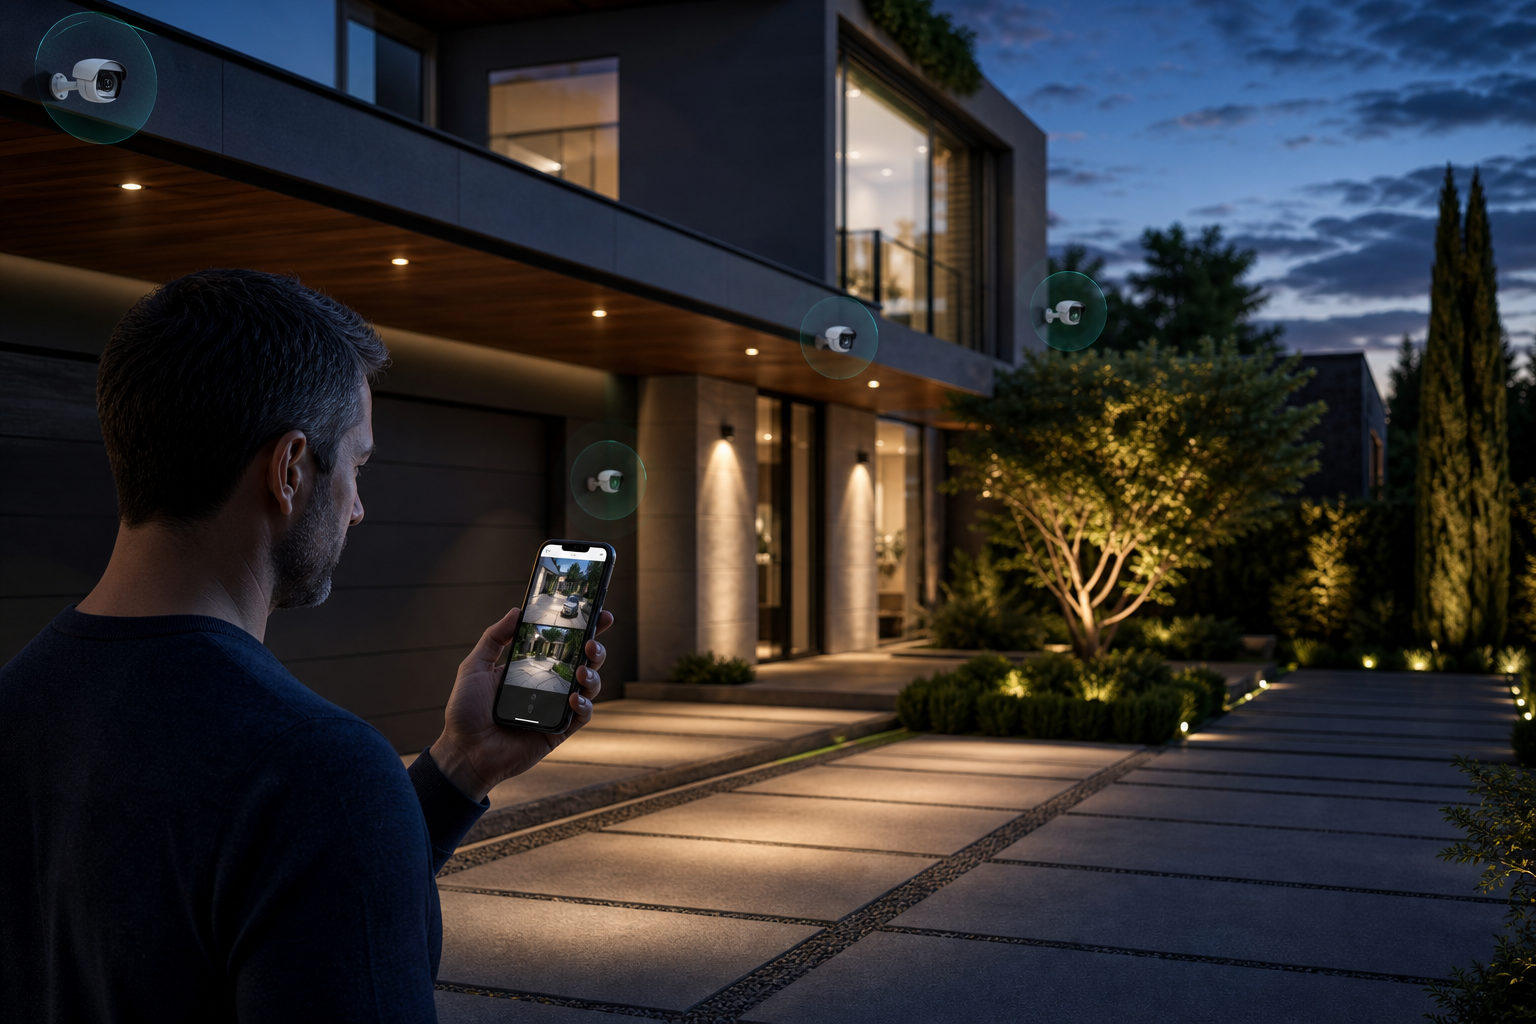
Real-time alerts should include video proof, location tag, and timestamp so you can act fast and share evidence. With a short clip and clear time and place, you can call a neighbor, buzz a driver in, or send the clip to your security team. You don’t need to be on-site to make a good call.
From Recording to Response
Think of your setup as a mini security workflow. First, deter with lighting and smart placement. Second, detect with AI tuned to your zones.
Third, alert in under a few seconds so you can respond. Finally, produce evidence that stands up, crisp faces, plates where legal, and a clean timeline. If you follow that chain, you’ll choose right outdoor camera gear that works harder than a basic “set and forget” system.
“Transforms every second into a smart response.” — VideoraIQ Features
Step-by-Step: How to Evaluate and Choose an Outdoor Camera
A simple framework makes it easy to choose right outdoor camera models without guesswork. Walk through these seven steps and jot the exact spec you need at each step.
Step 1: Define your coverage area
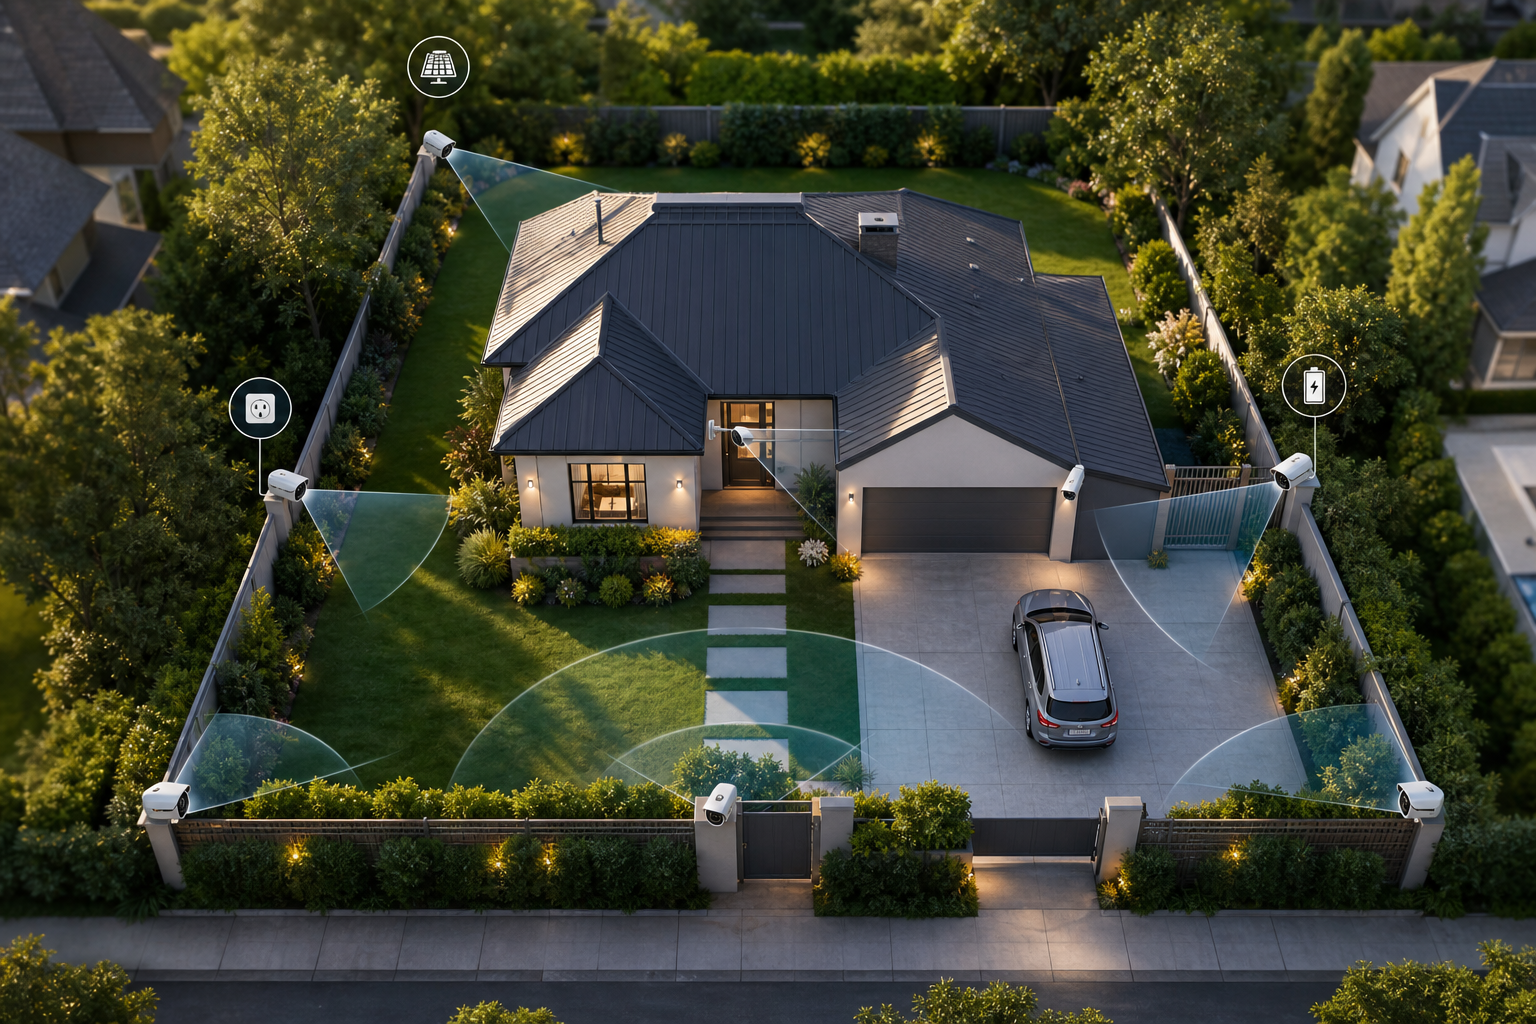
Start with the scene, not the spec sheet. Map doors, gates, alleys, loading zones, and parking spots. Note the distance to the target area (e.g., 15–40 ft to the porch, 60–100 ft to a gate).
A 110–150° field of view suits doors and porches; tighter 60–90° is better for driveways or lanes. Mount at 8–10 ft high to balance face clarity and tamper resistance.
For smarter alerts, use Zone-Based Monitoring to define virtual zones. Draw regions for “door,” “path,” and “street,” and filter alerts to the zones that matter.
Step 2: Choose resolution (1080p vs 4K)
1080p is fine for near-range IDs at a door. If you need detail at 25–40 ft (faces, logos), 2K or 4K gives you more pixels on target. Pair higher resolution with a narrower field of view for real ID value; 4K wide shots can still miss detail. Expect higher bitrate and storage use with 4K; plan network and storage accordingly.
Step 3: Check weatherproofing (IP65/IP67)
Look for an IP rating on the box or spec sheet. IP65 resists rain jets; IP67 adds dust-tight sealing and short submersion protection. For exposed walls or coastal areas, IP67 is the safer bet. See the Ingress Protection (IP) Code for what each number means.
Step 4: Evaluate night vision
Night footage makes or breaks evidence. Infrared (IR) range of 30–100 ft is common; more range helps driveways and yards.
Color night vision needs a wide-aperture lens (e.g., f/1.6) and, ideally, a built-in spotlight. Check for dynamic range (HDR) to handle porch lights and car headlights without washing faces out.
Test at your site, not just in a showroom.
Step 5: Decide on storage (local vs cloud)
Local microSD is cheap and works if the network drops, but theft risk is real if the camera is easy to reach. NVR systems centralize storage and make it easier to search across cameras. Cloud adds off-site safety and remote access; watch the monthly fee and retention days. Match retention to your risk: 7–30 days is common for homes and small sites.
Step 6: Consider AI features and alerts
Look for human/vehicle detection, motion zones, and object detection. Customizable Time Thresholds let you set how long something can stay before it’s flagged (useful for an unattended package or bag). Favor platforms that deliver alerts in <3 seconds so you can act before a visitor leaves. A low false alarm rate through pattern recognition keeps your phone quiet when it should be.
Step 7: Plan for power (wired vs solar vs battery)
Wired Power over Ethernet (PoE) offers the best uptime and bandwidth. Battery is fast to install but needs recharging; pair with solar for less upkeep. If you use Wi‑Fi, place the access point close and prefer 2.4 GHz for range outdoors; 5 GHz works well at short range. For gates and lots, PoE or well-sited solar beats a battery that dies in winter.
Quick spec checklist
- Field of view: 110–150° for doors; 60–90° for lanes
- Resolution: 1080p for close IDs; 2K/4K beyond 20–25 ft
- Weatherproof: IP65 minimum; IP67 for harsh exposure
- Night: IR 50+ ft, HDR, optional spotlight for color
- Alerts: human/vehicle, zones, <3 seconds alert latency
- Storage: SD/NVR/cloud with 7–30 days retention
- Power: PoE for uptime; solar for off-grid spots
**Book a 10‑minute setup consult →
Also Read!
How to Choose a Smoke Detector Camera for Your Home or Business
How to Choose Face Recognition and License Plate Camera Software for Retail Stores and Chains
5 Common Outdoor Camera Mistakes That Cost You Safety and Money
It’s easy to overspend and still miss key shots. Here are five traps and how to avoid them so you truly choose right outdoor camera gear for your site.
1) Buying on price alone
A bargain camera that misses faces at night can cost more than it saves. Decide the job first, then the budget. Spend where it matters: lens, sensor, night range, and reliable power. Save on non-critical angles with 1080p wide cams.
2) Ignoring field of view and mounting height
A super-wide lens can look great but shrink details. Mount too high, and you get heads and hats, not faces. Aim for 8–10 ft height and a FOV that fills the frame with the door, path, or gate. Do a dry run with painter’s tape to mark sightlines before you drill.
3) Skipping weatherproof ratings
“Outdoor” on a box is vague. An IP65 badge resists hard rain; IP67 handles dust and brief submersion. For exposed corners or sea air, pick IP67 and stainless hardware. That choice prevents leaks and fogged optics a year later.
4) Choosing cameras without smart alerts
Motion-only alerts create fatigue. You stop checking, and you miss real events. Pick AI alerts tuned for people or vehicles and use pattern recognition to keep a low false alarm rate. Then add zones to filter street traffic and trees.
5) Not planning bandwidth and storage
4K eats bandwidth and storage. Map your network: PoE switch capacity, Wi‑Fi signal, and upload speed for cloud clips. Pick a retention plan that matches your risk and budget. Remember that 85% of CCTV footage is never reviewed, set rules that save only what you’ll use.
“The system handles surveillance 24/7. No more missed alerts or relying solely on camera operators.” — Jason Rodriguez, Security Manager
Tools and Platforms That Make Outdoor Cameras Smarter
You have three main paths, and you can mix them on one site.
- First, standalone smart cameras like Ring, Arlo, or Reolink are quick to install and great for homes or small shops. They bundle apps, cloud plans, and basic AI like human/vehicle alerts. Battery and solar options help where power is tricky.
- Second, NVR systems from brands like Lorex or Hikvision suit multi-camera sites. You get wired reliability, one box to search footage, and better control over storage days. You can add analytics on top if the base detection is too basic for your needs.
- Third, AI analytics platforms add brains to cameras you already own. Tools like VideoraIQ work with existing cameras across 200+ brands and integrate with existing IP-based CCTV systems without additional hardware. They’re cloud-based with no need for on-premise servers, and they offer 9 AI detection engines (face recognition, intrusion detection, fire & smoke detection, object and license plate recognition, and more). That means real-time alerts with video proof, location tag, and timestamp, often in <3 seconds, without ripping and replacing your hardware.
As a bonus, platforms that are GDPR compliant and HIPAA compliant respect strict data rules. Social proof helps too: 10,000+ cameras monitored with 99.4% detection accuracy and deployments in 7+ countries show scale and maturity. In 2026, adding analytics is the fastest upgrade you can make to turn “cameras everywhere” into “eyes that notice.
“We went from finding out about incidents in the morning briefing to being notified in real time. VideoraIQ caught an intruder at 2AM that our overnight guard missed. That one event alone justified the entire platform cost.” — Ananya Mehta, Head of Facilities
What to Do This Week: Your Outdoor Camera Action Plan
You don’t need a full overhaul to choose right outdoor camera setups that work. Spend one weekend and improve security right away.
Plan and test
- Audit your property’s weak spots. Walk the outside at night and at noon. Stand where a visitor would.
Note the distance to doors, the angle to gates, and glare sources like porch lights and car headlights. Sketch zones: “porch,” “driveway,” “side gate,” “rear lot.” Decide which two areas matter most.
- Test your current night footage. At 15–30 ft, can you read a delivery logo or see a face with a hat? Turn on your porch light and test again.
Save a 10-second clip from each camera and label it with time and place. If details wash out, you may need better HDR, a spotlight, or a narrower field of view. This one hour tells you more than any spec sheet.
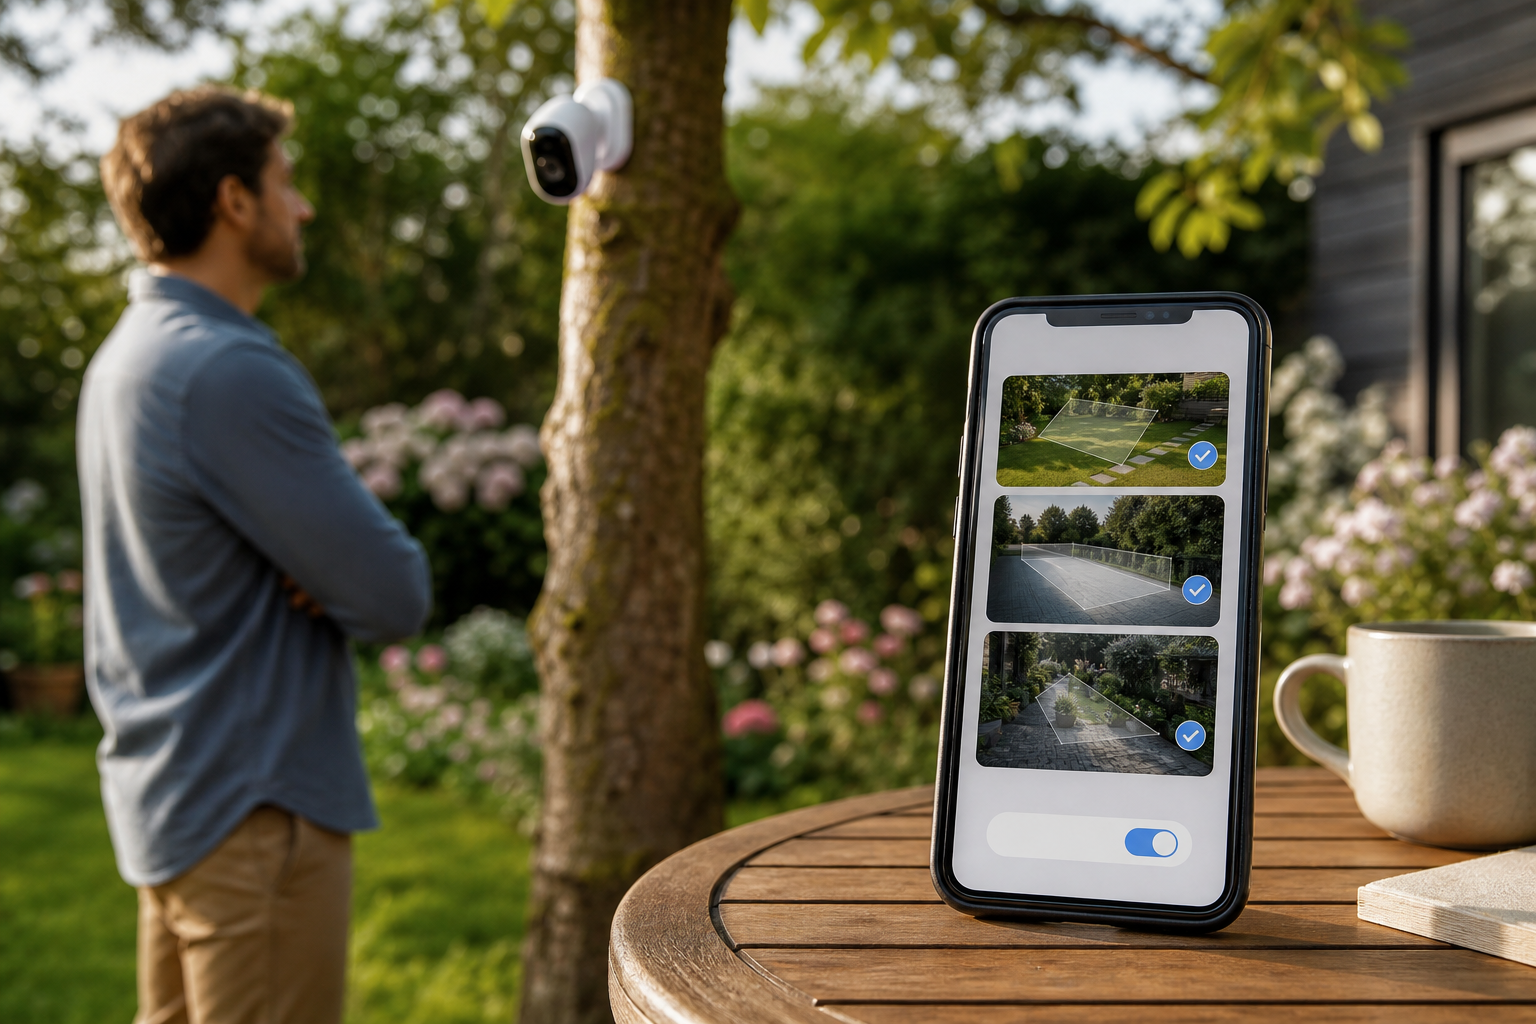
- Research one AI analytics platform to evaluate. Look for Zone-Based Monitoring, Customizable Time Thresholds, human/vehicle detection, and <3 seconds alert latency. If you already own cameras, favor a platform that integrates without extra hardware and works across many brands. Set a 14-day trial goal: one rule per zone, one alert per day that you would actually act on.
By Sunday night, you’ll have a map, proof clips, and a short list. That’s a solid path to a smarter system, one that deters, detects, alerts, and gives clean evidence when you need it.
**Get a tailored camera plan →
Key Takeaways
- Think beyond recording: deter, detect, alert fast, then capture evidence you can share.
- Use a 7-step process to choose right outdoor camera specs that match your scene, night needs, and power.
- Favor IP67 for harsh weather, HDR for glare, and AI alerts with zones and <3 seconds latency.
- Plan bandwidth and storage; save clips you’ll actually review, not a hard drive of noise.
- Add cloud analytics to existing cameras for 2026-level detection without replacing hardware.