

**Book a free camera consult today →
Picking the best camera is simpler than it looks: match your goal to a camera type, then check sensor size, stabilization, and sound. To choose right video camera fast in 2026, you’ll think in use cases first, not specs. According to deployment data cited by enterprises, 85% of CCTV footage is never reviewed, the issue isn’t gear alone, it’s workflow. So, the right choice blends hardware, audio, storage, and smart software. You’ll see why that mix matters for vlogging, filmmaking, home security, and more.
Here’s the short answer up front: decide what you’ll shoot most, pick the camera style built for that job, then confirm three pillars, clean low light, stable footage, and clean audio. After that, plan storage and the software ecosystem. You’ll avoid buyer’s remorse and get results on day one.
What Kind of Video Camera Do You Actually Need?
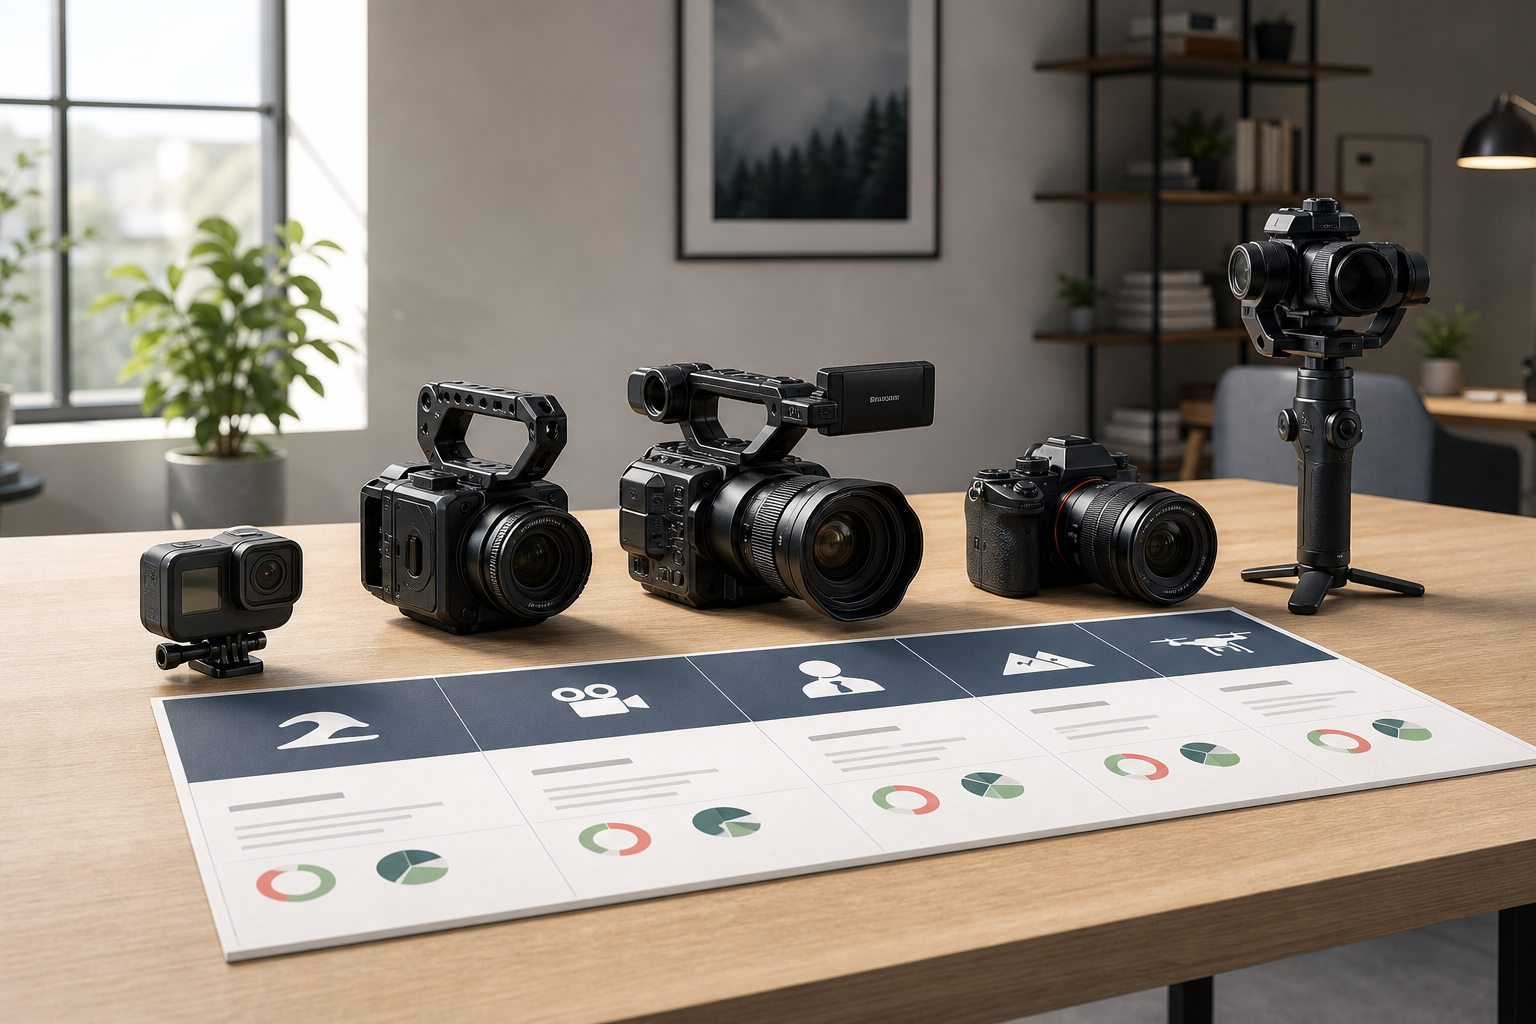
Your needs drive the pick. A tool made for your job beats any spec sheet. Below are clear matches so you can choose right video camera without guesswork.
Vlogging → Action cam or small mirrorless
If you record on the move, action cams shine. They’re tiny, tough, and have strong stabilization for a walk-and-talk. For better background blur and low light, a small mirrorless body with a 16–35mm lens makes your face pop and keeps arms-length shots easy.
Filmmaking → Mirrorless or cinema-style cam
For narrative or doc work, go mirrorless or a compact cinema-style camera. You get larger sensors, flexible lenses, log profiles, and better dynamic range. That means clean skin tones outdoors, and detail in shadows at night. Add ND filters, a fast prime lens (like 35mm f/1.8), and you’re set to grade later.
Home security → IP/security camera
At home, a weather-rated IP camera with motion alerts and two-way audio adds peace of mind. Place one at the front door and another covering your driveway. Use cloud storage if you want off-site backups. For a wired setup, PoE (power over Ethernet) keeps the install tidy.
Business surveillance → IP/security camera with analytics
If you monitor offices, retail, or plants, look for IP cameras that work with analytics platforms. Alerts for intrusion, line-cross, or smoke can cut response times. This matters because 85% of CCTV footage is never reviewed, timely alerts get you to the moments that count, not hours of filler footage.
Live streaming → Mirrorless or webcam
For classes, gaming, or webinars, a clean-HDMI mirrorless camera gives a big jump in image quality. Pair it with a capture card and soft lights. If you value plug-and-play, a 1080p or 4K webcam with auto-framing and noise suppression is fast to set up and runs on USB.
Family events → Camcorder or phone gimbal
For school plays and games, a camcorder’s long zoom and long record times are handy. You won’t juggle batteries or overheating. If you prefer pockets over bags, a smartphone on a gimbal stabilizer can look great and is easy to hand to a grandparent to film.
Also Read!
How to Choose the Right Outdoor Camera for Your Property
How to Choose a Smoke Detector Camera for Your Home or Business
Step-by-Step Framework for Picking the Right Video Camera
Use this method to choose right video camera in a calm, clear order. Each step builds on the last.
Step 1: Define your main purpose
Write one sentence: “I will film X in Y setting for Z audience.” For example, “I will film daily bike commutes outdoors for TikTok.” Your purpose picks your camera type first. Then, confirm you can mount it, power it, and carry it where you’ll shoot.
Step 2: Set a real budget (camera + audio + storage)
Split the budget: about 70% camera/lens, 20% audio, 10% storage and mounts. A $700 body can look worse than a $400 setup if you use weak audio. Plan for two batteries and at least one high-speed card. For security, include cloud or NVR costs in month-one math.
Step 3: Evaluate resolution and sensor size
Resolution is easy to compare; sensor size isn’t. A larger sensor (APS-C or full-frame) gathers more light, which helps at night. For a primer on the tech, see this overview of the image sensor. If you share on phones, 4K gives headroom to crop. But in dim rooms, a cleaner 1080p from a larger sensor can beat noisy 4K from a tiny one.
Step 4: Check stabilization for how you move
If you walk and shoot, in-body stabilization (IBIS) helps a lot. For bikes or snowboards, action cams with horizon lock keep lines level. If you film from a tripod, IBIS matters less; a sturdy tripod or gimbal wins. Try a 10-second walk test in the store or at home.
Step 5: Consider audio input and monitoring
Great video with harsh sound still feels bad. Look for a 3.5mm mic jack or XLR adapter. Test with a lav mic for voice or a small shotgun mic for run-and-gun. If your camera shows audio meters and offers headphone out, that’s a plus. Record a 20-second clip and play it back before you trust it.
Step 6: Assess storage, power, and connectivity
For events, you want long record times and hot-swappable batteries. For webcams, clean USB video and reliable autofocus matter more. For security and surveillance, plan for cloud retention or local NVRs, remote viewing, and safe user access. As a rule, aim for two days of spare storage and one spare battery per hour you plan to shoot.
Step 7: Think about smart features and AI detection
If you need alerts, summaries, or object detection, look for camera-agnostic platforms that add this layer. Some services cite 99.4% detection accuracy, work with existing cameras across 200+ brands, and are cloud-based with no need for on-premise servers. That means fast deploys, alerts that matter, and fewer missed events. For home users, even basic person detection cuts false pings from swaying trees.
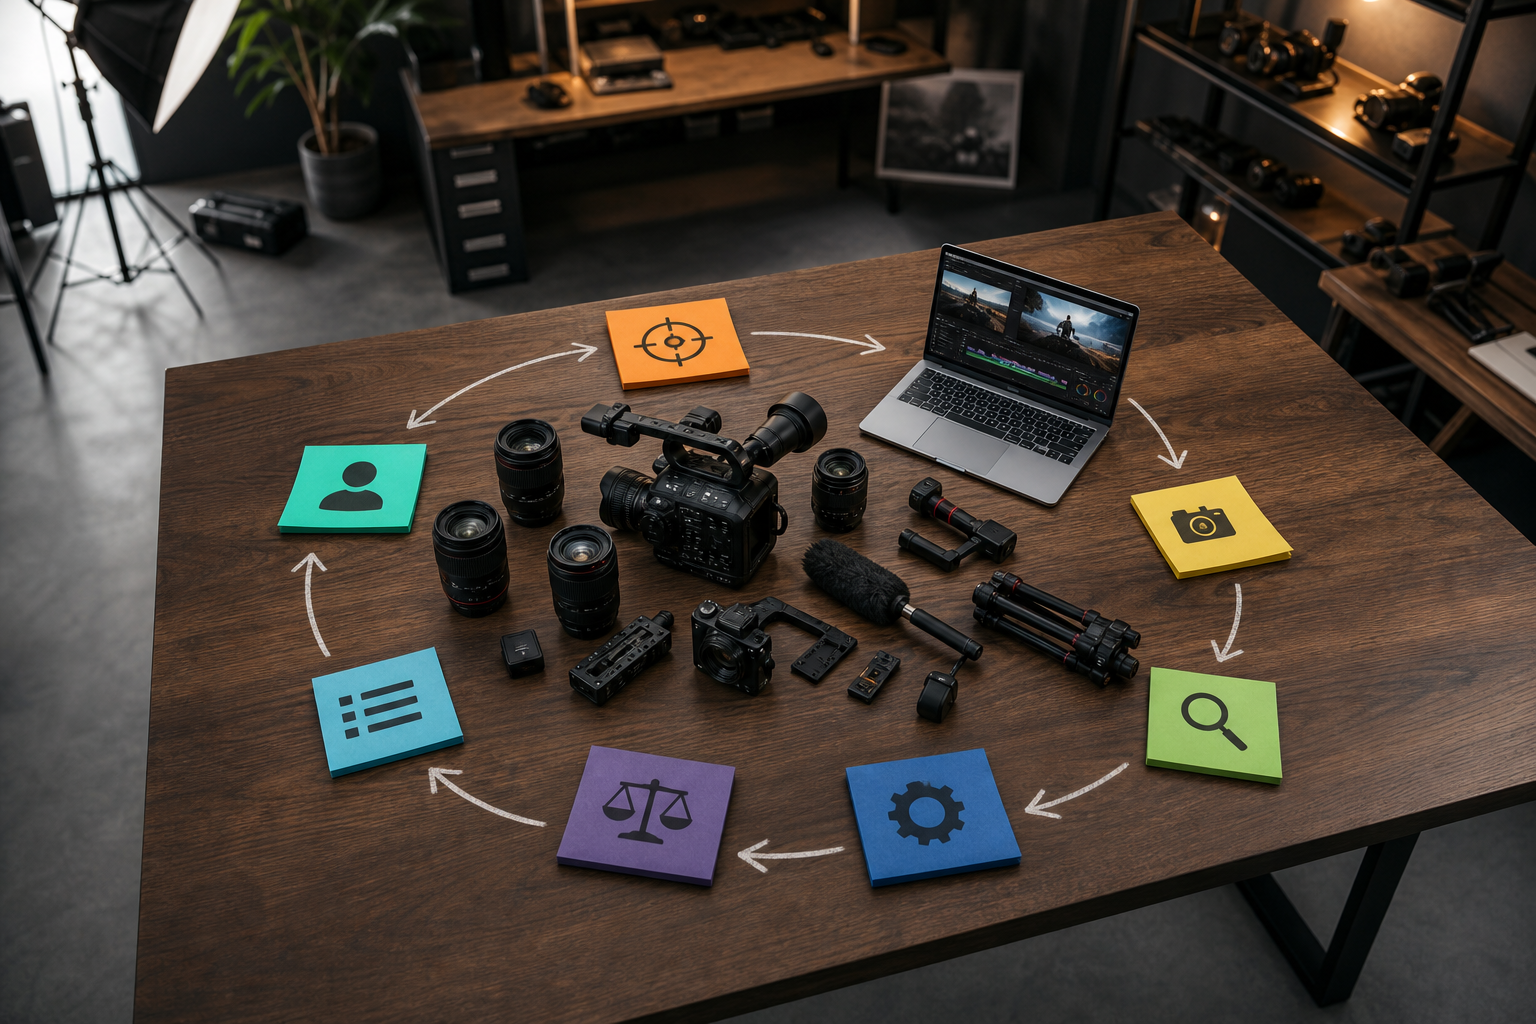
Quick field test: Record a 30-second clip in your worst light, your fastest motion, and your real background noise. If it passes all three, it’s a keeper.
5 Common Mistakes People Make When Buying a Video Camera
Buying on “speeds and feeds” alone is the fast path to regret. Here’s how to avoid the big traps and choose right video camera for what you’ll actually do.
Mistake 1: Chasing resolution, ignoring low light
People fixate on 4K or 8K and forget clean night shots. A larger sensor with good noise control beats tiny sensors that smear detail. If you shoot indoors, test at ISO values you’ll use, not in a bright showroom.
Mistake 2: Skipping audio plans
Built-in mics pick up room echo and wind. That’s why vlogs sound hollow in kitchens. Add a $60–$150 mic and a $10 deadcat windscreen. Record a quick voice note outside; if wind ruins it, fix audio before you buy a pricier lens.
Mistake 3: Ignoring ongoing costs
Storage and cloud fees add up. For security, cloud retention tiers can change your budget by hundreds per year. For creators, raw 4K eats cards and drives fast. Price out the next 12 months before you lock in.
Mistake 4: Buying for specs, not the use case
A cinema body looks cool, but try hauling it on a hike. If your main job is a weekly Zoom class, a good webcam and soft lights beat a heavy rig. Match the tool to the job first, then refine.
Mistake 5: Forgetting software and AI ecosystem fit
Great footage is useless if you can’t find moments or get alerts. In surveillance, 85% of CCTV footage is never reviewed. Smart platforms that filter by people, vehicles, or zones save hours and catch events fast. Check whether your cameras and software talk well before you buy.
Tools and Platforms That Make Your Camera Smarter
Great gear is step one. The system around it turns clips into results. Editors like DaVinci Resolve and Adobe Premiere give you color, audio, and titles. For storage, services from Google and AWS can hold raw footage and backups with lifecycle rules. And for live streams, OBS Studio routes your video with scene switches and overlays.
For security and surveillance, analytics platforms add a layer your cameras alone can’t. One option is VideoraIQ, which integrates with existing IP-based CCTV systems without additional hardware and brings 9 AI detection engines. In practice, that means alerts for face recognition, intrusion detection, fire and smoke, object and license plate recognition, boundary breaches, and more. Alerts arrive in under <3 seconds with video proof, a location tag, and a timestamp, so your team moves fast instead of scrubbing long timelines.
Moreover, VideoraIQ is cloud-based, so you don’t need on-premise servers to get started, and it’s GDPR compliant. That covers both ease of deployment and data protection in 2026. As social proof, the platform cites 10,000+ cameras monitored across 7+ countries, which signals it can handle scale. If you already run IP cameras, adding an analytics layer can turn passive feeds into active insight without a truck roll.
Privacy note: Set clear retention policies and user roles. Shorter retention for public areas and strict access rules help you stay aligned with GDPR and local guidance.
**Book a free security workflow review →
Also Read!
How to Choose Face Recognition and License Plate Camera Software for Retail Stores and Chains
What to Do After You Buy Your Video Camera
Your camera is part of a system. To get results on day one, build a simple, repeatable workflow rather than chasing endless tweaks. Use these steps to lock in wins after you choose right video camera and bring it home.
Step 1: Test in real conditions
Film three 20-second clips: your darkest room, your fastest move, and your noisiest place. Check focus, noise, and rolling shutter. If motion skews lines, try a faster shutter or a different frame rate. Keep notes, not vibes.
Step 2: Lock audio and power
Set mic levels so normal speech peaks around -12 dB. Record, play back, and listen on headphones. Label batteries and cards, and create a charge routine (e.g., charge on return, pack before bed). Stable power prevents missed shots.
Step 3: Configure storage and backup
Name your cards and folders with dates (YYYY-MM-DD) and project tags. For cloud, create a simple rule: keep originals for 30–90 days, then archive. For security feeds, confirm your cloud retention matches policy and your alert clips keep proof with timestamps.
Step 4: Learn one basic edit
Pick one editor and learn one cut: trim, crossfade audio, add a title card, and export H.264. Do it once; then make a template. Faster edits beat perfect edits you never finish.
Step 5: Set up smart alerts (if relevant)
For IP cameras, create zones and rules: doors, cash wraps, perimeters. Turn on push alerts for priority events and email for low-priority ones. Run a one-week trial of your alert set, then tune thresholds.
Step 6: Review your footage workflow weekly
Every week, ask: Did I get the shots? What slowed me down? Do I need a wider lens, a brighter light, or better mounts? Small tweaks add up. By week four, your workflow will feel smooth.
Key Takeaways
Picking a camera is less about chasing specs and more about dialing your system. If you tie your choice to real use, confirm clean low light, stable shots, and clear audio, you’ll be set to publish or respond faster. Below are the core takeaways you should carry into the store or your next site walk.
- Match use case to camera type before reading specs.
- Favor sensor size and low light over raw resolution.
- Plan audio, storage, and power on day one.
- Add smart software to find moments and get alerts.
- Test in your worst light and fastest motion, not the showroom.
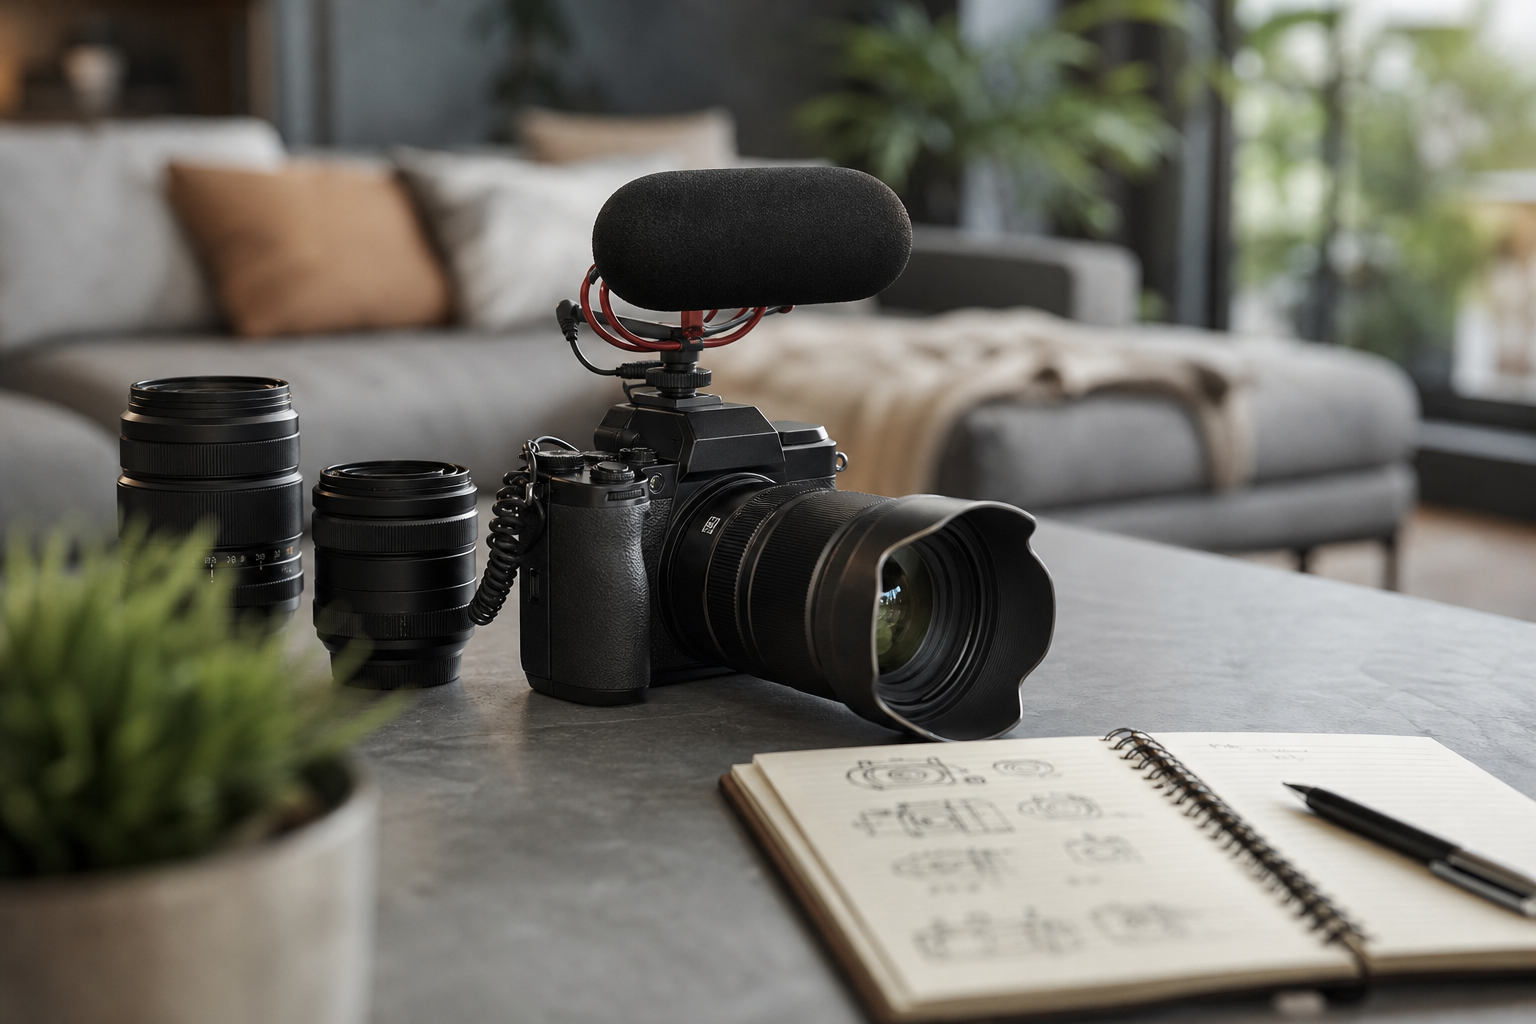
By aligning hardware with real tasks and adding the right software layer, you reduce guesswork. As a result, you spend less time fixing problems and more time creating or responding. Keep this list close; it will save you time and money.
What to Do This Week
Start with a 60-minute sprint. First, write your one-sentence purpose and set a budget split that leaves room for a mic and storage. Second, shortlist two camera types that fit your goal, and schedule hands-on time, even if it’s at home with loaner gear. Third, record a test kit: worst light, walk test, and a loud room, then review with headphones.
Next, map your workflow. Create a folder template, choose one editor, and set up a cloud backup with a 30–90 day rule. If security is part of your plan, draw three virtual zones, turn on priority alerts, and note alert latency and accuracy over one week. By Friday, you’ll know what to keep, what to fix, and what to return.
Finally, commit to one small upgrade that removes a bottleneck: a lav mic for voice, a brighter light for indoors, or a better mount for a shaky angle. Small, targeted changes beat big, vague upgrades. Do this each week, and your results will stack.