

**Get a free security consult →
85% of CCTV footage is never reviewed (Source: VideoraIQ Stats). If you need to plan commercial security system installation in 2026, start with a clear, staged plan that fits your site and budget.
Here’s the short answer you can act on today: assess risk, define zones, choose camera types and placements, decide who monitors alerts, plan your network, pick cloud vs on‑prem, and roll out in phases. This path keeps costs in check, avoids rework, and leaves room for AI upgrades without ripping out gear.
Moreover, you should expect more than “record and store.” Modern systems detect events, push alerts in under three seconds, and work with hundreds of camera brands. As a result, you can keep much of what you own, add the right software layer, and focus spend where it cuts response times the most.
What Goes Into a Commercial Security System Installation?
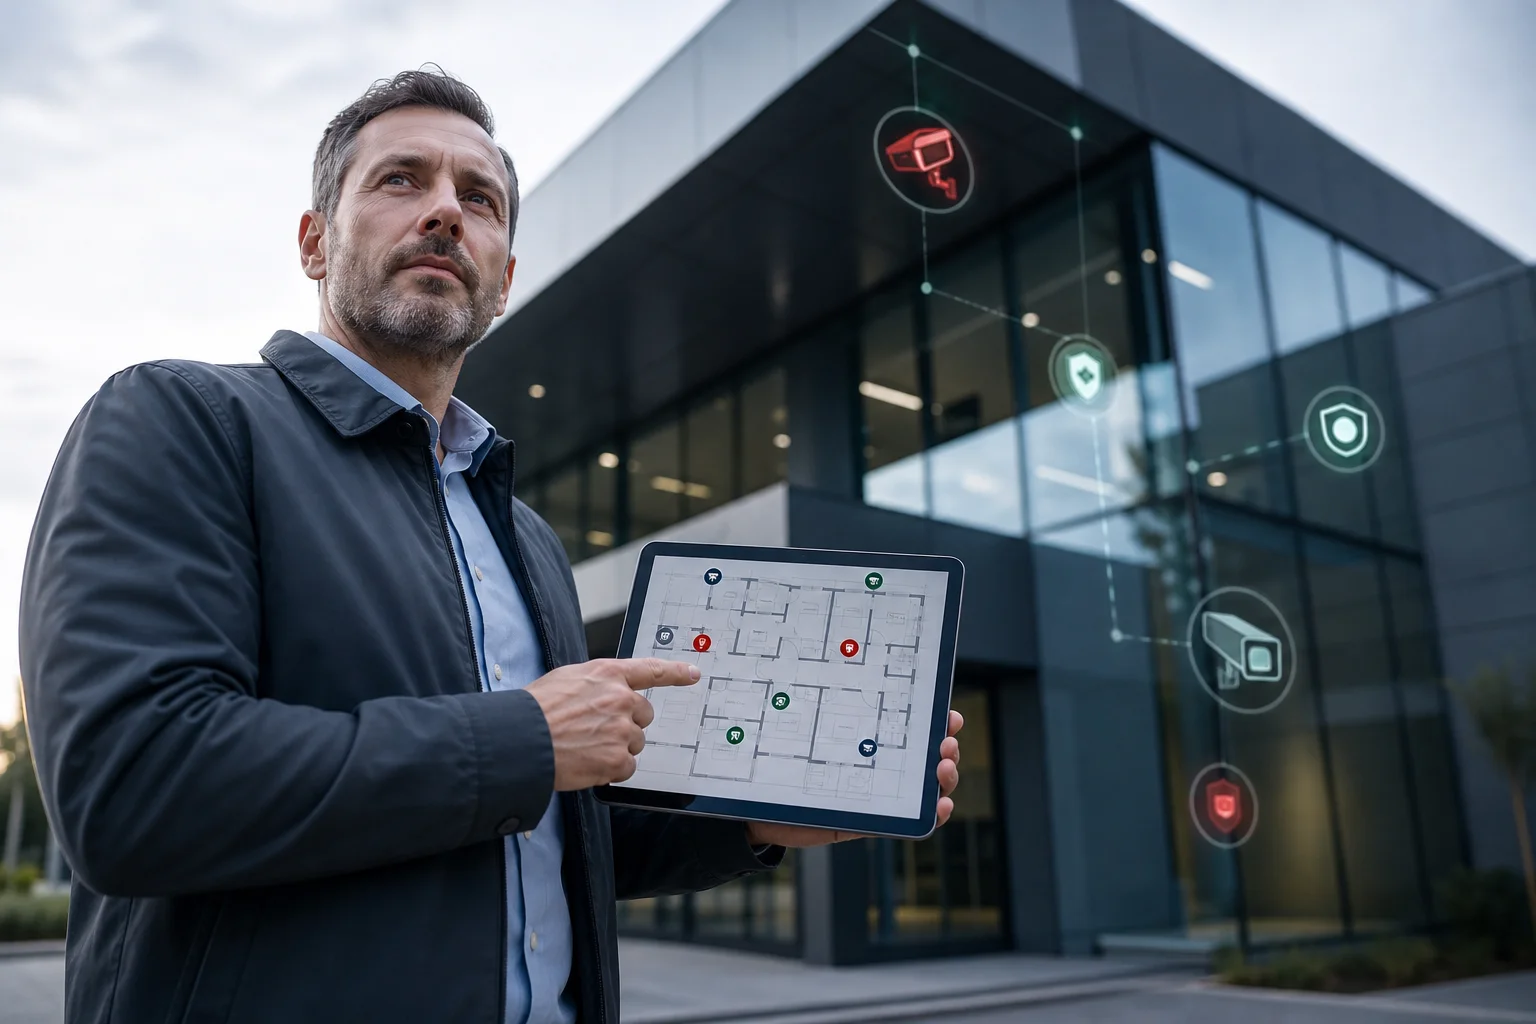
A complete setup blends several layers that work together. You will mix video, door control, intrusion sensors, life safety, and an AI layer that makes sense of events in real time. Unlike legacy CCTV that only records, modern platforms analyze and alert so your team can act while an event is still in progress.
Core system elements
- Video: IP cameras (fixed, varifocal, PTZ, panoramic) with a Video Management System (VMS).
- Access control: badge/keypad/mobile credentials and door controllers.
- Intrusion detection: door/window contacts, PIR motion, glass break.
- Fire/smoke: detectors and panels tied to alarms and, if allowed, to video.
- AI analytics: real-time detection (e.g., intrusion, smoke, face match) that turns footage into alerts.
In fact, most teams don’t need to rip and replace cameras. Modern AI video intelligence works with existing IP cameras across 200+ brands (Source: VideoraIQ Features). Therefore, you can add smart alerts to what you already have and avoid a large capital hit.
Modern vs. legacy CCTV
Legacy CCTV prioritized “record everything, review later.” But VideoraIQ data shows 85% of CCTV footage is never reviewed. Today’s systems flip that script. They detect threats and push verified alerts with clips, camera names, and timestamps. Furthermore, nine AI detection engines are common in 2026 platforms, covering face recognition, intrusion, fire and smoke, object and plate reads, line-cross, unauthorized access, unattended baggage, and cashier absence (Source: VideoraIQ Features).
Moreover, cloud-based systems remove the need for on‑premise servers (Source: VideoraIQ Features). That reduces maintenance, speeds updates, and scales across sites. On the other hand, sites with strict network rules may still keep an on‑prem VMS, then add a cloud AI layer for alerts. Either way, the goal is the same: fewer missed events, faster response, and audits with video proof.
"Before VideoraIQ, we relied on manual spotting. Now we’re alerted immediately, with clear footage to act on." — Karen Liu, Event Venue Manager
Step-by-Step: Planning Your Commercial Security Installation
You can plan commercial security system installation in seven steps. Each step trims risk and keeps spend where it matters most.
Step 1: Site risk assessment
Start with a walkthrough at peak hours and after-hours. List known incidents from the past 12–24 months. For example, note tailgating at side doors, theft near loading docks, or false fire alarms. Therefore, you tie tech choices to real risks, not guesses.
Step 2: Define security zones
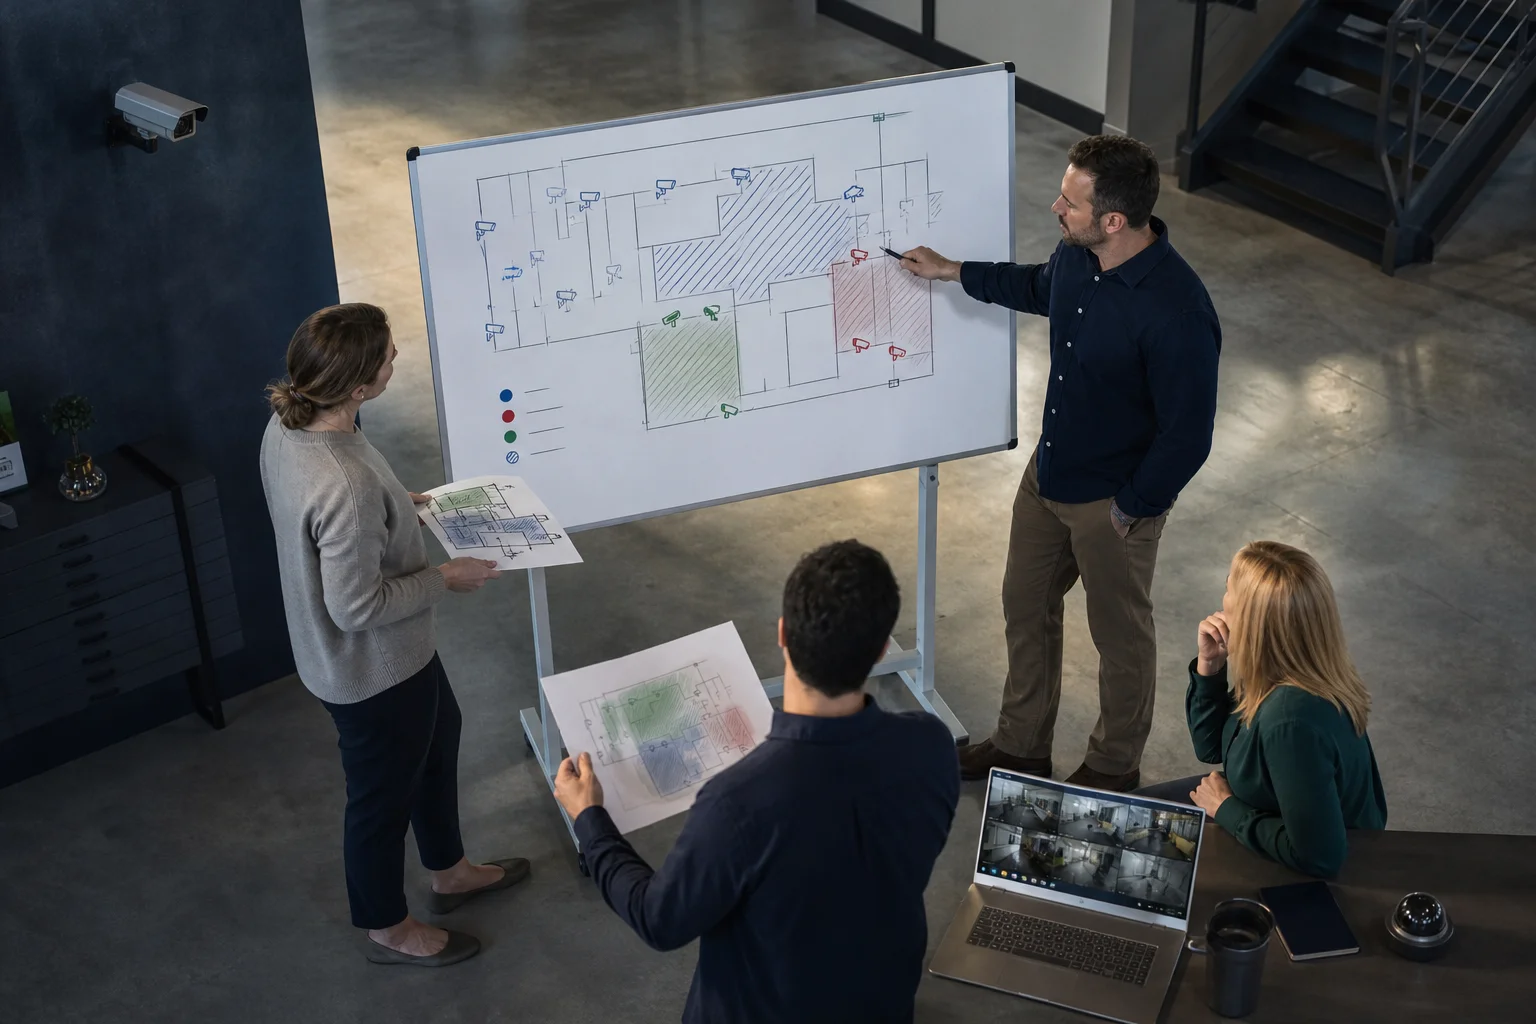
Map zones: perimeter, lobby, production, storage, cash/IT rooms, and parking. Assign risk levels and desired outcomes per zone. Specifically, plan zone-based monitoring for critical areas so AI watches what matters, like a vault door or cashier lane, not a blank wall (Source: VideoraIQ Features).
Step 3: Choose camera types and placement
Pick lenses and positions by zone: wide coverage at entries, higher pixel density at doors and cash points, PTZ for yards, and domes for offices. As a result, you capture details where you must, and context where you can. For a deeper walkthrough on angles and focal lengths, use this plain-language business camera placement guide.
Step 4: Select your monitoring approach
Decide who sees and acts on alerts: in-house guards, a remote monitoring center, or a hybrid. In addition, set customizable time thresholds for detection to match your flow, for example, alert only if a bag is left for 90 seconds in a busy lobby (Source: VideoraIQ Features). That one tweak can cut false alerts by a lot without missing real risks.
Step 5: Plan the network infrastructure
List cable runs, PoE switch ports, VLANs, and QoS rules. Measure uplink headroom for peak bitrate. Moreover, confirm camera firmware, ONVIF profiles, and RTSP paths so your VMS and AI layer can read the streams. Tools that work with existing cameras across 200+ brands give you room to grow without vendor lock (Source: VideoraIQ Features).
Step 6: Pick cloud vs. on‑prem (or hybrid)
Cloud-based AI eliminates on‑prem servers and speeds rollouts across sites (Source: VideoraIQ Features). On the other hand, if your policy requires local storage, keep a local NVR/VMS and sync alerts to the cloud. As a result, you get low-latency review on-site and cloud analytics without major hardware.
Step 7: Schedule a phased rollout
Pilot with 10–20% of cameras in the most critical zones. Validate alerts, adjust zones, and tune thresholds. Then expand by area or building. Therefore, you ship value fast, learn with low risk, and avoid rework.
Also Read!
5 Common Mistakes in Commercial Security Installations
Even solid teams slip on a few repeat issues. Here’s how to avoid them before they cost you.
- Overlooking coverage gaps: Skipping a corner or doorway leads to blind areas in playback. Fix by doing a second-night walkthrough and reviewing live views for each zone. Then lock camera angles and export a coverage map.
- Underestimating bandwidth: Adding 4K streams to a thin uplink causes jitter and missed frames. Fix by calculating worst-case bitrate and setting VBR caps or smart codecs on each camera.
- Skipping integration testing: Cameras show in the VMS, but AI can’t read streams. Fix with a pre-production checklist: stream URLs, codecs, FPS, and a test alert for each zone before go-live.
- Choosing price over works-with: Cheap gear that won’t talk to your VMS or analytics costs more later. Fix by picking platforms that integrate with existing IP-based CCTV without additional hardware (Source: VideoraIQ Differentiators).
- Neglecting AI-readiness: Locking into hardware-only systems blocks future upgrades. Fix by selecting an analytics layer that works with most existing surveillance infrastructure and supports zone rules and time thresholds (Source: VideoraIQ Features).
"Installation was quick, and it worked with our current CCTV—no downtime, no extra investment." — Sana Ibrahim, Hotel Security Lead
As a result of these fixes, you protect your budget and your timeline. Moreover, your team will trust the alerts and act faster, which is the entire point of the install.
Tools and Platforms That Simplify Commercial Security
Three platform layers shape your stack: VMS, AI analytics, and access control. A Video management system (Wikipedia) collects streams, handles recording, and gives you a console. The AI layer scans video in real time and sends alerts. Access control manages doors and identities and can sync events with video clips.
What to evaluate
- Speed: Aim for <3 seconds alert latency so your team can act while the event is live (Source: VideoraIQ Stats).
- Accuracy: Look for 99.4% detection accuracy with low false alarms (Source: VideoraIQ Stats).
- Works-with: Confirm support for 200+ camera brands and IP-based CCTV without extra hardware (Source: VideoraIQ Features).
- Compliance: Pick platforms that are GDPR compliant and HIPAA compliant if you handle health data (Source: VideoraIQ Certifications).
- Pricing tiers: Starter, Professional, and Enterprise tiers help match features and cloud retention to your site scale (Source: VideoraIQ Overview).
- Proof: Ask for a 2-week pilot with real alerts, not only a canned demo.
Tools like VideoraIQ add cloud-based AI-powered video intelligence that “bridges the gap between detection and action.” You get real-time alerts with video proof, location tags, and timestamps, plus zone-based monitoring to focus on critical areas (Sources: VideoraIQ Features). Moreover, the platform is deployed across 10,000+ cameras in 7+ countries, which signals maturity without forcing new hardware (Source: VideoraIQ Stats).

As you compare vendors, keep the human side in view. Who will triage alerts at 2 a.m.? How fast can you add a site? Therefore, ask to see a simulated incident from alert to resolution, including how the clip is shared with responders. That end-to-end flow sells outcomes, not just features.
Key Takeaways

- Start with risk, then zone your site; this keeps cameras and alerts tied to real threats.
- Pick tools that work with your current IP cameras; avoid extra hardware and re-cabling.
- Tune zones and time thresholds to cut false alerts while keeping speed under three seconds.
- Choose cloud when you can; keep on‑prem only where policy demands it.
- Pilot first, then expand; measure against real outcomes like thefts stopped or faster fire response.
What to Do This Week: Your Installation Action Plan
You can plan commercial security system installation without stalling your day job. Here’s a one-week sprint that builds momentum and costs little.
- Day 1–2: Walk your site and list the top five risks by zone. Snap photos at each camera location you think you need.
- Day 3: Draft a zone map and note required views (entrance faces, dock plates, cash drawers). For reference, scan this step-by-step business camera install checklist.
- Day 4: Pull a network report: switch ports free, PoE budget, VLANs, uplink headroom.
- Day 5: Request 2–3 vendor demos and ask for a pilot with your footage. Include one platform with a Starter tier that supports up to 20 cameras for small businesses so you can prove value fast (Source: VideoraIQ Overview).
- Day 6–7: Set a 30‑day pilot timeline with success metrics: alert speed, false alerts per day, and response times. Use your highest-risk zone first.
Moreover, ask vendors to show GDPR and HIPAA compliance badges in writing and walk through one real incident end to end. As a result, you’ll pick a stack that can scale from a 10‑camera pilot to 10,000+ cameras across deployments without a fresh rip‑and‑replace (Source: VideoraIQ Stats).