

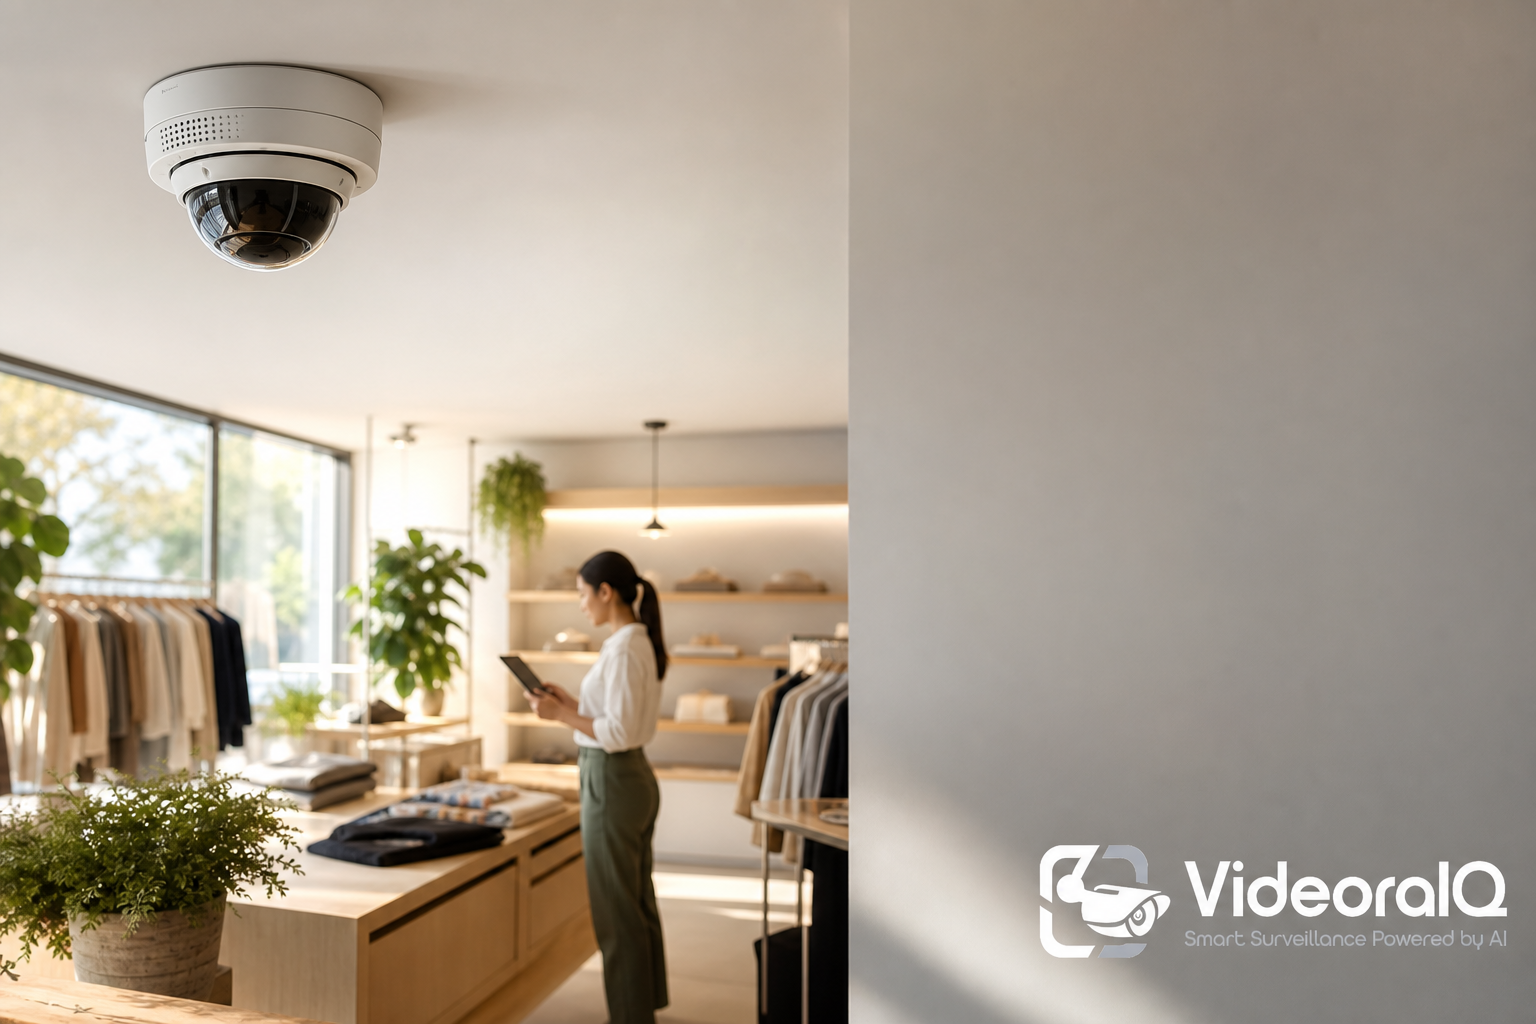
Retailers increasingly use fire and smoke detection from cctv to turn passive video into an active safety layer. In the first two minutes of an incident, a visual alert can surface ignition before particulates hit a ceiling detector. That helps teams act faster without ripping and replacing existing sensors.
Book a quick demo today → Audit your existing cameras. Document every camera: brand, model, resolution, lens, and angle. Note the network path and VMS. Most modern AI works with existing IP cameras across 200+ brands.
Replacement is rare. If you can view the RTSP/ONVIF feed, you can likely analyze it for fire and smoke detection from cctv. Add screenshots of current views. Record typical lux levels at night. Note any obstructions such as banners or seasonal signage that might change detection quality.
- Capture frame rate and bit rate. Analytics may need a minimum of 10–15 fps to perform well.
- Note IR cut filter behavior. Include any WDR settings that could affect low-contrast smoke.
- Flag cameras with persistent glare (e. g., glossy floors or stainless panels) for tuning.
- Record firmware versions and encryption settings so IT can validate security posture.
- Confirm retention policies and clip export capabilities for sharing with marshals and insurers.
2) Map your fire risk zones
Walk the site. Mark stockrooms, loading docks, electrical panels, kitchens, battery and charger areas, and HVAC intakes. Set Zone-Based Monitoring in software to watch these zones first. Prioritize ceiling lines and corners where smoke will pool. Explicitly label zones used for the video-based detection layer to ease SOP handoffs. If your stores change layouts often, include a quarterly walkthrough. Update zone names and test alerting from the revised angles.
Pro tip: Create a zone naming convention like “Store-123_Stockroom_Aisle-End_North.” It makes triage instant for remote teams.
Add context on vertical spaces. If you have mezzanines or double-height ceilings, plan an additional camera that tracks the upper air layer. In mixed-use back rooms, define sub-zones such as “charger bench” or “compressor rack.” Small labels reduce confusion when seconds count.
3) Define what you need to detect
Decide if you need smoke, flame, or both. For grocery and QSR, include smoke to catch slow smolder in ducts and trash. For outdoor docks, add flame to avoid false alerts from fog. Confirm day and night support. Validate IR performance and the camera’s behavior in very low light.
If possible, ask vendors to demonstrate how their CCTV analytics respond to small, early-stage ignition. Contrast that with benign steam or fog in your environment. Clarify whether the system recognizes reflections, for example on stainless appliances.
Ask what tuning options exist to handle seasonal humidity spikes. Also confirm whether the model adapts over time or if tuning is manual only. A documented tuning path reduces support load and speeds resolution.
4) Check detection accuracy and speed
Ask vendors for documented accuracy. Target at least 99% detection accuracy with alert delivery in under three seconds on representative footage. Request a proof of concept on your own feeds for at least two weeks. The goal is to observe performance across shifts, weather, and staffing patterns.
Require a confusion matrix and per-zone breakdowns. That lets you see where tuning is needed, such as kitchen versus stockroom versus dock. Ask how the model handles edge cases like vape clouds, aerosol sprays, or sun shafts that resemble smoke.
Push for precision and recall numbers, not just a single accuracy figure. Also request latency distributions rather than averages. The 95th percentile tells you how the system behaves when conditions are messy.
5) Confirm integration and scalability
Chains need a cloud-based platform with no on‑prem servers. The system should scale from 20 to thousands of cameras. Look for a central dashboard, site tagging, and role-based access. Ensure real-time alerts include video proof, a location tag, and a timestamp. Confirm API and webhook options so fire and smoke detection from cctv events can pipe into ticketing, paging, or incident systems you already use. Ask for SSO support. Validate alert throttling. Require mobile push that deep-links to the exact camera and timestamp for quick verification.
To make sure the platform fits your operations, validate how it integrates with your monitoring center. Check whether it supports the right contact ID codes and event types. Confirm how acknowledgments flow back to the AI system. You should also test bidirectional webhooks. When a manager closes an alert in your incident system, the status should sync automatically to the analytics dashboard.
No one wants manual double work. Finally, confirm that the vendor supports multi-tenant or site-level RBAC. Regional teams should only see their own stores. That keeps access appropriate and reduces support tickets.
Ask about deployment templates. Pre-built camera naming and tagging rules cut rollout time. Clarify how site provisioning works at scale. Bulk import, CSV or API provisioning, and auto-discovery features can save hours each week.
6) Verify compliance and privacy
Make sure the setup aligns with NFPA guidance, your local fire marshal’s expectations, and insurance documentation needs. For privacy, confirm GDPR‑compliant practices if you operate in the EU (see General Data Protection Regulation). Consider state-level privacy rules as well. If you are in California, map requirements to CPRA. If you have Canadian stores, review PIPEDA. Document your reasoning so auditors see a clear compliance trail.
Store only what you need, for as long as you need it. Document data retention and access rules. Reference the camera-based fire and smoke use case explicitly so stakeholders understand the purpose-limited processing. Where applicable, involve your AHJ (Authority Having Jurisdiction) early.
Keep a file with vendor certification letters and test results. Add screenshots of alert screens and export formats. These artifacts help speed approvals and insurance reviews.
Clarify that video-based detection complements, not replaces, life-safety systems. Note this in your fire safety plan. Some AHJs will ask for signage or SOP excerpts. Having these ready shortens review cycles.
7) Plan your rollout
Pilot two to three stores for 30 days. Measure false alarm rates, alert latency, and response times. Use results to tune camera angles and notification rules. Keep a daily log so you can track improvements week by week.
Then expand in waves of 10–25 stores. Standardize naming conventions so fire and smoke detection from cctv alerts always include store ID, camera ID, and zone name. That supports faster action. Build a short training for managers on verifying alerts and using extinguishers safely.
Appoint a regional champion to answer questions during scale-up. Provide a simple laminated one-pager at each site. Include the escalation tree and key phone numbers.
Practical Camera Placement Tips for Smoke Detection
These placement principles strengthen fire and smoke detection from cctv in real store layouts. They also reduce nuisance alerts. Mount cameras high with a wide view of ceiling lines. This helps catch the earliest wisps of smoke that pool near overhead junctions. Avoid pointing directly at vents or supply grilles.
Turbulent airflow adds visual noise that can confuse analytics and cameras alike. In kitchens, angle the view from outside the hood line so heavy steam stays out of frame. This simple shift can dramatically reduce benign triggers without sacrificing coverage. In stockrooms, position cameras to watch aisle ends. Also watch the voids under mezzanines or pallet racking where smoke often accumulates first.
At loading docks, include at least one camera facing inward. It should observe both intrusion paths and where exhaust or smoke might drift into the building. If domes are unavoidable, keep the bubbles meticulously clean. Micro‑scratches can refract steam and generate false artifacts during busy prep times. In compact rooms, favor fixed focal lengths.
Aggressive varifocal zoom can narrow your field of view and miss early plumes at the periphery. Where skylights or bright windows create sunbeams that look like haze, plan for time‑of‑day adjustments. Consider polarizing filters if your camera supports them. That mitigates flare and contrast washout.
- Avoid camera auto-focus hunting by setting manual focus for fixed zones where possible.
- Use camera privacy masks to exclude digital signage screens or bright menu boards.
- Check for periodic condensation on lenses in refrigerated areas. Add small hoods if needed.
- Standardize mounting heights. Consistent geometry produces more consistent analytics.
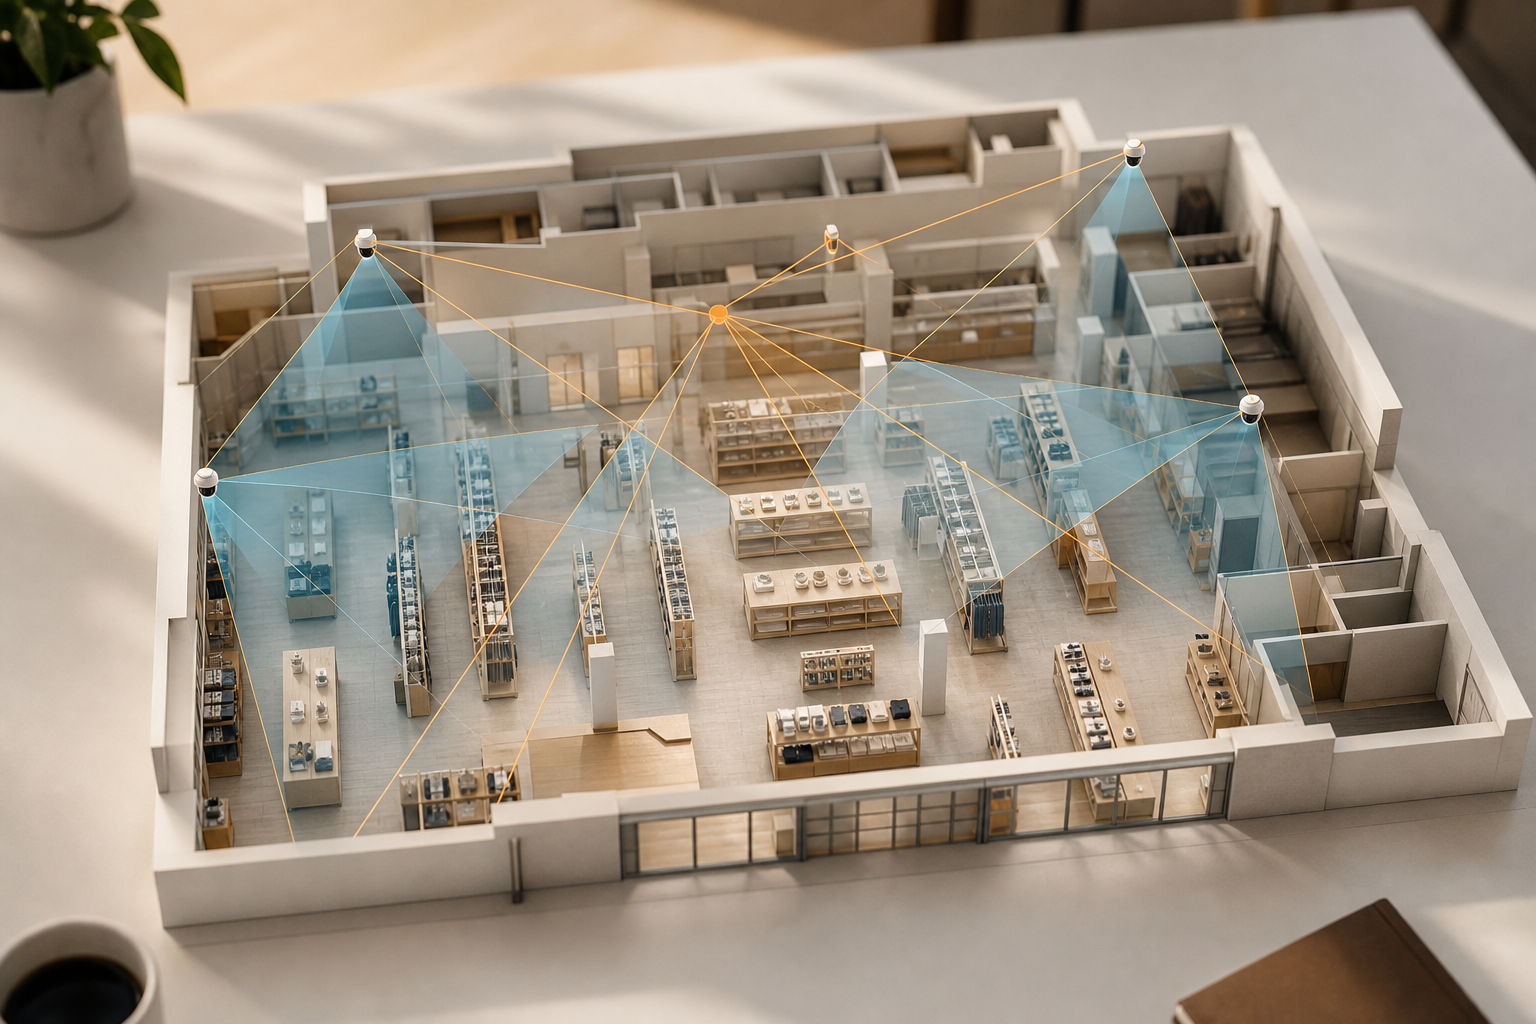
Get instant alert testing, book now → to validate the alert pipeline, the escalation chain, and the time to act. Also, save Auto-Captured Video Evidence with timestamps and camera locations for the fire marshal and insurance. Include a short checklist for every pilot store.
Decide who acknowledges first. Decide how to reassign if the manager is off-shift. Add how to contact the local fire department if visual confirmation shows growing risk.
“Our fire was detected 52 seconds before our smoke alarm triggered. The alert came with a live camera link — my team was already on their way before the alarm sounded.” — Nilesh Kapoor, Plant Safety Supervisor
Make Alerts Actionable
Route every alert to the manager on duty and regional operations. The people closest to the incident can respond while leadership stays informed. If no one acknowledges the alert within 60 seconds, escalate to facilities. Building systems, power, or HVAC can be addressed quickly if needed.
Always include the video clip, camera name, and store ID in the notification. That cuts verification time and speeds decisions. A short weekly 10‑minute drill keeps the process sharp. Rehearse who taps acknowledge, who grabs an extinguisher if it is safe, and who calls 911 if conditions worsen.
Track time to human eyes in addition to time to first alert. Add a brief in‑app checklist, verify, sweep, isolate, notify. Managers can then standardize reactions across shifts.
Add redundancy to your routes. If the app push fails, an SMS should still arrive. If SMS fails, the call tree should kick in. Multiple channels prevent single points of failure.
Alert Routing and Escalation Playbook
The primary path should deliver a push notification and SMS to the MOD. Send an email to regional ops in parallel so awareness is baked in. If there’s no acknowledgment at 60 seconds, configure an auto‑call to the store. At 120 seconds, notify the monitoring center using a video‑verified fire and smoke event code.
That distinguishes it from traditional alarms. For resolution, require a close‑out note with a standardized tag: true fire, benign steam, or test. Data quality improves. Future tuning becomes easier and more accurate.
Define quiet hours behavior. If the store is closed, route directly to the monitoring center after the first escalation. Ask your vendor to support holiday schedules and daylight saving time shifts. Small details avoid missed handoffs.
Also Read!
VideoraIQ vs Verkada for Retail Chains: Which Is Better for Fire and Smoke Detection via CCTV?
Tools and Platforms for AI-Powered Fire Detection in Retail Surveillance
There are three main ways to add AI fire analytics to your cameras. Your choice depends on budget, site count, and IT support. Evaluate each through the lens of fire and smoke detection from cctv. That way you can compare apples to apples on accuracy, latency, and false alarms.
A) Dedicated Thermal Fire Cameras
These combine optical and thermal sensors. They excel at seeing heat through smoke or in low light. In a warehouse or a high‑ceiling big box, they can spot hot spots before smoke is visible on RGB video.
The major advantages are their high accuracy in poor lighting and the ability to work in complete darkness. The trade‑offs are a higher cost per unit and a more specialized installation. That is why they are not ideal when you need a quick, chain‑wide rollout. In practice, they are best suited for distribution centers, high‑bay storage, or mixed manufacturing‑retail footprints.
In those settings, heat anomalies matter as much as visible smoke. If you need wide outdoor coverage, thermal can also shine near dumpsters or compactors. It reduces false positives from fog and insects that can confuse RGB-only analytics.
B) VMS Plugins for Existing Video Systems
Many video management systems, such as Milestone or Genetec, support analytics plugins. If your security team already lives in one VMS, this can be a clean add. The benefit is a single pane of glass with tight camera integration and a familiar IT path for approvals and maintenance. However, you may encounter version and hardware lock‑in.
You may also need per‑site servers. That makes scaling across 100+ stores slower and more expensive. As a result, VMS plugins are most effective for single‑campus sites or chains with a standardized VMS. They also work when you have reliable on‑prem IT teams who can support local compute.
When using plugins, confirm GPU requirements and supported camera codecs. Some deployments fail because the local server cannot sustain decoding and inference at the required frame rate. Run a stress test during your POC.
C) Cloud AI on Top of Existing IP Cameras
Cloud platforms analyze your live RTSP/ONVIF feeds without new hardware. They work across 200+ camera brands. You keep your existing install. In 2026, this option is the fastest way for multi-location retail to pilot, compare, and scale. These platforms can run fire and smoke detection from cctv alongside other retail analytics without adding server closets.
The strengths include true cloud deployment with no on‑prem servers. You also get rapid rollouts, centralized dashboards, and real‑time alerts that contain video proof, location, and timestamps. The limitations are a need for stable upstream bandwidth and reliance on the vendor’s cloud uptime. Reputable providers back this with SLAs.
For most chains with 10–500+ stores, cloud analysis is the most flexible and cost‑effective path. Ask for regional data hosting if you must keep data within a country. Also verify how the system handles store outages. Automatic backfill of buffered clips is a plus.
How to Compare Vendors in Practice
When you compare providers, start with detection quality on your own footage. Do not rely on a demo reel. Confirm day and night parity and resilience to steam or fog. Kitchens and docks must be covered. Evaluate latency and the richness of evidence.
Check average alert speed and clip length. Ask whether bounding boxes or heat maps are provided to aid verification by non‑technical staff. Look for strong false‑positive controls. You want configurable sensitivity, zone masking, and adjustable cooldown windows. These features prevent alert fatigue as seasons change.
Ask about integrations. Do they offer webhooks, APIs, SSO, and direct support for your monitoring center and ticketing stack? Then probe security posture. Confirm encryption in transit and at rest. Review audit logs, retention controls, and regional data hosting options.
Finally, check operational fit by clarifying who owns tuning. Understand how updates will roll out across all stores. Ask what uptime and support SLAs back the service. Validate everything with a head‑to‑head POC. Include raw event exports so you can independently analyze misses and false positives without vendor spin.
Request a named technical contact during the pilot. Fast answers reduce wasted hours. Also ask for sample SOC runbooks. Good vendors tend to document edge cases well.
Tools like VideoraIQ offer fire and smoke detection as one of nine AI detection engines. They work with existing cameras across 200+ brands. 4% detection accuracy. VideoraIQ reports 10,000+ cameras monitored and deployments in seven or more countries.
It bundles retail features such as intrusion detection, cashier absence monitoring, and Heatmaps & Analytics. Tiers include a Starter plan for up to 20 cameras, Professional up to 200, and Enterprise with unlimited cameras and custom AI. For many chains, this delivers fire and smoke detection from cctv without ripping and replacing infrastructure. Ask for a named Customer Success Manager during rollout.
Request a quarterly business review to keep performance tuned. Document what success looks like for your team before kickoff. Shared goals lead to cleaner decisions.
Moreover, whichever route you test, ask for a trial. Compare detection accuracy, false alarm rates, and integration effort on your own stores before you sign. Bring your IT, loss prevention, and facilities teams into the decision early. When teams evaluate together, operational surprises drop.
Capture a baseline of current incident rates. That way you can quantify the delta from fire and smoke detection from cctv once it’s live. Keep a running tally of avoided losses, for example extinguished trash fires, to strengthen your ROI case with finance. Track training time too. Faster onboarding reduces soft costs.

Deployment Considerations That Often Get Missed
In multi‑tenant retail environments, camera VLANs must have adequate upstream bandwidth during peak hours. Otherwise the video stream quality will degrade just when you need it most. Any store remodel, from moving a gondola to adding a seasonal endcap, should trigger a quick revalidation of camera views and zone names.
You want the analytics to still see ceiling lines and corners where smoke pools. Finally, set a recurring 15‑minute review to tag every false positive and missed event. Adjust sensitivity, masks, or alert cooldowns so your system stays tuned as lighting, staffing, and merchandising evolve.
Document physical obstacles. Holiday décor and stacked shippers often creep into views. A simple monthly photo check prevents blind spots. Also verify time synchronization across cameras and the AI platform. Accurate timestamps speed investigations and compliance reviews.
Also Read!
Best Fire Smoke Detection Security Camera for Retail Stores and Chains in 2026
Best Intrusion Detection Security Camera for Retail Stores and Chains in 2026
What to Do Next: Building Your Retail Fire Detection Roadmap
Here’s a 30‑day plan you can start this week. Keep it simple. Write it down. Share it with your store and facilities leads. Simplicity drives adoption.
Week 1: Walk and Record
Walk your highest‑priority locations: stockrooms, kitchens, electrical rooms, and docks. List current cameras, angles, and gaps. Note ceiling heights and airflow that could delay particulate sensors. Capture two short test clips per critical zone. Include normal operations and simulated benign smoke or steam. Vendors can then tune on realistic examples.
- Document HVAC schedules. Returns blowing across a lens can create haze-like motion.
- Record night lighting states. Emergency-only lighting can affect smoke contrast.
- Note combustible load near chargers or kiosks. Check whether temporary displays block sightlines.
- Capture still images at open, mid-day, and close. Light and traffic change scene dynamics.
- Verify that every camera name in the VMS matches a physical label in the store.
Add a quick risk map. Color-code zones by hazard level and occupancy. High hazard and high occupancy demand faster escalation. This simple visual helps leadership prioritize.
Week 2: Research and POC Prep
Week 2. Research two to three AI fire detection options. Request demos and a two‑week proof. Establish success metrics for accuracy, target at least 99% on your sample footage. Define alert speed targets under three seconds. Review zone tools and data handling.
Confirm GDPR‑compliant practices if you operate in the EU. Ask vendors to label how their pilot will validate fire and smoke detection from cctv. Stakeholders should understand success criteria from day one. Ensure your POC plan defines who acknowledges alerts.
Clarify how to tag true and false events. Document how findings will map to a go or no‑go decision. Outline rollout dependencies such as bandwidth tests and camera renaming.
Pilot where real risk exists, measure everything, and let the data decide which fire and smoke detection from cctv approach scales across your chain.
Prepare a communications plan. Tell store teams when tests occur and what to expect. Clarity prevents confusion and unnecessary calls to the fire department.
Week 3: Run the Proof
Week 3.
Set up a proof in a store with real risk. Track every detection, false alert, and response time. Save Auto-Captured Video Evidence with timestamps and camera locations for your fire marshal file. Hold a midpoint review. Adjust sensitivity or masking as needed. Retrain staff on verification steps if acknowledgment times lag.
- Time studies: measure “first alert,” “time to human eyes,” and “time to action.
- Scenario testing: safely simulate benign steam and controlled smoke outside normal business hours with marshal or insurer awareness. Benchmark edge cases.
- Cross-team sync: align security, facilities, and store ops on who owns escalations after-hours.
- Evidence workflow: test clip export, chain-of-custody notes, and sharing links with limited-time access.
Share a short weekly scorecard with leadership. Include counts, latency, and human response. Visible progress builds confidence.
Week 4: Align Insurers and Plan Scale-up
Week 4. Meet your insurance contact. Many carriers credit AI-monitored detection with premium reductions. Get a list of documentation they expect so you can prepare now.
Use pilot data to estimate per‑store costs, training time, and rollout waves. Draft your chain-wide plan and the alert escalation SOP. Present a simple ROI model that includes avoided downtime, avoided spoilage, and reduced claim friction due to video-backed evidence. Build a clear rollout checklist that includes camera health checks, a bandwidth test, an alert routing test, and a staff training sign‑off before each store goes live.
Include an AHJ communication template summarizing your camera‑based detection layer and pilot results. Local officials will then have context from day one. Add a decommission plan for stores that close or remodel. Clean exits matter too.
Documentation and Inspections
Keep a detailed log of all alerts and actions with dates and store IDs. You can analyze patterns over time and defend decisions when insurers ask for evidence. Store representative clips for your marshal and insurer.
Demonstrate how verification works and how your team responds. Update your fire safety plan to reference the camera‑based detection layer. Make it clear this is a complement to, not a replacement for, life‑safety systems.
Make sure managers are trained to test alerts at open and close. Schedule a quarterly inspection that revalidates camera views. Confirm there are no blocked sightlines. Verify retention settings.
Spot‑check alert routing to current staff. Maintain a change log for any tuning, such as sensitivity or masks. Note the incident or observation that prompted each change. You can then justify settings during audits.
Create a short post-incident template. Capture who acknowledged, what was observed, what action was taken, and the outcome. Consistent notes turn scattered events into measurable improvement.
**Schedule a quick rollout consult →
Key Takeaways
Camera analytics can spot smoke or visible flame in under three seconds. They also provide video evidence that traditional alarms do not capture. That closes gaps in both response and documentation. Retail risk zones commonly include stockrooms, kitchens, display power runs, docks, and HVAC paths. Map them store by store.
Align camera angles to ceiling lines and corners where smoke gathers first. Cloud AI works with existing IP cameras across 200+ brands. It scales rapidly across 10–500+ stores without on‑prem servers. That reduces truck rolls and IT overhead.
The most reliable way to validate benefits is a 30‑day pilot. Measure detection accuracy, false alert rates, alert speed, and human response times on your own feeds. Keep compliance at the forefront. Align to NFPA guidance, your local marshal’s expectations, and GDPR where applicable.
Position fire and smoke detection from cctv as a proactive, visual tripwire that complements, not replaces, alarms and sprinklers. Finally, standardize alert routing and evidence capture. Every event should be video‑verified, auditable, and easy to analyze for continuous improvement.
Add continuous tuning to your plan. Lighting, humidity, and merchandising change often. A monthly 15‑minute review keeps results sharp.
What to Do This Week
Audit two stores, pick two vendors, and schedule a proof. Set your alert routing. Document your SOP. Ask your insurer how video‑verified detection can help premiums in 2026.
Then, expand with confidence. As you do, capture before and after metrics. The impact of fire and smoke detection from cctv should be clear to operations, safety, and finance.