

Airports and metro operators evaluating intrusion and perimeter breach detection need a plan that balances open public spaces with tightly controlled sterile zones. In this guide, we break down how to align policies, technology, and response workflows. The goal is to deliver fast, reliable alerts with video proof without overwhelming teams with false alarms.
Schedule a free 30‑min consult →. For formal guidance, reference TSA directives, EU AVSEC regulations, and CISA’s transportation sector advisories. Cite them in your policy docs even if you do not link them publicly.
Unique challenges for intrusion and perimeter breach detection
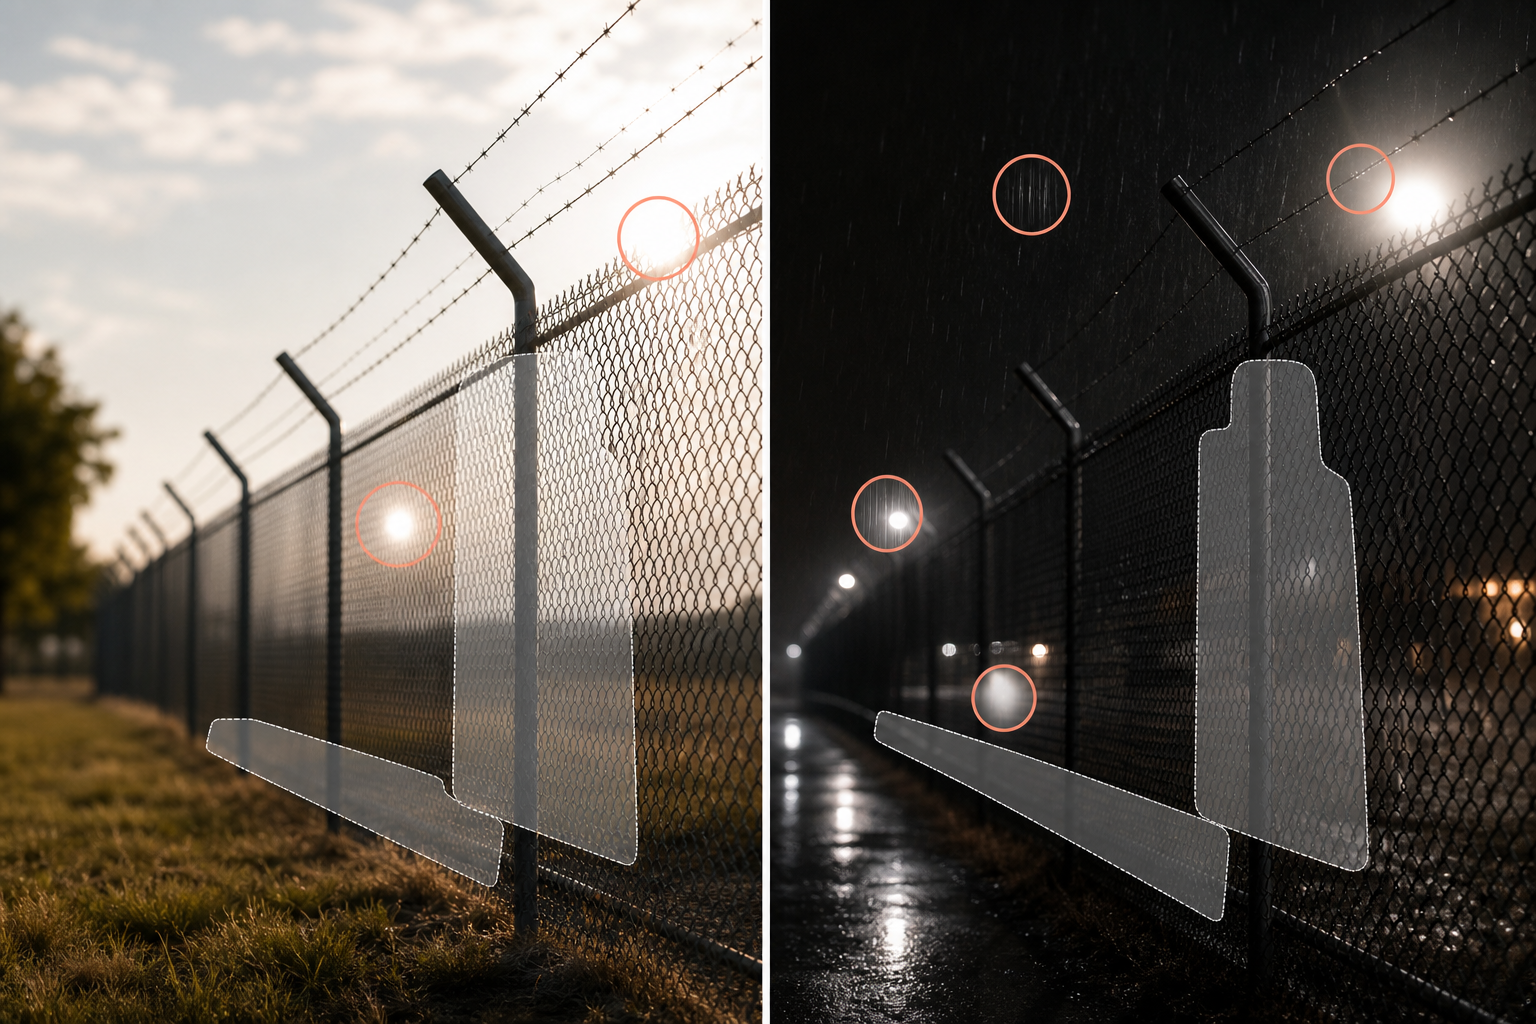
Open public flow sits inches from sterile areas and doors. That means your analytics must distinguish routine movement from true threats with surgical precision. Environmental noise such as rain, glare, vibration, wildlife, and heat shimmer frequently spikes false alarms.
It is essential to build rules that recognize local conditions and ignore predictable clutter. Finally, 24/7 operations demand sub-5-second, operator-ready alerts with evidence. If a guard has to wait or hunt for context, you lose precious seconds.
Adding to the above, passenger volumes fluctuate sharply by hour and season. These changes alter background patterns the AI must learn and require active model tuning. Ramp operations introduce specialized vehicles and PPE that differ from public areas.
Tailored detection classes and rules are a must. Because maintenance, concessions, and tenant operations shift often, you also need configuration-as-code or versioned rule sets. Changes must be traceable and reversible to keep trust.
- Complicating factors to model early:
- High-reflection glass walls near sterile zones
- Night lighting that creates noise and compression artifacts
- Wildlife near fence lines and stormwater ponds
- Construction phases that move barriers week to week
- Seasonal glare angles and weather-driven movement patterns
Pro tip: Treat every fence line and sterile boundary as a product. Give it owners, SLAs, and a change log. That discipline pays for itself during audits and post-incident reviews.
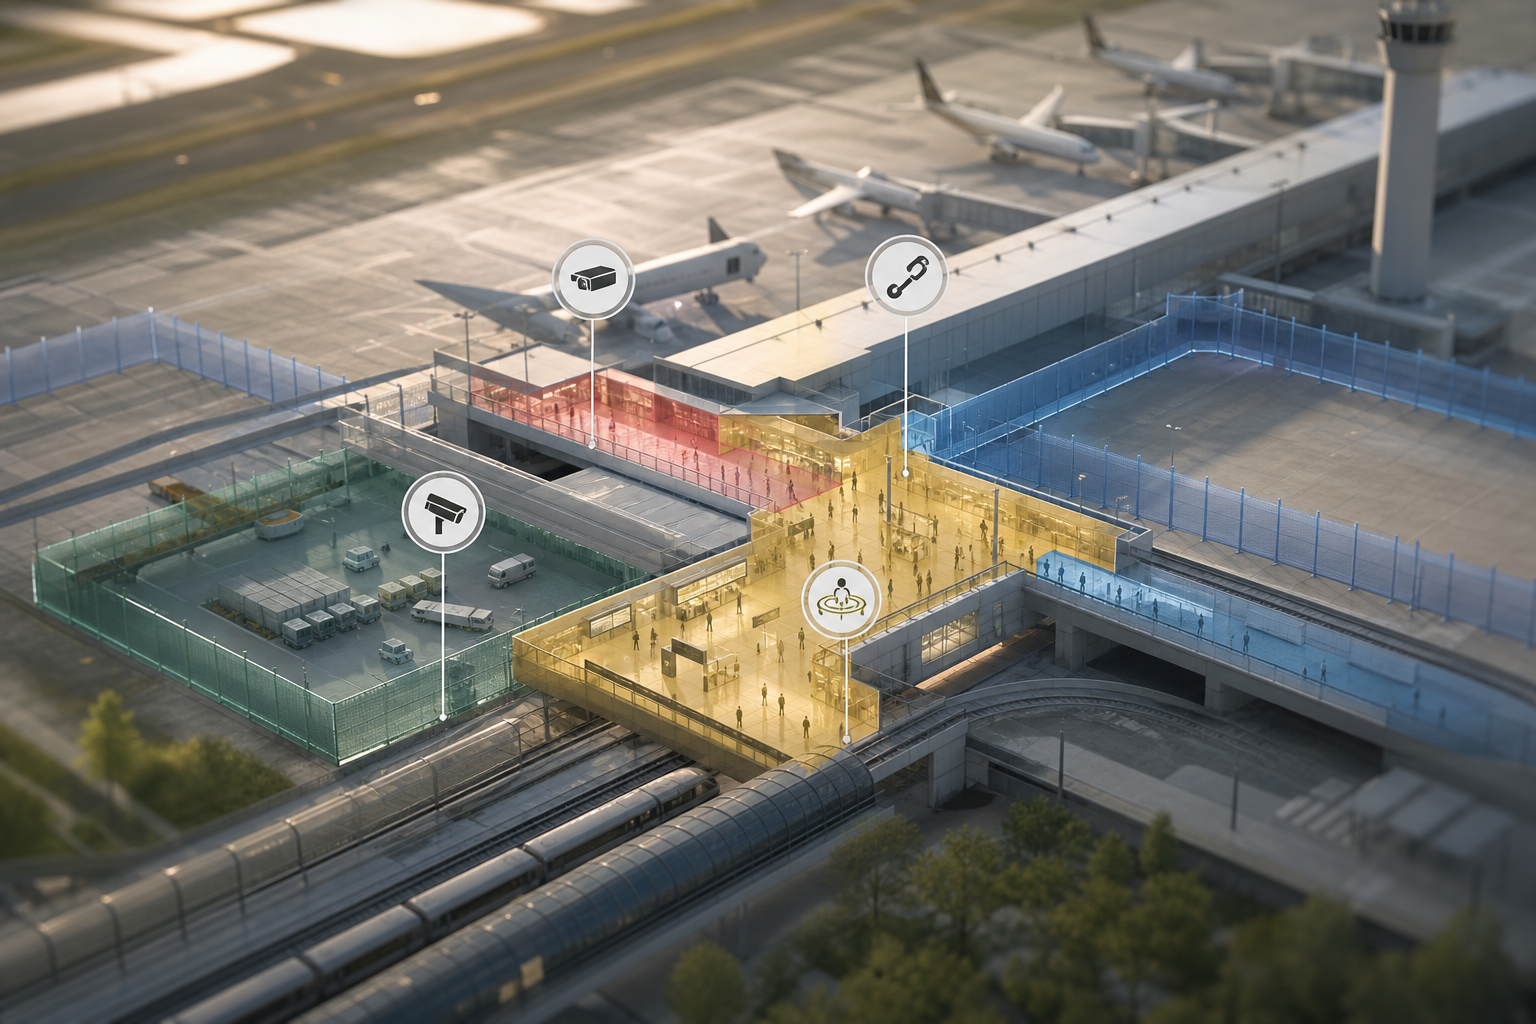
What you will learn about intrusion and perimeter breach detection in this guide
- How to map zones and choose between virtual tripwires and time-in-area logic
- How to set a sub-5-second alert budget you can actually measure and enforce
- Where to run AI (edge, on‑prem, cloud) and how to plan failover paths
- How to cut false positives without missing real intrusions
- Which pilot metrics convince leadership to scale beyond a few cameras
- How to create operator playbooks that shrink acknowledge-to-dispatch time
Also Read!
How to Choose Fire and Smoke Detection Security Cameras for Retail Stores and Chains
7 Steps to Evaluate and Deploy Intrusion Detection Cameras for Transit Environments
Choosing AI for intrusion and perimeter breach detection works best as a staged plan. You map risk. You use what you have. You add only what you need. Then you prove results before you scale.
Step 1: Map your perimeter zones
Start with a walking survey. Mark hard perimeters such as fences, airside service gates, maintenance doors, and yard boundaries. Mark soft perimeters such as platform edges and concourse-to-sterile boundaries.
Decide where a virtual tripwire makes sense versus a zone that detects time-in-area. For example, place a tripwire along a rail catwalk. Use a zone around a tug-only lane on the ramp.
Add context layers to your map. Note lighting conditions (day, night, IR) and nearby reflective surfaces. Tag typical crowd density and periods of scheduled maintenance.
Record camera mounting heights and potential occlusion sources such as signage, seasonal decorations, and temporary hoardings. This extra context will inform which analytics and thresholds to apply per zone. It also helps you preempt false positives before they start.
- Quick mapping checklist:
- Draw exact intrusion lines and sterile boundaries on a floor plan
- Capture photos at day and night from each camera viewpoint
- Note sightline blockers and seasonal decor spots
- Identify areas where cameras share coverage for handoff logic
- Mark high-wind or vibration zones that may require stabilization
Step 2: Audit your existing cameras for intrusion detection
List every IP camera by brand, model, field of view, and connectivity. Flag analog gear. Many airports already own cameras that can feed AI via RTSP or your VMS. Your goal is to use overlays where possible and swap only where angles, resolution, or stream reliability fail the use case.
Where possible, capture stream specs such as codec, bitrate, resolution, FPS, and keyframe interval. Record any bandwidth constraints on the relevant network segments. Identify cameras with variable bitrates that tank under low light. If compression artifacts increase at night, AI accuracy will degrade.
Plan fixed bitrate or adaptive thresholds in those zones. Confirm NTP time sync across cameras and servers to keep event timestamps aligned for audit trails. If you operate multiple sites, verify time zones and DST behavior as well.
- Camera performance red flags:
- Frequent I-frame gaps or unstable GOP structure
- Motion blur at night due to long exposure times
- Unreliable PoE switches causing micro-outages
- Firmware versions with known RTSP bugs or memory leaks
Step 3: Define use cases beyond basic intrusion
Intrusion is clearer when you add context. Pair perimeter breach rules with unattended baggage detection in concourses, tailgating detection at badged doors, line-cross at sterile boundaries, loitering in tunnels, and unauthorized vehicle detection near gates. Layering cuts false positives and speeds action.
Consider operational add-ons that create value outside security. Examples include crowding detection at security checkpoints, slip-and-fall detection in wet weather, and vehicle counting at service roads. These added detections help justify budget and keep stakeholders engaged in the pilot. When rules interact, document priority. For example, unattended-bag alerts should not be suppressed by crowd density rules in high-risk zones.
- Cross-signal design ideas:
- Link sterile-boundary tripwires with tailgating at nearby doors
- Suppress vehicle alerts during scheduled pushback windows
- Elevate intrusion severity if an alert co-occurs with a nearby forced-door event
- Use people-count deltas to raise suspicion for loitering near closed areas
Step 4: Set alert latency requirements for perimeter breach detection
In transit, seconds matter. Set a hard bar for alert speed. Sub-5-second delivery is a fair benchmark for actionable response in a control room or mobile dispatch. Tie this to response SLAs so teams know what “good” looks like.
Break latency into components you can measure. The key parts are detection (model inference time), packaging (clip generation and metadata), transport (network), and presentation (VMS or alert client). Establish budgets for each. For example, aim for less than 1.5 seconds for detection, under 1 second for packaging, under 1 second for transport on LAN or WAN, and under 1 second for client display. Instrument dashboards to spot where delays creep in after updates.
- Latency budget at a glance:
- Model inference: 0.6–1.
- Clip packaging: 0.4–1.
- Network transport: 0.3–1.
- Client render and alerting: 0.3–1.
- Total target: ≤ 5.
Step 5: Plan your integration architecture for intrusion and perimeter breach detection
Choose where the AI runs:
- Edge: on-camera analytics reduce bandwidth. Model updates can lag and vary by brand. – On-prem servers: centralize control.
They need rack space, GPUs, and upkeep. – Cloud overlay: fast to deploy and scale across sites. It relies on stable uplinks.
Match the approach to each zone. Remote depots with spotty links may need edge. A centralized airport SOC with redundant links can benefit from cloud flexibility.
Plan for identity and access management. Use SSO with role-based permissions so security managers, operators, and IT admins see the right controls. Decide how alerts flow: VMS alarms, messaging apps, email or SMS, or dispatch CAD. Validate failover paths.
What happens if the cloud link drops or a GPU fails? Define retention policies by detection type to align with privacy requirements. Test export paths to ensure evidence bundles are standardized across tools.
Alert delivery paths and resilience for intrusion and perimeter breach detection
- Primary channels: VMS alarm panes, SOC dashboards, and mobile push for field units
- Secondary channels: secure email, SMS, and dispatch CAD with incident codes
- Failover: local logging and delayed delivery when links recover, plus on-camera snapshots
- Evidence policy: 10–20 s clips with timestamps, camera IDs, and location tags by default
- Chain of custody: immutable logs for who viewed, exported, or deleted clips

Step 6: Build your false-alarm reduction plan for intrusion detection
Require pattern recognition that learns baseline behavior. A fixed threshold that ignores seasonality and time of day will over-alert. Insist on Customizable Time Thresholds so a bag must be still for X seconds before alerting. Codify different timers for concourses, platforms, and airside corridors.
Use Zone-Based Monitoring to exclude escalators, glass glare, and public queuing areas where motion is expected and not suspicious. This one design decision often cuts a double-digit percentage of nuisance alerts. Make “test and tune” a formal step, not an afterthought. Schedule it as a recurring task with named owners and documented change rationales.
Augment your tuning with schedules and dynamic context so the system behaves more like an experienced operator than a rigid sensor. For example, suspend vehicle alerts during known maintenance windows. Adjust sensitivity during rush hours when a higher density of valid targets is expected. Use object-class filters so birds or wind-blown debris do not register as human intrusions.
Treat false alarms as data. Each tagged nuisance alert is a training example that helps your intrusion and perimeter breach detection mature in your unique environment.
Favor models that distinguish between personnel in high-visibility PPE and unauthorized persons in civilian attire when you can. Log every tuning change with a reason code and observe its impact on the false positive rate week over week. Then roll successful settings to similar cameras via configuration templates to prevent drift.
Just as importantly, define a feedback loop that turns each false positive into training material. Require operators to tag false positives at disposition time with standardized reasons such as glare, wildlife, maintenance, or camera vibration. Review these tags in weekly standups with operations and IT so you can resolve root causes.
Sometimes the right fix is a hood on a light or a tightened mount, not another rule. Over time, this process reduces noise while preserving sensitivity to real perimeter breaches. That outcome is the core promise of intrusion and perimeter breach detection in complex transit environments.
- Standard disposition reasons to use:
- Wildlife at fence line (bird, fox, deer)
- Light glare or sudden reflection on glass
- Maintenance crew within a known window
- Camera vibration from wind or equipment
- Compression artifact at low light
- Occlusion by cleaning cart or signage
Step 7: Establish a pilot-to-scale roadmap for perimeter breach detection
Start with the highest-risk zone for 30 days. Track detection accuracy, false positive rate, alert latency, mean time to acknowledge, and mean time to respond. Document rule tweaks and what they changed. Then expand to adjacent zones with similar layouts and lighting. Keep the playbook identical where conditions match.
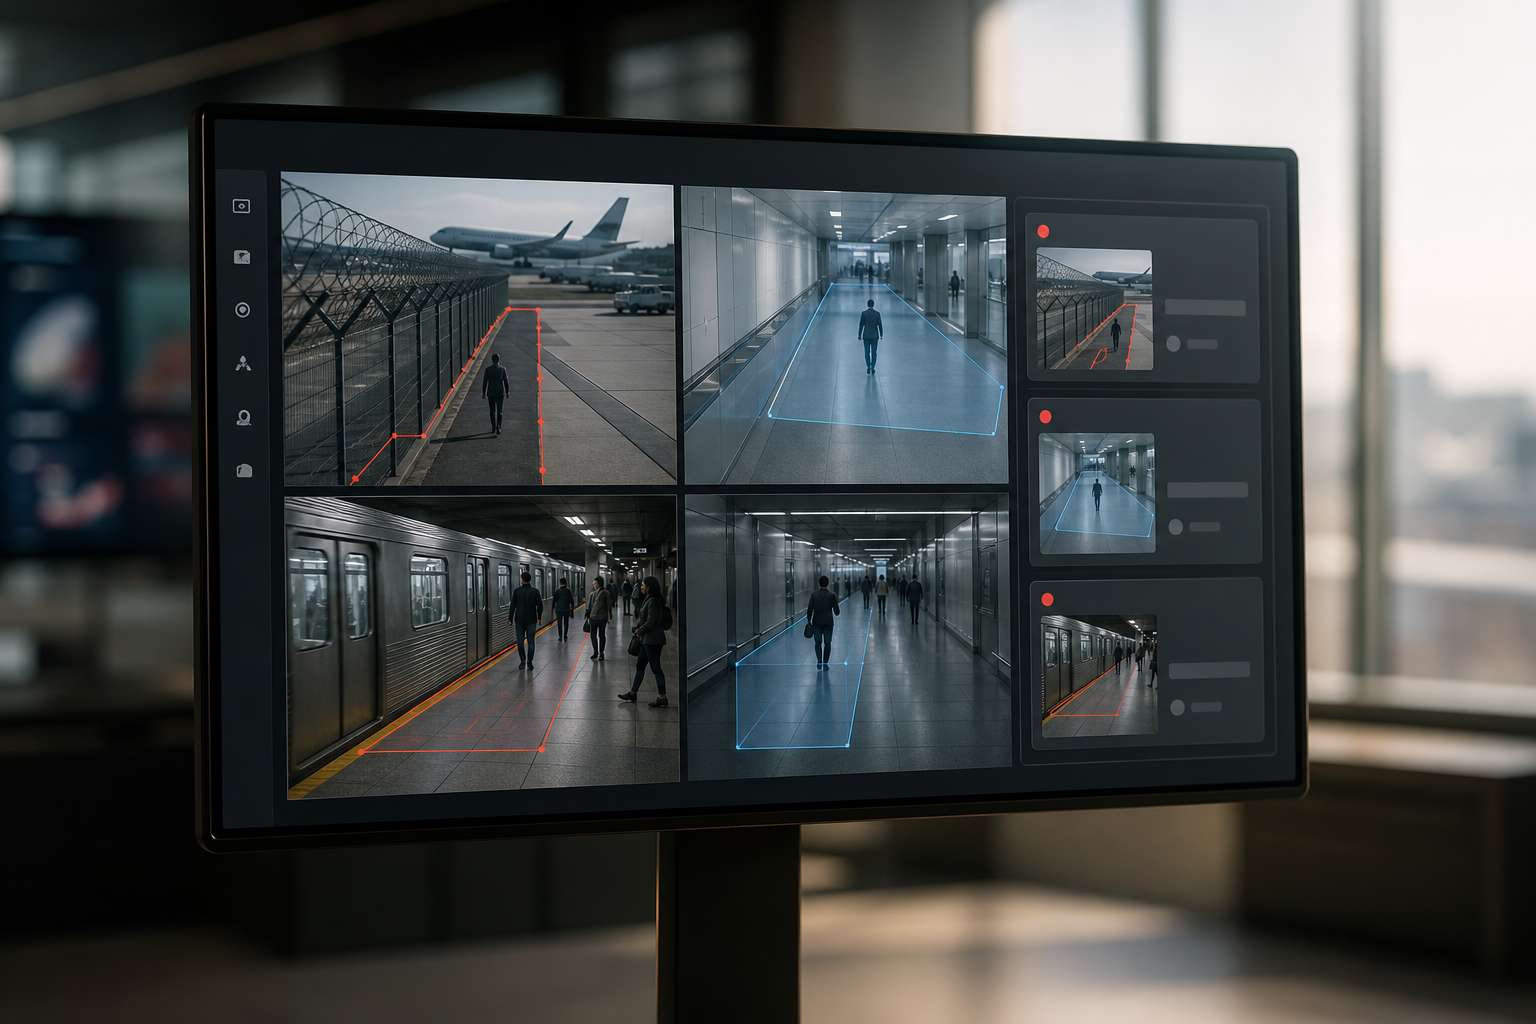
Pilot metrics to track for intrusion and perimeter detection
Treat your pilot like a miniature operations lab and watch a concise but meaningful set of indicators. Detection accuracy should trend up week over week as you refine angles and thresholds. Capture not just a single number but per-use-case accuracy such as tripwire versus time in zone.
The false positive rate should trend down with each tuning pass. If it does not, pause new zones until you resolve the cause. Alert delivery latency should reliably meet your sub-5-second goal.
Break out median versus 95th percentile to surface outliers. Also track acknowledgement and response times by shift. Verify the percentage of alerts with auto-captured video evidence attached, since clips with timestamps and camera IDs let operators act decisively in seconds.
Decision signals leadership cares about
Add operational metrics that matter to leaders so the program wins sustained support rather than being seen as a one-off project. Report the percentage of incidents resolved without dispatch due to video clarity. Fewer unnecessary rollouts save budget immediately. Include the number of escalations to law enforcement and the average time to handoff. This demonstrates that serious events are surfaced quickly and cleanly.
Show reduction in perimeter breaches compared to a baseline period to quantify true risk reduction. Measure operator workload per shift (alerts per hour) alongside alert disposition quality. That balance ensures you are improving both safety and staff experience. When leadership can see both risk and efficiency gains, expansion approvals come faster.
- Evidence quality audit items:
- Clip includes pre-event and post-event frames
- Overlay shows camera ID and exact location tag
- Time source verified against NTP
- Snapshot thumbnail loads in under 1 second
- Mobile link plays without buffering on LTE/5G
Get a free pilot scoping today →, and object detection gives better context and fewer dead ends. The right overlay will let you stand up a pilot on your existing cameras. You can create a fair, side-by-side comparison with legacy alarms. When you can point to empirical gains across accuracy, latency, and response, the path from pilot to production becomes a straightforward budget conversation rather than a leap of faith.
Ignoring the environment is next. Rain, fog, train vibrations, ramp heat shimmer, and glass glare all spark false alerts. You need AI that learns local baselines and a test plan that spans day, night, and weather shifts. Otherwise, your overnight crew will mute the channel by week two.
Over-relying on human watch is another risk. Research and field reports agree that attention on a video wall dips fast, often within 20 minutes. The system must push alerts with video clips, timestamps, and location tags so operators can act. A live link and a 10–20 second clip improve decisions on the first glance.
Forgetting workflows stalls good detection. An alert does nothing if it lands in an empty inbox. Define who gets pinged, what evidence attaches, and expected response time. Require Auto-Captured Video Evidence with timestamps and camera locations so the incident log writes itself.
Common architecture mistakes to avoid in intrusion and perimeter breach detection
Choosing hardware-locked vendors paints you into a corner. Airports and transit systems evolve for decades. Favor vendor-agnostic, cloud-capable platforms that integrate with existing IP-based CCTV without add-on hardware. That preserves budget for real risk, not forklift upgrades.
“Unattended bag alerts help us catch potential threats instantly in crowded platforms. It buys us time and improves passenger safety.” — Rakesh Mehra, Transit Operations Head
Furthermore, ask for analytics that feed planning, not just alarms. Heatmaps and analytics help you spot hot spots and argue for staffing or physical changes. A low false alarm rate through pattern recognition is not a promise. It is a design choice you can test in your pilot.
Common pilot pitfalls to avoid in perimeter breach programs
Teams often skip nighttime validation or bad-weather runs. They then get surprised by glare, rain, fog, or headlights the first week after go-live. Another pitfall is letting each site admin freehand rules. That choice creates inconsistent data and leads to configuration sprawl that is hard to support or compare across zones. Many programs fail to integrate alerts with the dispatch workflow, forcing operators to swivel-chair between apps.
Those seconds matter at the fence line. Others never measure baseline false positives and response times, which leaves leaders without before-and-after proof and sets the pilot up for subjective debate. Finally, some underestimate camera placement issues. Analytics cannot fully overcome a terrible angle or soft focus, so fix physical problems early.
Also Read!
VideoraIQ vs Verkada for Retail Chains: Which Is Better for Fire and Smoke Detection via CCTV?
Tools and Platforms for AI-Powered Intrusion Detection in Transportation
You have four broad categories to choose from. Each has trade-offs in speed, upkeep, and scale. Match the tool to the job and your network reality.
Edge-based analytics sit inside the camera. Examples include Axis ACAP and Hanwha Wisenet apps. They lower bandwidth use and add resilience at remote sites. However, model updates depend on camera firmware. Features vary by brand and chip.
VMS-integrated analytics live in your video platform. Genetec Security Center and Milestone XProtect can run third-party intrusion, line-cross, and object detection plugins. You get central control. You will need server capacity and GPU planning to keep latency low.

Cloud-based AI overlays use your current cameras. Tools like VideoraIQ fall in this camp. They work with existing cameras across 200+ brands, deliver under 3 seconds alert latency, and do not require on-premise servers. The platform bundles nine AI detection engines, including intrusion detection, line-cross detection, unauthorized access, and unattended baggage.
It also provides real-time alerts with video proof and supports Zone-Based Monitoring and Customizable Time Thresholds. For scale and proof, it monitors 10,000+ cameras and is deployed in 7+ countries. For privacy, it is GDPR compliant and HIPAA compliant. The Enterprise tier supports unlimited cameras and custom AI models with 90-day cloud retention.
Purpose-built perimeter sensors complement cameras. Fiber-optic fence detection platforms (e. g., Optex) and radar-camera fusion systems (e. g., Magos) excel in wide, sparse areas. They add cost and integration work but shine for long-line fences and low-visibility zones.
| Architecture Type | Strengths | Trade-offs |
|---|---|---|
| Edge (on-camera) | Low bandwidth, resilient at remote sites | Model updates tied to camera, mixed features by brand |
| VMS-integrated | Central control, single-pane admin | Server and GPU spend, maintenance load |
| Cloud overlay | Fast rollout, cross-site scale, <3s alerts | Needs stable uplink, network design matters |
| Purpose-built (fence/radar) | Long-range detection, low-light strength | Higher cost, specialized integration |
Therefore, evaluate based on your current cameras, network, budget, and whether you need a multi-use platform (intrusion plus baggage plus access control context) or a single-purpose perimeter tool. In 2026, many teams land on a hybrid. They use edge at remote yards, cloud in the SOC, and targeted fence sensors for blind corridors.
Finally, document data handling. If you use face recognition or store passenger-related clips, ensure policy alignment. Cite your GDPR and HIPAA posture in your approvals. Keep your DPIAs current as features expand.
Decision criteria checklist for intrusion and perimeter breach detection
- Does the platform support your current camera brands via ONVIF and RTSP?
- What is the measured median and 95th percentile alert latency in your network?
- How are model updates delivered and verified across mixed hardware?
- Can you export audit logs and chain-of-custody records on demand?
- What happens during WAN loss, GPU failure, or camera reboot?
- Do you have role-based controls for tenants and contractors?
Latency and network design checklist for intrusion detection
- Place inference close to the camera stream for the most time-critical tripwires.
- Use wired backhaul for fence lines where possible. Validate LTE/5G throughput and jitter if wireless.
- Enforce QoS for alert traffic so bursts of archival recording do not delay notifications.
- Keep RTSP keyframe intervals short (2–4x FPS) to speed clip generation without bloating bandwidth.
- Monitor packet loss, round-trip time, and CPU or GPU use. Alert on sustained deviations.
Privacy, compliance, and auditability notes
Minimize data where feasible by cropping to the event zone. There is rarely a need to keep full-frame footage for minor operational incidents. When policy requires, blur bystander faces and any PII-bearing surfaces to balance safety with privacy. Apply explicit retention tiers so operational evidence is kept for 30–90 days. Govern training data with stricter access controls and longer review cycles.
Centralize audit logs that record who viewed, exported, or deleted clips. Also log who acknowledged alerts and when. This practice creates a defensible chain of custody that supports both compliance and investigations. Perform DPIAs (Data Protection Impact Assessments) for new analytics or cross-border processing. Train operators on privacy-by-design so clips are shared externally only when necessary and authorized.
Privacy by design is not a checkbox. It is a habit you reinforce in tooling, training, and reviews.
What to Do This Week: Your Intrusion Detection Readiness Checklist
You can make real progress in five business days. Treat this as the start of a 90-day evaluation cycle for intrusion and perimeter breach detection.
- Walk the perimeter. Photograph every access point, fence line, platform edge, and restricted boundary. Build a zone map and tag each area with a risk rating (high, medium, or low).
- Pull your camera inventory. List each IP camera by brand, model, resolution, field of view, and stream availability. Mark legacy analog gear and note any encoders.
- Quantify false alarms. Request the last 90 days of alarms from your VMS or the guard log. Calculate a baseline false positive rate you will try to cut in the pilot.
- Align on use cases and speed. Meet with operations, IT, and security to agree on detection types (intrusion, line-cross, tailgating, unattended baggage). Agree on acceptable alert latency and target sub-5 seconds. Decide who gets alerts and how.
- Shortlist your pilot vendors. Choose two or three options across architectures (edge, VMS-integrated, cloud overlay). Ask for a 30-day pilot in your highest-risk zone with clear success metrics: accuracy, false positives, alert latency, acknowledgement, and response times.
Key notes for the next 90 days of intrusion and perimeter breach detection
Start small but measure hard. Tune zones weekly and record every change so you can correlate tweaks with results. Require alerts with video evidence, location tags, and timestamps. Proof at the first glance speeds triage across all shifts.
Add context detections (bags, line-cross, tailgating) before you scale so your perimeter signal is reinforced by nearby behaviors that raise or lower risk. Use analytics heatmaps to plan staffing and physical fixes. Then validate that operational changes actually reduce alert volume where intended. Finally, keep one architecture decision per risk zone to avoid sprawl and make long-term support predictable for IT and security.
- Early wins to target:
- Reduce average acknowledgement time by 20–30% via clearer alert cards
- Cut nuisance wildlife alerts by 50% using exclusion masks and class filters
- Normalize latency across shifts by tuning client render and notification settings
- Pilot a standard SOP template for concourses vs.
Get a free perimeter review today → per risk map. In the middle weeks, run day, night, and weather tests. Adjust thresholds and exclusions as you learn where glare, vibration, or rain degrade performance.
Do not hesitate to update camera mounts or add lens hoods if the environment demands it. Stand up alert channels (VMS, mobile, email or SMS, dispatch CAD) so operators receive notifications in the tools they already trust. Confirm that permissions are correct for every role involved in acknowledgement and escalation.
Mid-pilot milestones and reporting cadence
Week 7–8: Prove outcomes by presenting KPI trends. Accuracy should be up, false positives down, and latency stable across shifts and conditions. Stakeholders should see the trajectory rather than a single snapshot. Share incident reels with evidence, acknowledgements, and response notes.
- Mid-pilot checklist:
- Publish weekly KPI dashboards with median/95th latency
- Hold a cross-functional review with operations, IT, and security
- Freeze successful rule templates and document version numbers
- Validate export paths and chain-of-custody logging with a mock investigation
Show how the system helped avoid a breach or shortened a response. Document change log details and finalize deployment patterns per zone type. Specify which rules and thresholds become the standard for concourses, airside corridors, fence lines, and rail platforms.
Scale-up SOPs and governance
Week 9–12: Scale in a controlled fashion by expanding to adjacent concourses and perimeter segments. Use templated rules that you have already proven in similar lighting and traffic. Train additional operators. Publish SOPs and a runbook for triage and escalation so new staff can achieve consistent results within their first shifts.
Schedule quarterly model and ruleset reviews. Assign owners across security operations and IT so maintenance does not become ad hoc. Include a plan for handling firmware updates and camera replacements without breaking analytics.
Also Read!
Best Fire Smoke Detection Security Camera for Retail Stores and Chains in 2026
Best Intrusion Detection Security Camera for Retail Stores and Chains in 2026
Operator playbooks that reduce intrusion alert response time
First-glance triage should be fast, structured, and repeatable. Operators verify the alert card data, camera ID, location tag, timestamp, and detection type before they do anything else. This step prevents confusion about where the incident is unfolding. They then play the auto-captured 10–20 second clip to confirm object class and direction of travel. Check whether the subject is approaching or retreating from a sterile zone.
If confirmed, operators escalate using pre-defined codes (e. g., “Fence Breach A2-East”). That way dispatchers and field teams understand severity and location at a glance. A concise triage workflow like this prevents dithering. It also creates a clean record for later review.
Dispatch coordination benefits from precise, timely information packaged with the alert. Share the clip link with mobile units and include the nearest access gate and a recommended route. This step saves time in back-of-house corridors. If the intrusion trends toward a sterile zone, trigger strobe or PA or lock-down routines according to policy. Having these automations pre-wired reduces hesitation in high-stress moments.
Record the response outcome and time-to-arrival for audit and model feedback. The system learns from each dispatch. You can then justify procedural changes with data. Consistency here narrows the gap between detection and hands-on mitigation.
- Triage checklist for operators:
- Verify camera ID, zone name, and timestamp
- Play clip once, then scrub key frames for object class
- Confirm direction of travel and proximity to sterile boundary
- Select disposition code and escalate if confirmed
- Attach any operator notes for later review
Technical validation tests to include for intrusion and perimeter breach detection
- Camera angle and occlusion test: confirm a 1.8 m subject is visible head-to-toe at critical lines.
- Low-light and IR test: validate accuracy at 5 lux and below. Check for bloom and smear.
- Glare and reflection test: simulate headlights and moving sun patches on glass.
- Vibration test: observe analytics with passing trains or ramp equipment idling.
- Packet loss tolerance: introduce 1–3% controlled loss and verify alert continuity.
- Failover test: disconnect primary uplink. Verify edge, on-prem, and cloud fallback behavior.
- Stream stability test: vary bitrate and GOP length to check model robustness.
- Operator workflow drill: time the path from alert to dispatch across shifts.
Budgeting and total cost perspective for intrusion and perimeter breach detection
Adopt a reuse-first strategy by overlaying AI where RTSP-ready cameras meet angle and resolution needs. Redeploying what you own accelerates pilots and compresses payback time. Prioritize high-risk zones for new cameras or fence sensors.
Defer low-risk upgrades to later phases so capital flows to the areas that cut the most risk per dollar. Include soft costs such as GPU power and cooling, firmware maintenance windows, and staff training time in your estimates. Undercounting these items makes pilots look cheaper than production and can stall expansion later.
Expect OPEX for cloud overlays to map to camera count and retention. Compare that to the CAPEX-heavy profile of on-prem architectures that require GPU servers, storage, and periodic refresh cycles. Tie ROI to specific outcomes. Examples include reduced guard dispatches, faster breach containment, and compliance-ready audit trails that shorten investigations. Finance leaders can then connect improved safety to measurable operational savings.
- Line-item reminders for TCO:
- GPU lifecycle and power budget in watts per stream
- Cooling load and rack space for on-prem deployments
- Uplink redundancy (dual ISP or 5G failover) costs
- Training time per operator and turnover assumptions
- Annual model update cadence and validation testing
Frequently asked questions about intrusion and perimeter breach detection
Multi-tenant operations
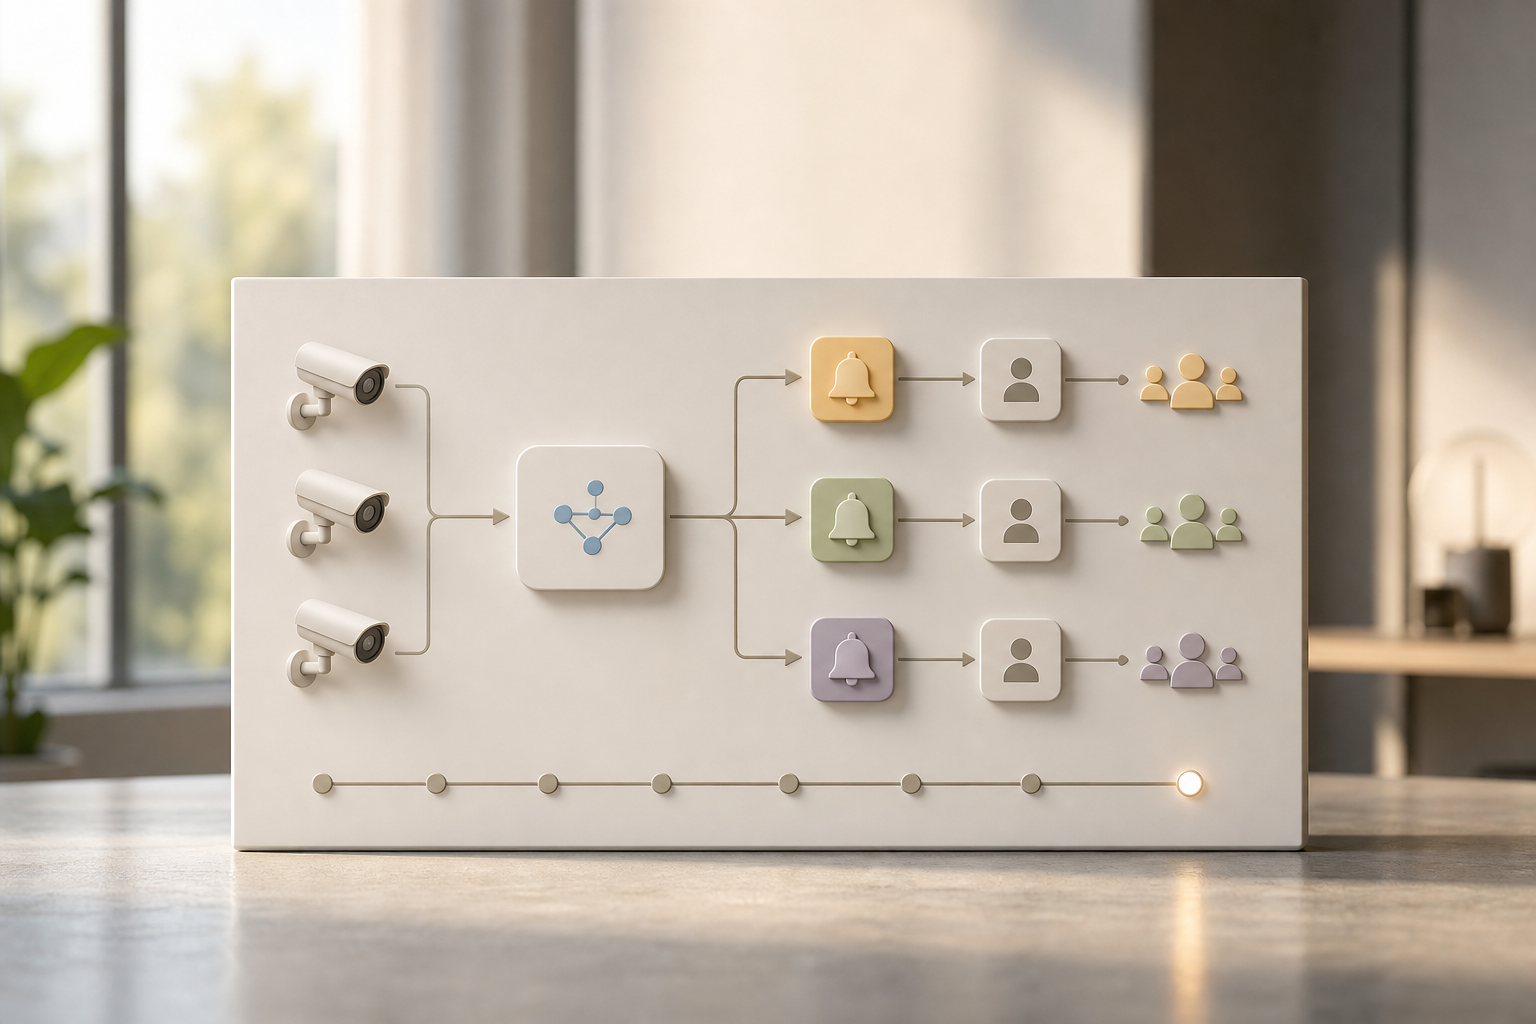
How do we handle multi-tenant areas? Create tenant-specific zones with tailored alert recipients and operating hours so each stakeholder receives only the events relevant to their footprint. Use shared cameras with segregated views and permissions to respect privacy and contractual boundaries, and document what each tenant can see and retrieve for audits. When possible, tag alerts with tenant IDs or location codes to simplify dispatch and after-action reporting. If tenants have separate SOCs, use API-based forwarding so their teams receive alerts in their native systems without duplicating analytics.
Vendor and interoperability
Can we mix vendors? Yes. Favor vendor-agnostic platforms and standards such as ONVIF and RTSP so you can ingest streams from mixed fleets without brittle workarounds.
Test feature parity and latency across brands in your environment. Identical specs on paper can behave differently under low light or high compression. Avoid single-brand lock-in that slows model updates or forces forklift upgrades. A heterogeneous strategy gives you flexibility and resilience. Keep a documented compatibility matrix so procurement and operations stay aligned as you scale.
Accuracy and performance
What accuracy should we expect? In well-instrumented zones with good angles and thoughtful tuning, high 90s for targeted detections is achievable during steady-state operations. Publish your baseline during the pilot and require weekly trend improvements rather than fixating on a single pass-or-fail threshold.
Segment accuracy by use case (tripwire, time in zone, tailgating) so you see where the system excels and where extra tuning or sensor coverage is needed. Remember that accuracy is not static. As seasons change and maintenance schedules shift, revisit thresholds and camera settings to keep performance high.
Accuracy is a moving target. Make trend lines your north star, not a single snapshot.
Alarm fatigue and operator experience
How do we prevent alarm fatigue? Use layered logic with class filters, time-in-zone thresholds, and schedules to suppress predictable, low-value events at their source. Add suppressions for known maintenance windows. Treat temporary construction areas as separate zones with their own rules so work crews do not overwhelm the SOC.
Require strict evidence with every alert so operators can validate quickly and confidently. Then tune weekly and retire low-value rules as data shows they are not contributing to safety. Combine this with operator training on disposition codes to create a virtuous cycle of fewer, clearer, and more actionable alerts.
Recording pipelines and analytics impact
Will analytics affect recording? Plan GPU and CPU capacity so inference does not starve recording pipelines. Monitor resource use to catch contention before it degrades video quality. For edge analytics, confirm camera firmware stability and test recovery after reboots or power cycles.
Ensure the models start cleanly without manual intervention. Mirror events to the VMS for retention. Validate that clip generation does not interfere with continuous recording settings. Document these behaviors in the runbook so IT and operations know what “normal” looks like in production.
Data sovereignty and localization
What about data sovereignty? If you operate across regions with data localization rules, choose deployments that keep processing and storage in-region. Document any cross-border transfers in your DPIAs. Encrypt end to end, from camera to inference engine to storage, and rotate keys on a documented schedule to reduce risk.
Where cloud is used, select providers with regional availability that matches your regulatory map. Align your retention with local statutes. Maintain a register of data flows and processors to simplify audits and renewal reviews.
By following these practices, mapping risk precisely, picking the right architecture per zone, enforcing sub-5-second alert SLAs, and rigorously tuning for the environment, you can deploy intrusion and perimeter breach detection that actually helps operators act faster. You will meet compliance requirements and keep passengers and staff safer without drowning in noise.