

Choosing fire and smoke detection from cctv in 2026 is no longer experimental for plants and warehouses; it’s a practical way to capture early smoke plumes and flames at the source before heat-based devices respond. This guide walks operations, EHS, and security leaders through selecting, piloting, and scaling camera-based detection so you gain faster, verified alerts without ripping and replacing existing systems.
Why Traditional Fire Detection Falls Short in Manufacturing and Warehouse Environments
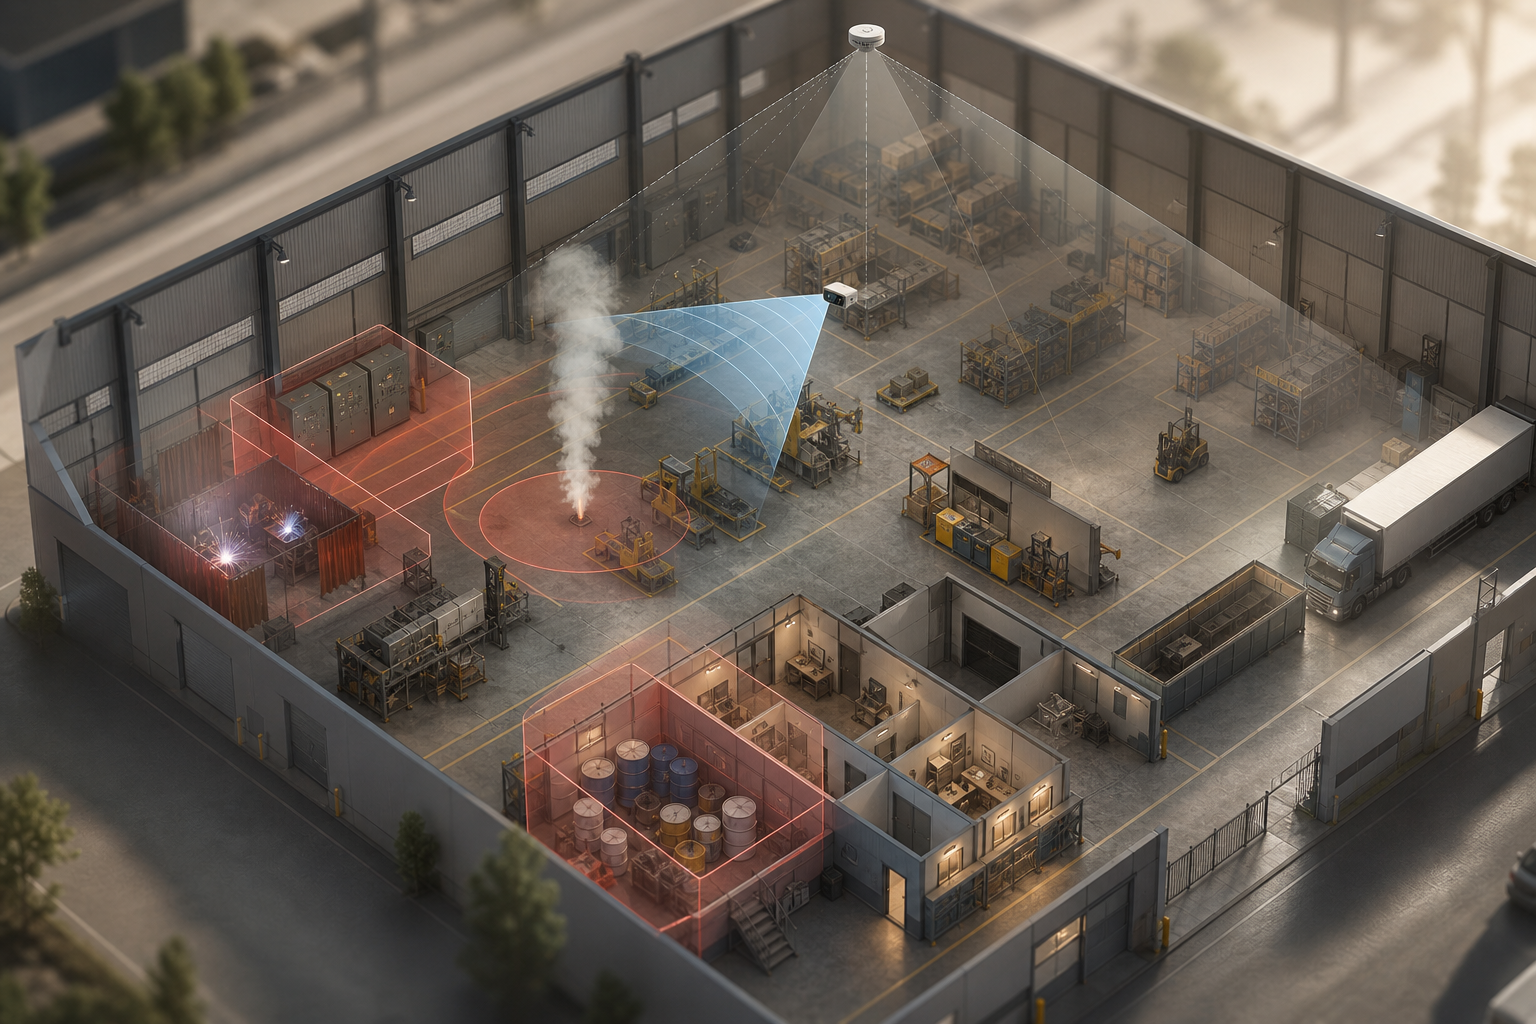
Ceiling sensors are essential, but they were designed for typical ceiling heights and simpler airflow. In a warehouse with 30–50 ft ceilings, warm smoke cools and spreads before it rises. As a result, smoke can meander in stratified layers and take several minutes to reach a detector. Those minutes matter when fuel is stacked in dense racks. In many high-bay facilities, the stack effect and thermal inversion layers further delay ceiling-mounted sensors even when a small fire is actively smoldering at floor level.
High ceilings and complex airflow
Dusty air adds more delay and noise. Ionization smoke detectors can misread airborne particulates and trigger nuisance alarms. In a plant that cuts or grinds, dust loads change hour by hour.
Moreover, open floor plans with HVAC make unpredictable smoke paths. Cross‑docks create pressure gradients that push smoke sideways into aisles or mezzanines instead of up. In winter, make‑up air units can push stratified smoke to remote corners, masking the true point of origin and wasting precious response time.
Flammable stock zones need faster response than code minimums. For example, paper or foam near conveyors can flash and spread along belts. However, sprinkler-only strategies wait for a high heat threshold. By the time a sprinkler head pops, inventory and equipment may already be lost. Even with ESFR or quick‑response heads, activation still relies on convective heat transfer that can lag when smoke cools en route to the ceiling.
Visual detection adds a missing layer. AI on camera feeds can spot early smoke plumes and flame signatures at the source, seconds to a minute before traditional devices see heat or obscuration. This is not a replacement for code systems; it’s a complementary early-warning mesh. And because 85% of CCTV footage is never reviewed, automated detection is the only practical way to turn passive video into action. For best results, facilities pair AI video alerts with existing annunciation paths, so operators can verify and act without guessing.
Reference: See the science behind ionization vs photoelectric sensing on Wikipedia: Smoke detector.
The physics problem at a glance
- High ceilings (30–50 ft) let smoke cool and spread, delaying ceiling hits.
- Dust, steam, and fog can spoof ionization sensors and slow real alarms.
- Racking and fans redirect smoke horizontally, not just upward.
- Sprinklers need heat; they save structures but react late on fast fuels.
- Large volume spaces create thermal stratification that hides early plumes at floor level.
In this context, fire and smoke detection from cctv can fill the “first minute” gap. If a floor‑level camera sees a pale smoke column near a motor control center and alerts in under five seconds, your operator can pull a pin and isolate power before flames spread. That one minute can be the difference between a scare and a shutdown. NFPA research has long highlighted high loss potential in warehouse fires, and faster detection is your only lever before response teams roll. In practice, the earlier you can confirm and communicate a developing event, the more likely you can keep it to an incipient‑stage response with a single extinguisher.
Also Read!
Best Fire Smoke Detection Security Camera for Airports and Transit Stations in 2026
How to Choose an Intrusion Detection Security Camera System for Manufacturing Plants and Warehouses
Step-by-Step Guide to Evaluating Fire and Smoke Detection Camera Systems
Your goal is a faster, cleaner signal, without rebuilding your infrastructure. Use this six‑step plan to compare options head‑to‑head and reduce false alarms before you scale. Think of it as a structured proof-of-value: verify performance on your real cameras, under your lighting, and in your environmental conditions.
Step 1 — Audit your current camera infrastructure
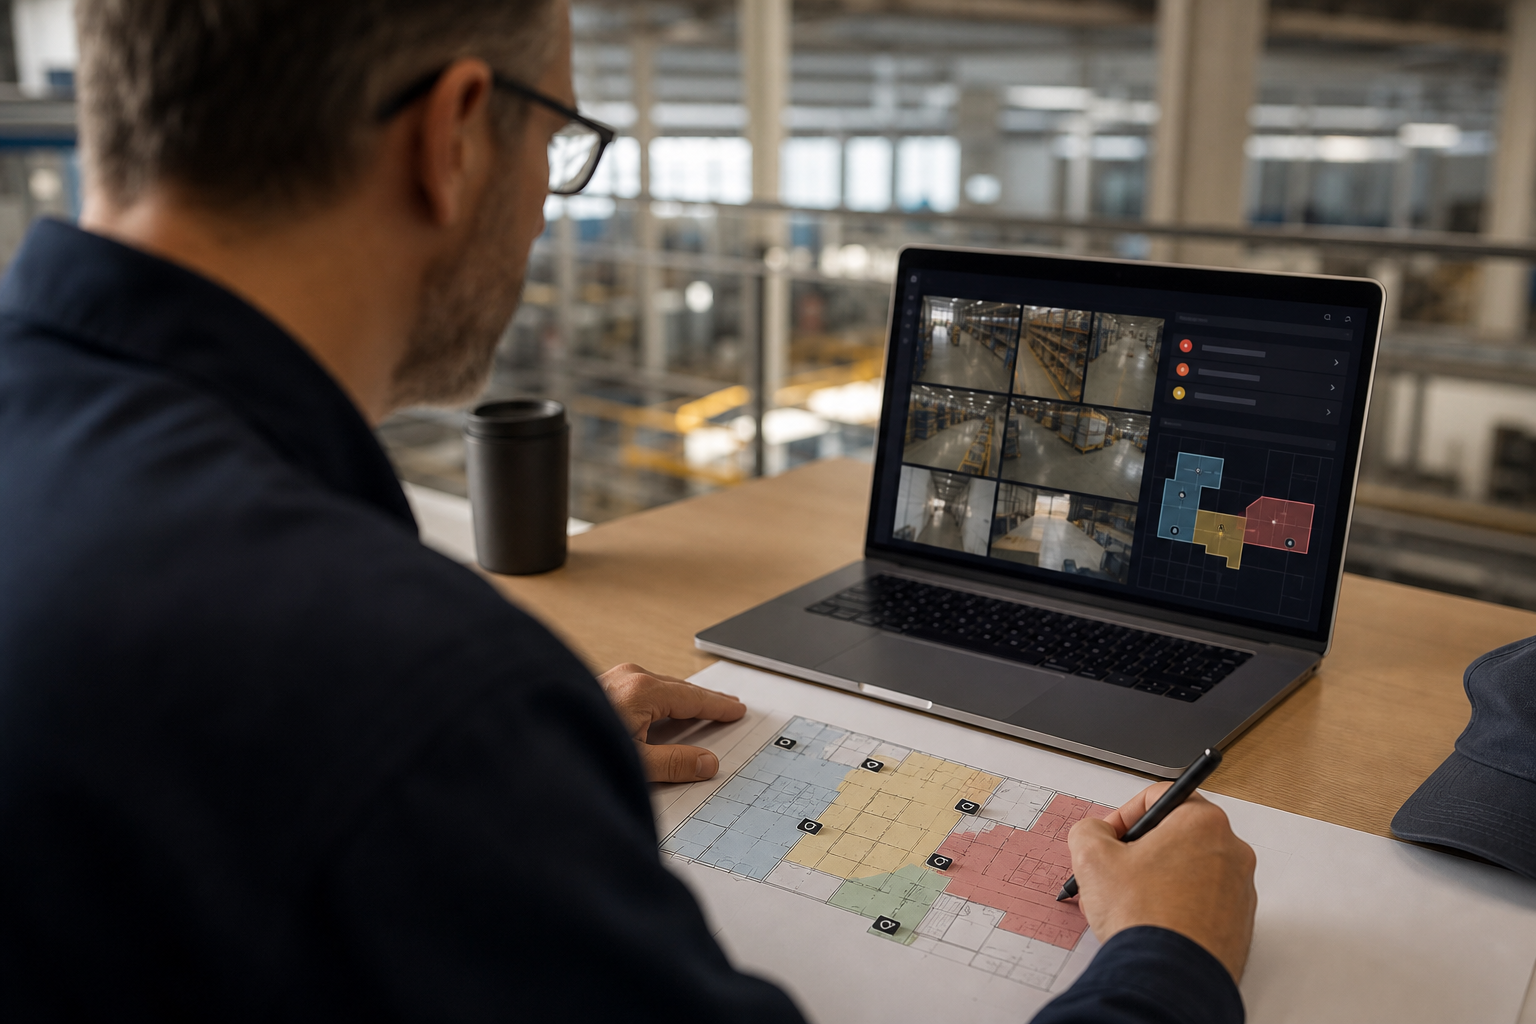
Walk each building with a floor plan. Mark every camera and overlay high‑risk zones: raw material storage, welding stations, electrical panels, compressor rooms, docks, battery charging, paint/solvent storage. Note camera height, angle, and lighting. Identify gaps where early smoke would appear outside the field of view. Document bandwidth and retention policies, and list which cameras have IR, WDR, or low‑light capabilities that can influence night performance.
Step 2 — Define detection needs by zone
Not every area needs the same trigger.
- Paint booths and solvent rooms: ultra‑fast flame detection and alarms under five seconds.
- General aisles: early smoke detection with strong dust/steam discrimination.
- Weld bays: flame detection that ignores arcs but flags off‑pattern fires.
- Battery charging: both smoke and small flame on the floor, with night coverage.
Use “Zone-Based Monitoring” to set virtual regions of interest so detectors watch only the risk area, not walkways or skylights. Consider adding time‑of‑day schedules so shift changes or fogging cycles don’t produce noisy alerts. For seasonal operations, build separate profiles for winter HVAC patterns versus summer ventilation.
Step 3 — Evaluate AI detection features
Look for sub‑5‑second alert latency end‑to‑end. Ask vendors to show side‑by‑side clips that distinguish smoke vs. steam, dust, and fog. Moreover, test flame detection under mixed lighting: sunlight shafts, strobe beacons, arc flashes, and night IR. If they claim <3 seconds alert delivery, verify it with timestamps on real footage. Strong platforms let you tune sensitivity per zone, add dwell‑time thresholds, and require multi‑frame confirmation to avoid single‑frame flicker from welding arcs.
- Request a test matrix: 10+ scenarios including forklift exhaust, heater start‑ups, steam releases, and true incipient smoke.
- Confirm model update cadence and rollback options if a new model spikes false positives.
- Ask whether detection runs per‑camera or per‑stream and how they handle multi‑camera correlation of the same event.
Step 4 — Check integration and camera support
Can the software use your existing IP cameras, or does it require proprietary models? Ask about ONVIF support and how many brands they work with. A platform that works with existing cameras across 200+ brands saves capital and avoids downtime. Confirm whether the system is cloud‑based with no need for on‑premise servers or if you’ll need edge hardware. Verify supported protocols (RTSP/RTMP), authentication methods, and whether dual‑streaming is supported so you can keep high‑res recording while analyzing sub‑streams for speed.
Step 5 — Map alert and response workflow
Early alerts help only if they reach the right person. Push alerts via SMS, email, or dashboard. In addition, ask about integrations with your fire panel or BMS. Each alert should include video proof, location tag, and timestamp for root‑cause analysis and insurance records. Require audit logs you can export on demand. Decide who can acknowledge/clear alerts, set escalation timers, and determine when to auto‑notify supervisors, EHS, or security based on time of day or zone criticality.
Step 6 — Plan a 30‑day pilot in one high‑risk zone
Select 5–10 cameras in your toughest area. Set success metrics: detection speed, false alarm rate, and alert delivery time. Track every alert and classify the source (steam, dust, welding, fogging, true smoke/flame). At 30 days, review results and decide to expand or adjust. Include post‑alert workflows in the pilot, how fast does an operator verify, what steps they take, and how incidents are documented for insurer review.
Side-by-side comparison checklist (fill during demos)
| Criterion | Option A: Cloud Analytics | Option B: Edge Cameras |
|---|---|---|
| Detection speed | <3–5 sec end-to-end? | <3–5 sec on-device? |
| False alarm rate | Dust/steam/weld tests | Dust/steam/weld tests |
| Integration ease | Works with 200+ brands? | Locked to brand? |
| Deployment model | Cloud, no servers | On-prem/edge |
| Cost structure | Per-camera/month + retention | CAPEX + support |
| Evidence & reporting | Video, location, timestamp | Video, logs available? |
| Multi-site scale | Single dashboard? | Site-by-site configs? |
As you shortlist vendors, ask them to walk you through a real incident timeline from first pixels of smoke to alert in your team’s hands. For extra context on cost and rollout patterns, this retail case comparison is helpful: Best Fire Smoke Detection Security Camera for Retail Stores and Chains in 2026.
**Get an instant pilot plan → based on camera count and retention.
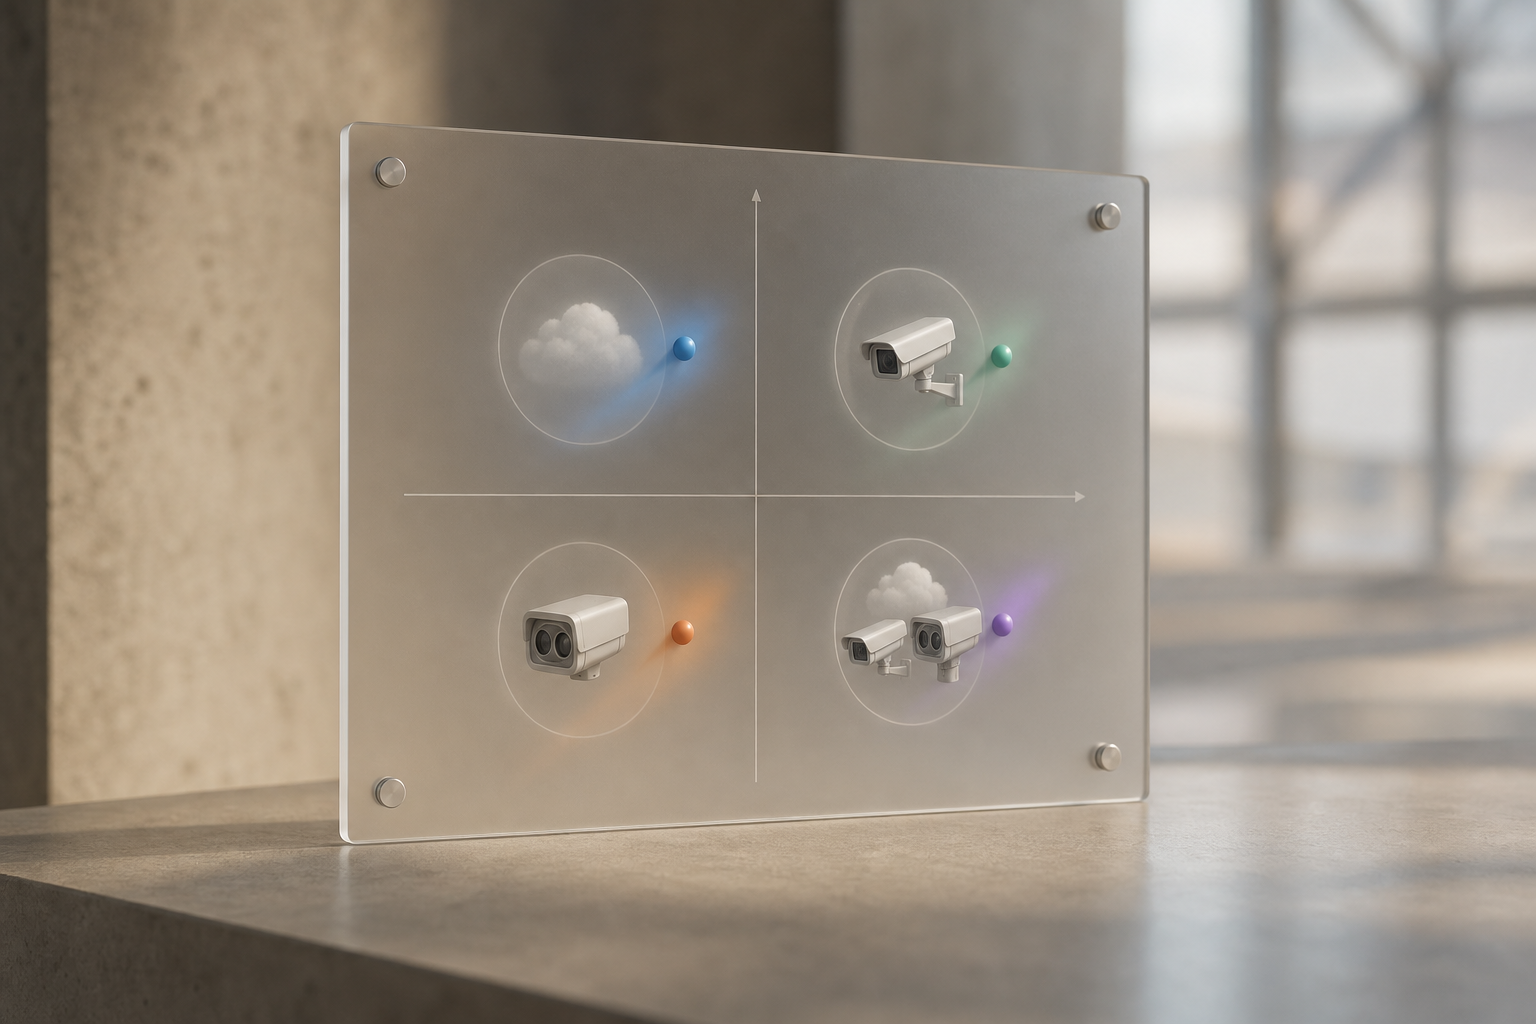
Category 1 — Cloud video analytics (camera‑agnostic)
Cloud analytics platforms process live streams from your existing IP cameras. They scale quickly across sites, centralize configuration, and allow continuous model improvements without truck rolls. Because they’re camera‑agnostic with broad ONVIF support, you can cover legacy domes and new 4K turrets alike. Typical use cases include large campuses and multi‑site portfolios where central security needs a single pane of glass and rapid rollout.
- Pros: Fast deployment, model updates over the air, works with 200+ brands, single dashboard for all sites.
- Cons: Requires outbound stream or gateway; bandwidth planning needed for high camera counts; dependent on reliable internet (mitigated with buffering and health checks).
Category 2 — Edge cameras with built‑in analytics
Some camera makers ship models with on‑device smoke/flame analytics. These reduce bandwidth and avoid cloud links. However, you’re limited to that vendor’s camera line and firmware. They can work well for new installs or isolated hazard zones where you prefer local-only processing. Evaluate how firmware updates affect detection performance and whether analytics licenses are per‑device or bundled.
Category 3 — Dedicated thermal/flame systems
Industrial thermal imagers (like FLIR) and optical flame detectors (like Draeger units) excel in harsh or high‑heat areas: foundries, kilns, chemical processing. They cost more and require specialized mounting and calibration, but they tolerate glare, dust, and high temperatures better than standard CCTV. Use them where flames may occur without visible smoke or where hot processes frequently trigger visual false positives.
Category 4 — Hybrid thermal + visual AI
Pair a thermal camera for heat anomalies with a visual camera for smoke/flame signatures. This combo reduces false positives and speeds confirmation in mixed light or dusty air. In audited environments, dual‑channel evidence (thermal trajectory + RGB video) strengthens post‑incident reporting and insurer confidence.
Quick evaluation checklist for 2026 rollouts
- Detection speed target: alert to phone/desk in under 3 seconds.
- False positives: tested against steam, dust, weld arcs, and fogging.
- Camera support: ONVIF and 200+ brands vs. vendor‑lock.
- Alert routing: SMS, email, dashboard, and panel/BMS integration.
- Reporting: video proof, timestamps, and exportable audit logs.
- Cloud retention: 7/30/90‑day options that match your policy.
- Scale and security: multi‑site dashboards and GDPR compliant data.
- Uptime targets: health monitoring, stream watchdogs, and alert retry logic.
If your plant already has hundreds of cameras, cloud analytics usually win on time‑to‑value. For a new cell line with no wiring pulled, edge or hybrid can be the faster path. In either case, pilot first, then scale site by site. In 2026, avoid “rip and replace” unless your current cameras are past end of life. Build a migration map that prioritizes high‑risk zones, then backfill lower‑risk areas as you lock results and ROI.
Also Read!
Best Intrusion Detection Security Camera for Manufacturing Plants and Warehouses in 2026
How to Choose an Intrusion Detection Security Camera System for Airports and Transit Stations
What to Do This Week: Your Fire Detection Camera Action Plan
Day 1. Walk the site with your safety officer. Photograph every camera location and mark fields of view on a floor plan. Flag zones with the highest fire risk and the weakest coverage.
Day 2. Pull 24 months of incident and near‑miss reports. Note how each event was detected, by whom, and how long it took to act. This becomes your baseline for measuring improvement.
Midweek checkpoint
- Validate your risk map with maintenance and production supervisors; add any temporary hazards such as staged pallets or seasonal heaters.
- Pre‑approve a test plan that safely simulates steam, dust, and lighting edge cases during demos.
- Define who must acknowledge, verify, and escalate alerts during the pilot and what devices they’ll use (radio, SMS, SCADA HMI).
Day 3. Schedule demos with 2–3 video analytics vendors. Ask for industrial clips that show smoke vs.
steam and dust discrimination. Insist on a clock overlay to verify alert time. Confirm they offer Zone-Based Monitoring and customizable time thresholds.
Day 4. Review your insurance policy and talk to your broker. Many carriers consider AI‑augmented monitoring a risk reduction. Document potential premium savings to offset subscription costs.
Day 5. Draft your pilot plan. Choose 5–10 cameras in the highest‑risk zone.
Define success: detection speed, false alarm rate by source, and alert delivery path. Set a 30‑day window. Plan to use heatmaps & analytics to spot hotspots and refine camera angles.
As you prepare, verify that the platform offers smooth integration with most existing surveillance infrastructure. That saves installation time and reduces change management with your security team. Then get buy‑in from operations so alerts route to the right radios and phones. Ask IT to confirm bandwidth, VLANs, and firewall rules ahead of first stream so day‑one testing doesn’t stall on connectivity.

Key Takeaways
You do not need to tear out your fire system to get faster detection. Instead, add visual AI to your cameras to close the “first minute” gap, especially in high‑ceiling spaces and dusty zones. With a clear pilot and alert plan, you can show leadership measurable gains in speed and fewer losses. Align your deployment with EHS policies and ensure your response team practices the verify‑and‑act workflow before the pilot begins.
- Ceiling detectors in 30–50 ft bays see smoke late; cameras see it near the source fast.
- A warehouse fire near racking can double every 30–60 seconds — seconds count.
- Aim for sub‑5‑second alerts and test against steam, dust, weld arcs, and fog.
- Use Zone-Based Monitoring and evidence with timestamps for clean post‑incident reports.
- Favor platforms that work with 200+ camera brands and are GDPR compliant for scale.
- Treat camera analytics as a complement to code‑mandated systems, not a replacement.
Your next move is simple and structured. Map your cameras, pick a high‑risk zone, and run a 30‑day pilot with hard metrics. If you can show a confirmed detection that hits your team in under three seconds, you’ll have the ROI case you need. For cross‑industry examples and rollout tips, revisit our 2026 retail field guide: Best Fire Smoke Detection Security Camera for Retail Stores and Chains in 2026.
This week, set your pilot dates and name an owner. Then lock your alert routes and escalation rules before day one. The faster you turn cameras into signals, the safer your line, stock, and people will be.