

To choose the right intrusion and perimeter breach detection system for a corporate campus in 2026, insist on AI that works with your current cameras, supports virtual tripwires and zone rules, delivers alerts in under five seconds, and plugs into your guard workflow. Then prove it with a 30‑day pilot that measures detection rate and false alarms at real sites like a loading dock at 2AM or a roof hatch at dusk.
**Schedule a quick demo today →
85% of CCTV footage is never reviewed (Source: VideoraIQ Stats).
Shifting from passive video to intrusion and perimeter breach detection turns cameras into real-time sensors that flag human, vehicle, or fence-line breaches as they happen.
Corporate campuses are not small box stores. You deal with long fence lines, multiple buildings, mixed foot and vehicle traffic, parking decks, delivery bays, and after-hours risk. You also live with budget pressure, guard fatigue, and legacy NVRs that “work fine.” This guide is written from that reality, not a lab.
What Makes Intrusion Detection Different from Standard Surveillance on a Corporate Campus
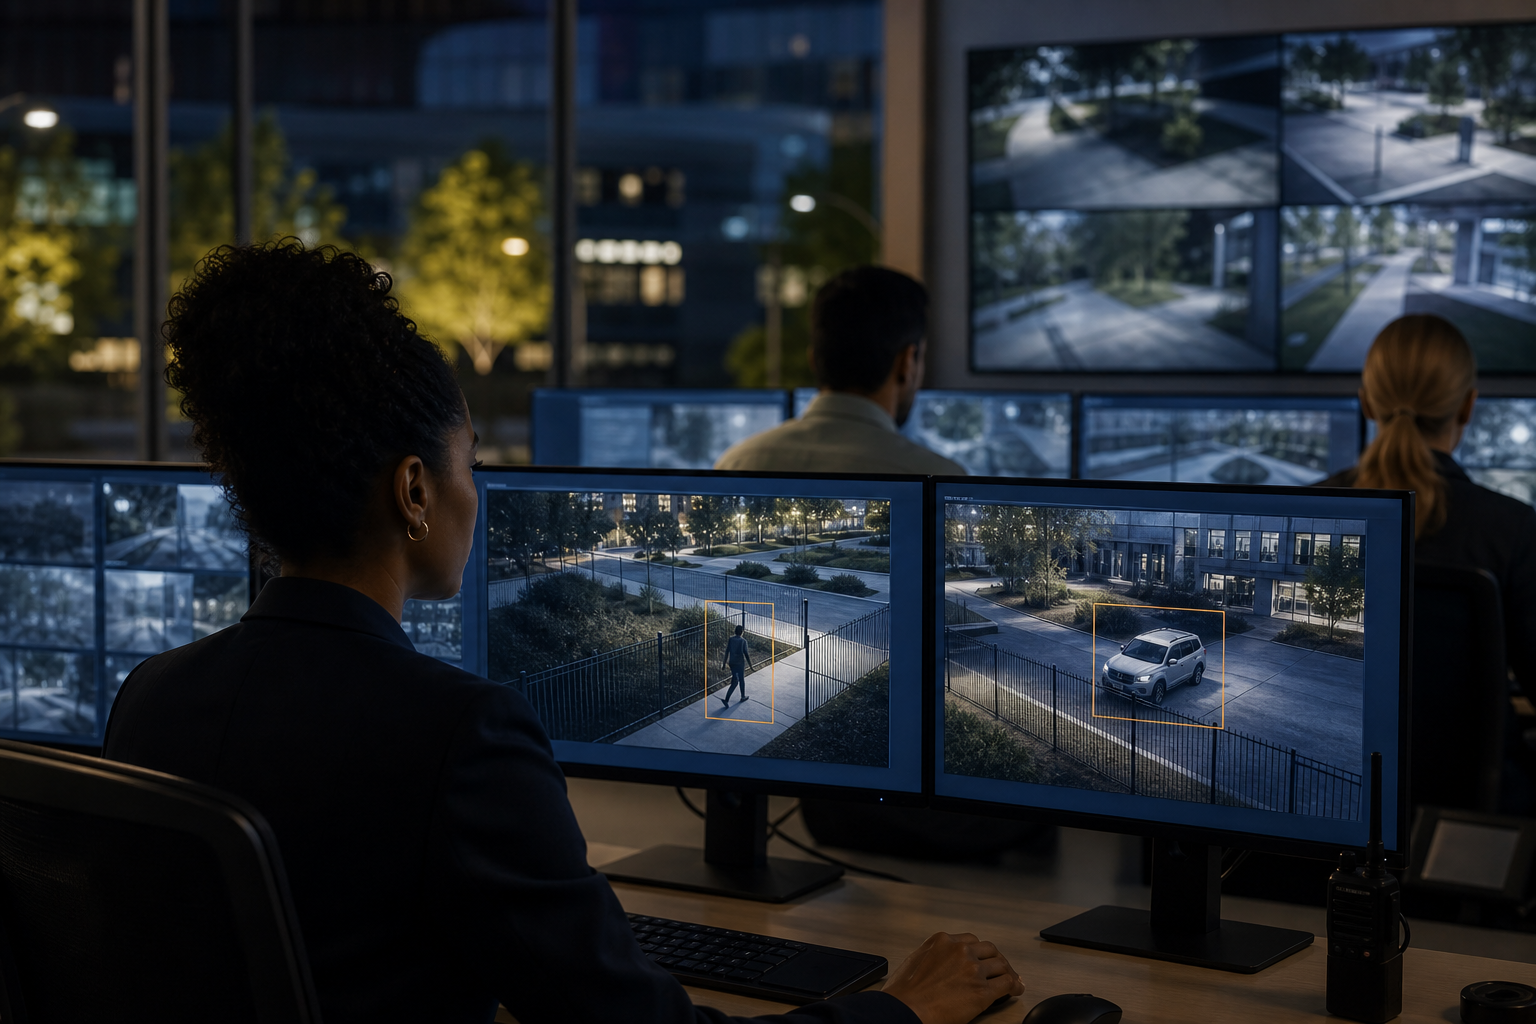
Traditional CCTV records what happened. It rarely tells you what’s happening. As a result, incidents get spotted during morning review, not in the moment. According to VideoraIQ Stats, 85% of CCTV footage is never reviewed, which leaves gaps for tailgating in a side lobby or a fence breach near the back lot.
Active detection flips this. AI analyzes live video and flags events such as a person crossing a virtual fence at a loading dock at 2AM or a vehicle entering a closed gate lane. On a campus, that matters because your risk surface is huge: long perimeters, rooftop access points, parking structures, and lots of “edge” areas guards can’t watch nonstop.
Why AI beats legacy motion
AI-powered intrusion detection is not the same as old-school motion sensors. Simple motion trips on wind-blown trees, rain, or shadows. Modern systems do object classification and track motion paths, so they tell the difference between a person, an animal, and a vehicle. That cuts noise and surfaces real threats faster.
In addition, strong platforms offer zone-based monitoring so you can draw virtual areas and apply different rules by time of day. For example, allow foot traffic in a lobby at 2PM but alert on any person in that same zone at 2AM. Some tools expose multiple AI engines, such as intrusion detection and line-cross detection, so you can tailor alerts by use case rather than a single blunt “motion” rule.
Key terms you’ll use on day one
- Perimeter breach detection: Alerts when a person or vehicle enters a defined boundary like a fence line or gated drive.
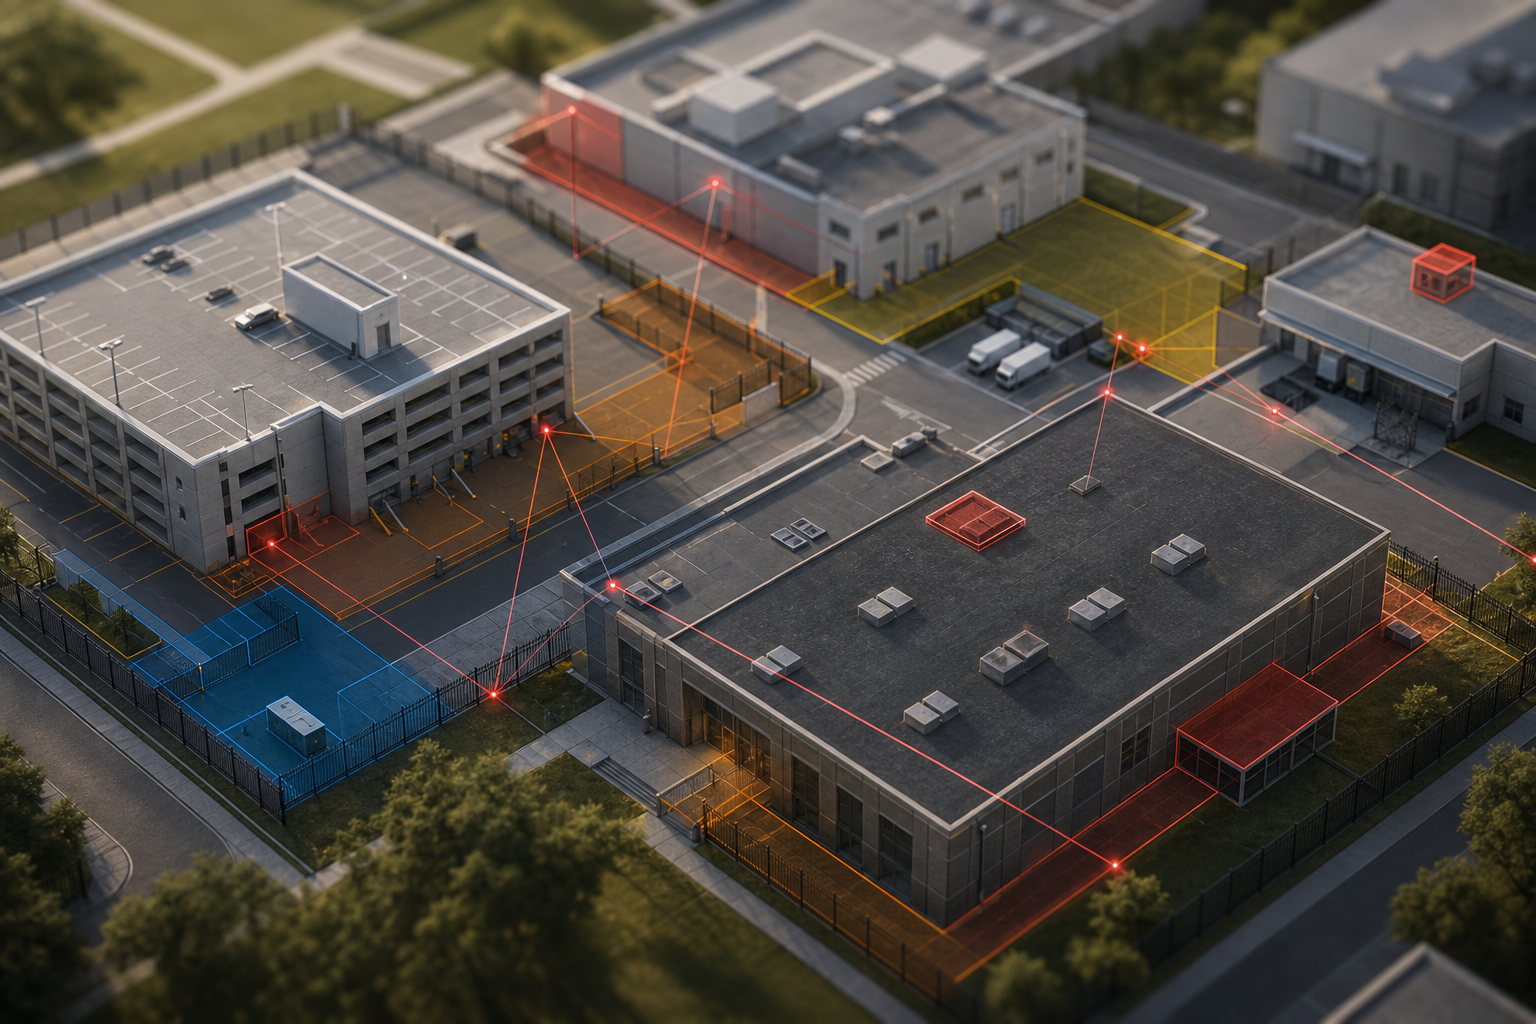
- Virtual tripwires: Digital “lines” across a driveway, stairwell, or door threshold that alert on crossings in a set direction.
- Zone-based monitoring: Virtual zones with unique rules and schedules; focus analysis on critical areas, ignore the rest.
- Line-cross detection: A specialized rule that triggers when an object crosses a defined line, useful for ramps and gates.
For context on how analytics evolved from simple motion to real-time object analysis, see the overview of video analytics. On campuses, these tools replace passive recording with targeted, real-time alerts your team can act on.
“Zone-Based Monitoring to define virtual zones and focus detection on critical areas” is a must-have requirement, especially on big sites with mixed public and private spaces.
Also Read!
How to Add AI to Existing Security Cameras at Airports and Transit Stations
Step-by-Step Framework for Evaluating Intrusion Detection Camera Systems
You don’t need a 200-page RFP. You need a tight plan, a set of non-negotiables, and a pilot that mirrors your real risks. Use this 7-step framework to get to a confident choice in weeks, not quarters.
The 7 steps (with vendor questions)
- Map your perimeter and classify zones
- Priority high-risk entry points, fence lines, parking lots, rooftop access, docks, and lobbies.
- Ask vendors: “How many unique zones and schedules can we configure per camera?
- Audit existing cameras and recorders
- List brands, models, IP vs. analog, and VMS/NVR details. Identify which cameras see key zones.
- Ask: “Will your system work with our existing IP-based CCTV without additional hardware, and which of our 200+ brand models are supported?
- Define detection requirements
- Decide where you need line-cross detection, virtual fences, after-hours zone rules, and vehicle-only alerts at gates.
- Ask: “Show us live how you apply different rules on one camera by time and direction.
- Evaluate alert latency
- Sub‑5‑second alerts let a roving guard intercept, not just report.
- Ask: “What’s your measured median latency? Can we see <3 seconds on our network during the pilot?
- Assess false alarm rates
- Pattern recognition beats simple motion. Low noise prevents guard fatigue.
- Ask: “What’s your documented low false alarm rate through pattern recognition in scenarios like rain, headlights, or swaying trees?
- Check integrations and workflow
- Tie alerts to your VMS, access control, BMS, and mobile devices.
- Ask: “Which VMS and access systems do you integrate with today, and how do mobile push and email alerts include video proof, location, and timestamp?
- Plan for scale and architecture
- Campuses grow. Multi-site needs matter. Cloud can cut server costs.
- Ask: “Do you offer a cloud-based option with no on‑premise servers, and how do you manage multi-site from one dashboard?
How to benchmark in practice
- Run tests at a live dock, a garage stairwell, and a fence corner.
- Measure detection rate, false alarms per shift, and alert delivery time.
- Confirm the system works with existing cameras across 200+ brands; ask for proof on your models.
For extra context on perimeter lessons learned in another sector, this short retail intrusion guide shows how tripwires and schedules reduce noise in mixed-traffic areas.
5 Common Mistakes Corporate Security Teams Make with Intrusion Detection Cameras
First, treating all zones the same. A fence line at the back lot needs a high-sensitivity human/vehicle rule, while a loading dock needs direction-based line-cross rules to ignore outbound forklifts. Zone-based configuration lets you match risk and traffic patterns by area.
Second, ignoring business-hour vs. after-hours rules. A person in a lobby at 2PM is fine.
The same person at 2AM should alert. Schedule-aware rules stop you from drowning in daytime noise while catching real issues at night. This also helps with garages that fill by day but should flag a single walker at 1AM.
Platform and testing pitfalls
Third, choosing platforms that require full hardware replacement. Many campuses have sunk six figures into cameras and NVRs. You rarely need a rip-and-replace. Look for overlays that integrate with existing IP-based CCTV systems without additional hardware and can be deployed fast.
Fourth, overlooking evidence capture. An alert without video, location, and timestamp sends guards hunting. Systems that send real-time alerts with video proof, location tag, and timestamp let a roving guard tap, view, and move. Auto-Captured Video Evidence speeds post-incident pull and handoff to HR or law enforcement.
Fifth, not stress-testing false alarm rates during the pilot. A tool that throws 50 false alerts per night gets muted by week two. Demand a 30-day pilot with KPIs: detection rate, false alerts per zone per shift, and median alert latency. If the vendor cites 99.4% detection accuracy, validate it on your dock, not theirs.
“We went from finding out about incidents in the morning briefing to being notified in real time. VideoraIQ caught an intruder at 2AM that our overnight guard missed. That one event alone justified the entire platform cost.” — Ananya Mehta, Head of Facilities, 200-Camera Corporate Campus
How to structure a 30-day pilot (KPIs you can track)
- Detection rate: Percent of staged and real events caught.
- False alarm rate: Alerts per shift per zone you mark as false.
- Latency: Median time from event to alert; target under 5 seconds.
- Evidence quality: Each alert includes video clip, location, and timestamp.
- Change control: Time to tune rules to reduce noise by half.
Additionally, check schedule logic for unattended-item scenarios. Customizable time thresholds for detecting unattended items can reduce clutter in lobbies while still surfacing real risk.
Also Read!
Best AI Add-On for Existing Security Cameras at Airports and Transit Stations in 2026
Tools and Platforms for Corporate Campus Intrusion Detection
There’s no single “right” stack. Your call depends on cost, scale, team skills, and how much you want to maintain on site in 2026.
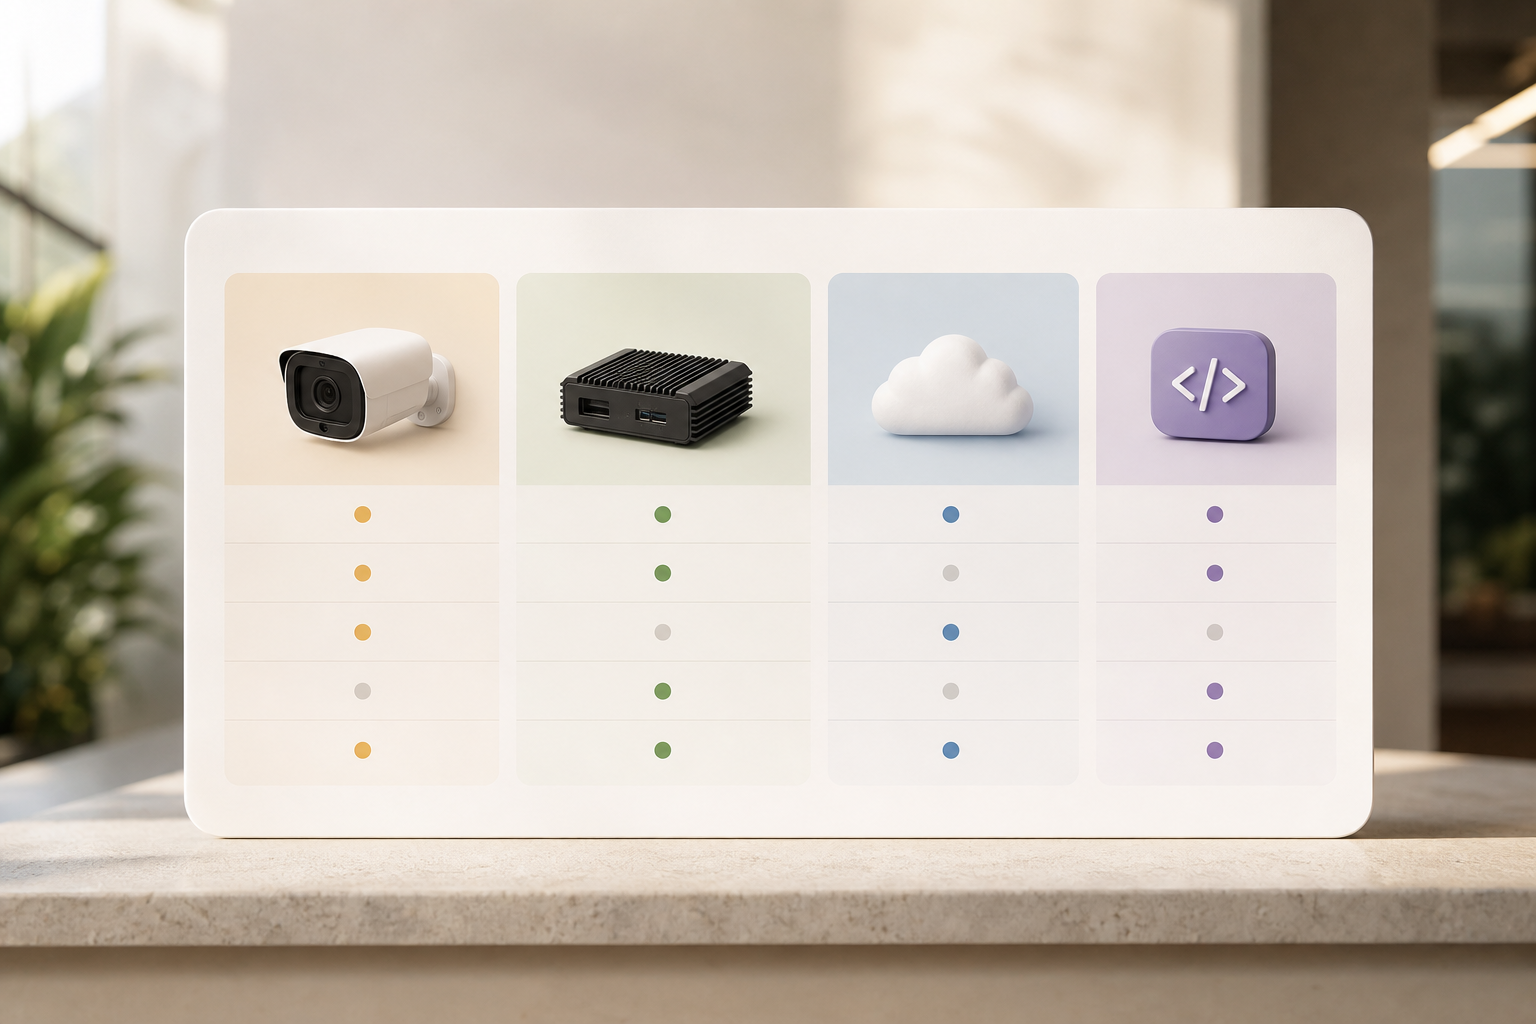
1) Traditional VMS with analytics add-ons
Platforms like Genetec or Milestone offer intrusion modules tied to their VMS.
- Pros: Tight integration with video, mature ecosystems.
- Cons: On-premise servers to size and maintain; add-on licenses; more IT touch.
2) Edge-based AI cameras
Manufacturers such as Axis, Hanwha, and Bosch embed analytics in-camera.
- Pros: Strong performance at the edge; simple for single sites.
- Cons: You’re locked to a hardware line; mixed fleets complicate updates.
3) Cloud-based AI overlays
Platforms like VideoraIQ add Cloud-based AI-powered video intelligence on top of your existing infrastructure.
- Pros: Works with existing cameras across 200+ brands; <3 seconds alert latency; no on-premise server requirement; real-time alerts with video proof.
- Cons: Requires reliable uplink; monthly subscription model to budget.
- Notable features (documented): 9 AI detection engines including face recognition, intrusion detection, fire & smoke detection, object detection, number plate (ANPR), line-cross detection, unauthorized access, unattended baggage, and cashier absence detection.
- Compliance: GDPR compliant and HIPAA compliant options matter if you operate in healthcare or across borders.
4) Open-source and DIY
ZoneMinder or Frigate can work for small, hands-on teams.
- Pros: Low software cost; high control.
- Cons: You own tuning, servers, and updates; limited vendor support; harder to scale to 100+ cameras.
Moreover, budget the total cost of ownership, not just license fees. Include hardware refreshes, server power/cooling, and staff time for rule tuning. For a head-to-head view in another complex environment, see this concise airport and transit comparison.
**Get a campus shortlist today →
Your Next Steps: Building a Campus Intrusion Detection Plan This Month
Week 1
Walk the campus and create a zone map. Mark every perimeter entry point, building entrance, parking area, garage stairwell, and restricted zone like roof doors. Classify each as high, medium, or low priority. Take daytime and nighttime photos to record lighting and sightlines.
Week 2
Inventory your cameras. Count devices, list brands/models, note fields of view, and mark which ones see high-priority zones. Confirm IP accessibility to support a cloud overlay and flag any analog feeds that may need encoders. Note areas with poor coverage so you can budget targeted adds.
Week 3
Draft detection requirements. Specify which zones need line-cross detection, virtual fences, after-hours occupancy alerts, or vehicle-only intrusion at gates. Set target alert latency (aim under 5 seconds). List integration needs: your VMS, access control, building management, and mobile alerts for roving guards.
Week 4
Request demos from two or three vendors and run a 30-day pilot. Pick one fence corner, one dock, and one garage stairwell as test zones. Define KPIs: detection rate, false alarm rate, median alert latency, and evidence quality. Note how fast the team can tune rules to cut noise by half in the first week.
Social proof to de-risk your choice: platforms in this category monitor 10,000+ cameras and are deployed in 7+ countries, and many offer smooth integration with most existing surveillance infrastructure to protect your sunk costs.
A simple RFP checklist you can adapt
- Works with current cameras (list models); no extra on-prem servers needed.
- Zone-based monitoring with schedules; virtual tripwires and line-cross rules.
- Median alert latency under 3 seconds on your network.
- Low false alarm rate via pattern recognition; report with weekly trend.
- Real-time alerts include video proof, location, and timestamp.
- Integrations: VMS, access control, BMS, SSO, and mobile.
- GDPR and HIPAA compliance options if applicable.
- Tiers that fit your scale (Starter ≤20 cams, Professional ≤200, Enterprise unlimited and custom models).
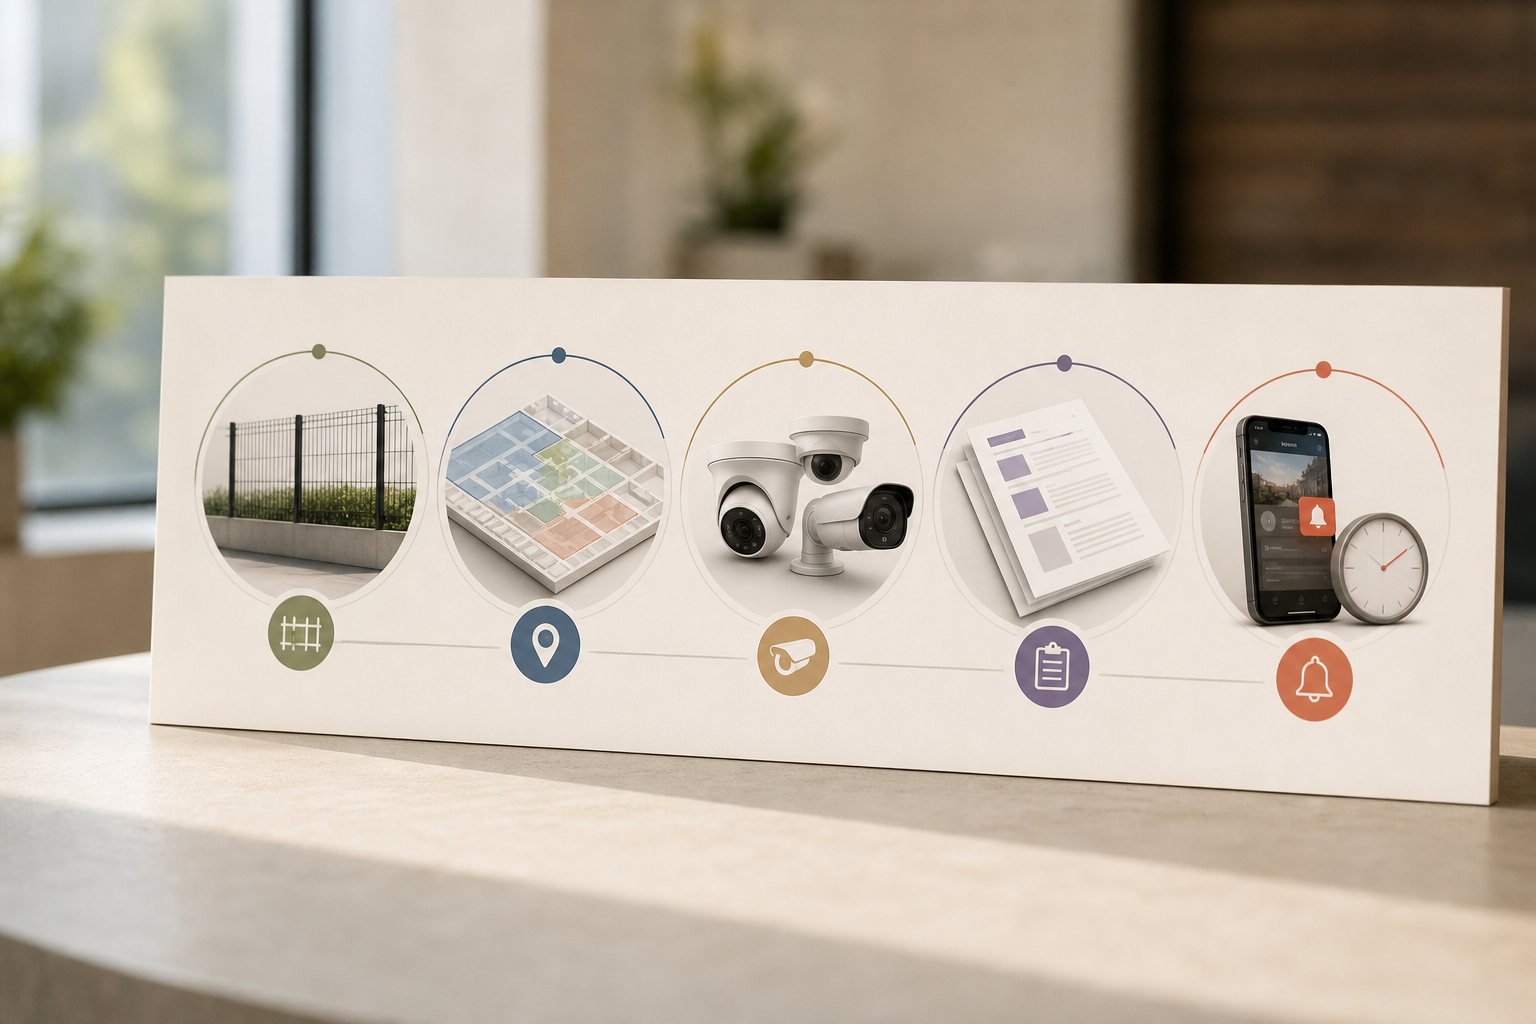
Key Takeaways
- Active AI detection beats passive recording by surfacing real threats fast across large perimeters, docks, and garages.
- Demand sub‑5‑second alerts, zone schedules, and low false alarms to reduce guard fatigue.
- Keep your hardware: choose tools that work with existing IP cameras and add virtual tripwires and line-cross rules.
- Prove claims with a 30‑day pilot and KPIs across three real zones at night.
- If you operate in regulated spaces, confirm GDPR and HIPAA compliance before rollout.
What to Do This Week: Block two hours to walk your top five high-risk zones at night, write one page of detection rules for each, and book two demos. If a vendor can’t show under‑3‑second alerts with video proof on your cameras, move on.
Additionally, upgrading from passive surveillance to intrusion and perimeter breach detection is the single highest-impact step most campuses can take in 2026. It turns cameras into an active layer that helps guards act, not just review.