

**Get instant AI alerts today →
To choose, install, and get results from dome CCTV, follow this complete guide dome cctv: map coverage goals, match IP/IK ratings, pick the right lens and resolution, test IR at night, use PoE, and add cloud AI for real-time alerts. Because 85% of CCTV footage is never reviewed, the fix is to match your site risks to the right dome models, place them well, and add AI that flags key events in real time.
This complete guide dome cctv gives you clear steps to choose, install, and tune dome cameras for clean footage and fast alerts. You’ll learn where dome housings shine, how to avoid IR glare, what IP and IK ratings mean, and how to add smart analytics without swapping your existing cameras. By the end, you can make a plan for 2026 that fits your site, budget, and bandwidth.
Moreover, you’ll see how to connect domes to tools you may already own, from NVRs to cloud AI. For deeper context on systems, you can also scan our full CCTV systems guide. Then, you can act this week with a short checklist and a fast way to trial AI on your current feeds.
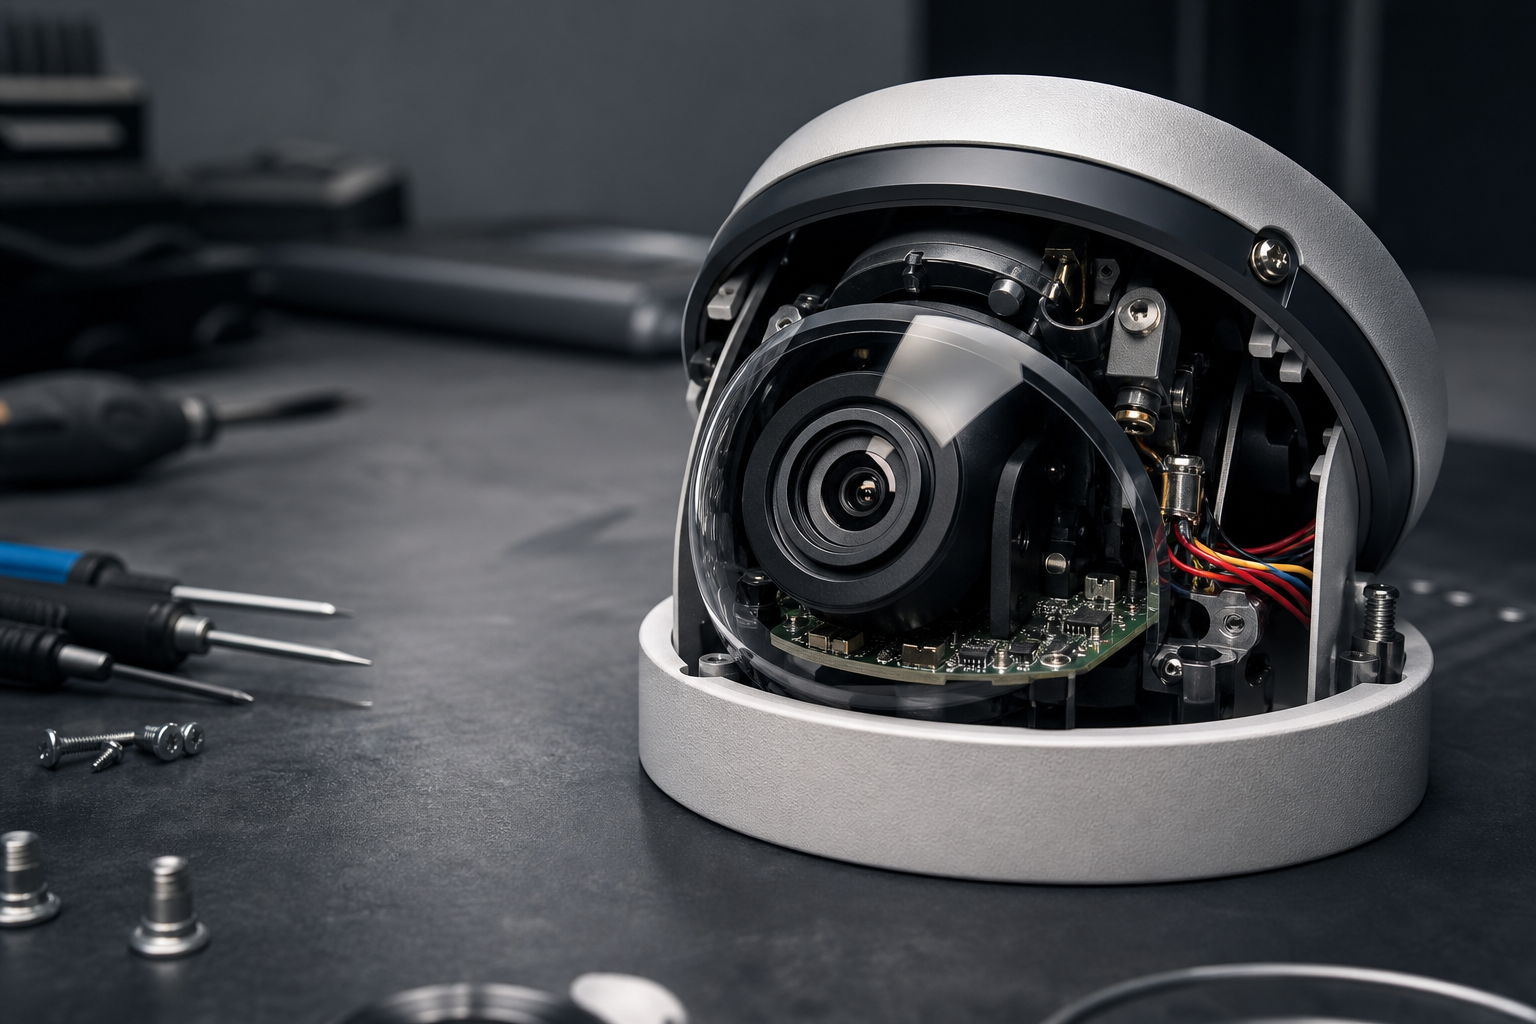 , next to a bullet camera and PTZ for comparison; clean, modern, 2026 design style)
What Is a Dome CCTV Camera and Why Is It So Popular?
A dome camera is a fixed or varifocal camera placed under a clear or tinted dome. The smoked cover hides the lens direction, which makes people unsure where it points. As a result, the design both deters tampering and reduces “camera avoidance” behavior.
In addition, the round housing and tamper‑resistant screws help against prying hands and thrown objects. If you need vandal resistance, look for IK ratings. The higher the number (IK10 is common), the more impact it can take before it fails. For weather, check the IP rating for dust and water; IP Code values like IP66 and IP67 handle rain and jets of water.
On the other hand, bullets are great where you want an obvious “we see you” signal and long IR range. PTZs win when you need wide‑area patrol and active zoom. However, domes excel in lobbies, stores, schools, and ceilings near hand reach because the dome shell guards the lens and keeps the install tidy.
Where dome CCTV wins vs. other styles
- Discreet look that blends into ceilings and soffits
- Broad coverage with varifocal lens options
- Vandal‑resistant housings with IK10 options
- Better tamper deterrence due to hidden aim
- Cleaner cabling and fewer snag points
Furthermore, modern analytics layers work with existing cameras across 200+ brands and offer smooth integration with most existing surveillance infrastructure. That means you can keep your domes and make them smarter, instead of ripping and replacing gear. To ground your system choices, skim our CCTV systems guide for context.
Importantly, this section of the complete guide dome cctv sets the stage for smarter choices ahead: match the housing to risk, check the right ratings, and plan for an analytics layer from day one.
How to Choose the Right Dome CCTV Camera: A Step-by-Step Framework
You do not need a rack of servers to get strong results in 2026. Instead, follow a simple path and avoid guesswork. This part of the complete guide dome cctv turns a crowded spec sheet into six clear choices.
First, read this section end‑to‑end, then print the steps and walk your site. Small tweaks in lens and placement can add more value than a jump from 4MP to 8MP. Also, plan your storage early so the final setup records what you need without bill shock.
- Define coverage area
- Map doors, cash wraps, aisles, and choke points.
- For each spot, choose “identify,” “recognize,” or “detect” as the goal.
- Choose resolution (2MP–8MP)
- 2MP is fine for wide hallways.
- 4MP–8MP helps for ID at 15–25 ft, but costs more storage.
- Pick indoor vs.
- Indoor domes save cost and weight.
- Outdoor models with IK10 and IP66/67 handle strikes and rain.
- Evaluate IR/night vision range
- Check stated IR range, but test for bounce on walls.
- Shorten IR if you see haze or “white fog.
- Check PoE vs.
- PoE is stable and simple to power.
- Wi‑Fi suits temporary installs; mind interference and bitrate.
- Consider smart features like AI analytics
- Alerts that hit in <3 seconds change outcomes.
- Cloud‑based AI means no on‑prem servers to maintain.
Practical notes for 2026 choices
- Start with field of view: a 2.8 mm lens covers a room; a 4 mm lens tightens detail.
- For glass entrances, add a small hood or angle the dome to reduce IR bounce.
- If you face graffiti or thrown objects, choose domes rated IK10. The IK code defines impact resistance so you can compare models.
Moreover, cloud‑based AI with 99.4% detection accuracy lets you keep your NVR but still get smart alerts. Because there’s no need for on‑premise servers, you cut setup time and ongoing care. Finally, save a line in your budget for storage and uplink; higher resolution drives both. This complete guide dome cctv keeps you aligned with cost and results.
Also Read!
The Complete Guide to Dome Security Cameras: How to Choose, Install, and Get the Most From Them
The Complete Guide to CCTV Systems: How to Choose, Install, and Get the Most from Video Surveillance
5 Common Dome Camera Mistakes That Waste Your Money
You can buy top gear and still get poor clips if you miss the basics. The five pitfalls below are the most common ways teams waste budget. Happily, each has a simple fix you can apply this week.
First, test at night before you sign off. Daylight tests hide glare, backlight, and IR issues. Second, check your storage math with real bitrates, not brochure numbers. As a result, you avoid mid‑month surprises.
Mistake 1: Wrong IP rating outdoors
Using indoor domes outside leads to fog, leaks, and dead IR. Pick IP66 or IP67 for rain and dust. Then, seal your conduit and add a drip loop to keep water out.
Mistake 2: Ignoring IR glare on glass domes
IR LEDs can bounce off the dome bubble and nearby walls. Therefore, angle the camera slightly, lower IR strength, or add external IR. Clean the dome; smudges glow at night.
Mistake 3: Overlooking storage costs
8MP at high bitrate looks great but eats terabytes. So, set variable bitrate, tune frame rate, and choose motion‑based recording. Plan your retention by risk area, not one size for all.
Mistake 4: Buying high‑res without bandwidth
High‑res streams choke weak networks. Hence, use PoE and wired uplinks where you can. If you must use Wi‑Fi, throttle bitrate and test channel noise before go‑live.
Mistake 5: Neglecting analytics — 85% of footage is never reviewed
Most teams do not have time to scrub clips. In turn, missed events pile up. Add AI that sends alerts in <3 seconds so your team can act, not watch hours of video.
"We went from finding out about incidents in the morning briefing to being notified in real time. VideoraIQ caught an intruder at 2AM that our overnight guard missed. That one event alone justified the entire platform cost." — Ananya Mehta, Head of Facilities, 200-Camera Corporate Campus
Crucially, this complete guide dome cctv pushes you to fix the root cause: wrong rating, poor placement, thin storage math, weak uplink, and no analytics layer. Even one of these can sink results.
Tools and Software That Make Dome Cameras Smarter
You have three software layers to think about: VMS, storage (NVR or cloud), and AI analytics. Pick each with your site goals in mind, and you can keep your current domes while getting faster alerts and cleaner searches.
First, Video Management Systems (VMS) like Milestone or Blue Iris help you view, tag, and export clips. Second, Network Video Recorders store streams on‑site; they’re simple and local, but need care and space. Third, cloud storage moves retention off‑site, which helps for multi‑site monitoring and off‑network access.
Adding AI without new camera hardware
- Tools like VideoraIQ integrate with existing IP‑based CCTV systems without additional hardware, so you can keep your domes in place.
- The platform is cloud‑based with no need for on‑premise servers, and it works with existing cameras across 200+ brands for smooth integration with most existing surveillance infrastructure.
- You get 9 AI detection engines, including face recognition, intrusion, fire & smoke, number plate (ANPR), and unattended baggage; the system reports 99.4% detection accuracy, delivers alerts with <3 seconds latency, and already monitors 10,000+ cameras.
- For data care, the platform is GDPR compliant and HIPAA compliant, which matters in healthcare and corporate sites.
| Layer | What It Does | Good For | Trade‑Off |
|---|---|---|---|
| VMS | Live view, playback, export | Control rooms, power users | Needs tuning and servers |
| NVR | On‑site storage | Sites with low uplink | Hardware to maintain |
| Cloud Storage | Off‑site recording | Multi‑site, remote access | Ongoing monthly cost |
| Cloud AI | Real‑time detection, heatmaps | Faster response, fewer misses | Per‑camera subscription |
Moreover, heatmaps and analytics help you spot hotspots for safety and staffing. That turns camera feeds into planning data, not just evidence. This section of the complete guide dome cctv shows you can add brains to your existing cameras in 2026, not just more pixels.
**Book a quick consult today →
Key Takeaways
- Match dome housings and ratings (IP/IK) to real‑world risks; test at night before sign‑off.
- Tune resolution, IR, and bitrate to goals; storage math beats guesswork every time.
- Add cloud AI for <3‑second alerts and 99.4% accuracy so you act, not rewatch.
- Keep your domes; integrate AI that works across 200+ brands and current VMS/NVRs.
What to Do This Week: Your Dome Camera Action Plan
You do not need a full overhaul to see gains. This one‑week plan turns the complete guide dome cctv into action and proof.
-
Day 1–2: Audit coverage gaps. Walk your site with a simple map. Mark doors, cash zones, and routes. For each, decide “identify,” “recognize,” or “detect.” Photograph current domes and note lens size and height.
-
Day 3: Run a night test. Record 10 minutes per key area after dark. Check for IR haze, backlight, or soft focus. If you see glare on the dome, adjust angle, clean the shell, or lower IR strength.
-
Day 4: Check storage and bitrate. Pull actual bitrates from your VMS/NVR for a busy hour. Multiply by your target retention days. If it overshoots, trim frame rate or go motion‑based recording.
-
Day 5: Pilot one smarter placement. Move or add one dome where your audit showed the biggest gap. Use PoE for stable power. Aim for eye‑level faces at choke points and test again at night.
-
Day 6–7: Trial an AI analytics layer on existing feeds. Pick 2–3 cameras and turn on people/vehicle/intrusion alerts. Look for <3 seconds alert latency and clear video proof. Use Heatmaps & Analytics for identifying hotspots and security planning so you can brief your team with data, not gut feel.
As you wrap the week, write three changes to roll across your site: one lens or placement tweak, one storage/bandwidth setting change, and one AI alert you’ll standardize. Then lock a check‑in date 30 days out to review clips, false alerts, and actions taken.
**Start your 2026 plan today →
Finally, remember this: the right dome, placed well, with smart alerts will do more for you than a spec bump alone. Build on your current gear, add cloud AI, and keep tuning. That’s how you turn cameras into outcomes in 2026.