

**Book a 15‑Minute Demo Today →
Active monitoring stops incidents because it alerts you in seconds, not hours later during review. This complete guide video monitoring shows you how to choose, set up, and prove a system that actually works in 2026.
According to VideoraIQ Stats, 85% of CCTV footage is never reviewed. That means most traditional systems act like time machines: useful after an incident, useless during it. The fix is a move from passive recording to active detection with cloud-based AI that flags risks in real time and gives you video proof so your team can act.
You’ll get a practical six-step setup plan, a clear view of tools available in 2026, and the biggest mistakes to avoid. I’ll keep it vendor-neutral and specific, then point to tools you can test in a one-week pilot.
What Is Video Monitoring and Why Does It Matter Now?
Video monitoring is not the same as simple CCTV recording. CCTV records everything, but it expects a human to spot issues later. Monitoring watches for defined events and alerts you in real time with clips and context so you can respond now, not tomorrow.
Per VideoraIQ Stats, 85% of CCTV footage is never reviewed. That gap explains why loss, vandalism, and safety events slip through at night or in quiet shifts. With cloud-based AI-powered video intelligence, you can detect intrusion in a fenced yard at 02:13, a left bag in a lobby at 14:07, or smoke before an alarm trips, then send clips to the right person in under three seconds.
Moreover, active systems don’t replace people. They direct attention. A guard can’t watch 64 feeds with full focus, but AI can watch for a defined pattern 24/7. As a result, the team moves from staring at screens to handling verified incidents.
From Recording To Responding With Video Monitoring
- Recording: Stores video for days or weeks. You search after something happens.
- Monitoring: Detects defined events and alerts with proof in seconds.
- Result: You move from “find out later” to “act now.
For context on the origins of CCTV and how it evolved, see the Closed-circuit television overview. Today’s shift is simple: recording is table stakes; active alerts are the payoff. Use this complete guide video monitoring to turn your cameras into an early warning system, not just a history book.
“The system handles surveillance 24/7. No more missed alerts or relying solely on camera operators.” — Jason Rodriguez, Security Manager
How to Set Up Video Monitoring: A Step-by-Step Framework
Here’s a six-step field framework I give friends who manage sites with 10 to 500+ cameras. It works for single buildings and multi-acre yards. Use it to get signals you trust, not noise you mute.
Step 1: Audit Your Space for Video Monitoring
Walk the site at the hours you care about. Note choke points, dark zones, and approach paths. For example, measure a 20–30° camera tilt for entrances so faces aren’t washed out, and check lighting at 10 p.m., not noon.
- Entrances/exits: main doors, side doors, loading bays
- Perimeter: fences, gates, alleys, blind corners
- High-value zones: cash areas, server rooms, med stores, tool cages
If you’re still picking hardware, bookmark this practical video camera guide for 2026 to match lens, low‑light, and resolution to each spot.
Step 2: Define What You Need To Detect in Video Monitoring
Be ruthless. Pick the top three events that matter. For a storefront, that could be after-hours entry, loitering near the cash wrap, and smoke in back stock. For a yard, it might be fence line breach, vehicle movement after midnight, and fire.
- Intrusion
- Unattended object
- Fire and smoke in production zones
- ANPR for vehicle gates
Step 3: Choose Camera Types for Video Monitoring
Match the scene, not a spec sheet. Use 4–6 mm lenses for doors, wider for lobbies, and higher resolution for long aisles. For low light, pick sensors with strong SNR and IR that won’t cause glare on close walls.
- Entrances: varifocal domes, WDR for backlight
- Parking: bullet cams with 30–50 m IR
- Lobbies: wide FOV domes, 2.
- License plates: dedicated ANPR view with a tight angle
For a deeper breakdown of focal length and field-of-view trade-offs, see this camera specs checklist.
Step 4: Decide Cloud vs. On-Premise for Video Monitoring
Cloud-native platforms reduce servers to manage and push AI to the edge or cloud. On-prem NVR/VMS gives control, but you own updates and scaling.
- Cloud: faster feature rollout; no local GPU box; offsite retention
- On-prem: strict data control; offline resilience if the WAN drops
Critically, look for platforms that work with existing cameras across 200+ brands. That avoids forklift upgrades and lets you phase the rollout.
Step 5: Set Alert Rules and Zones for Video Monitoring
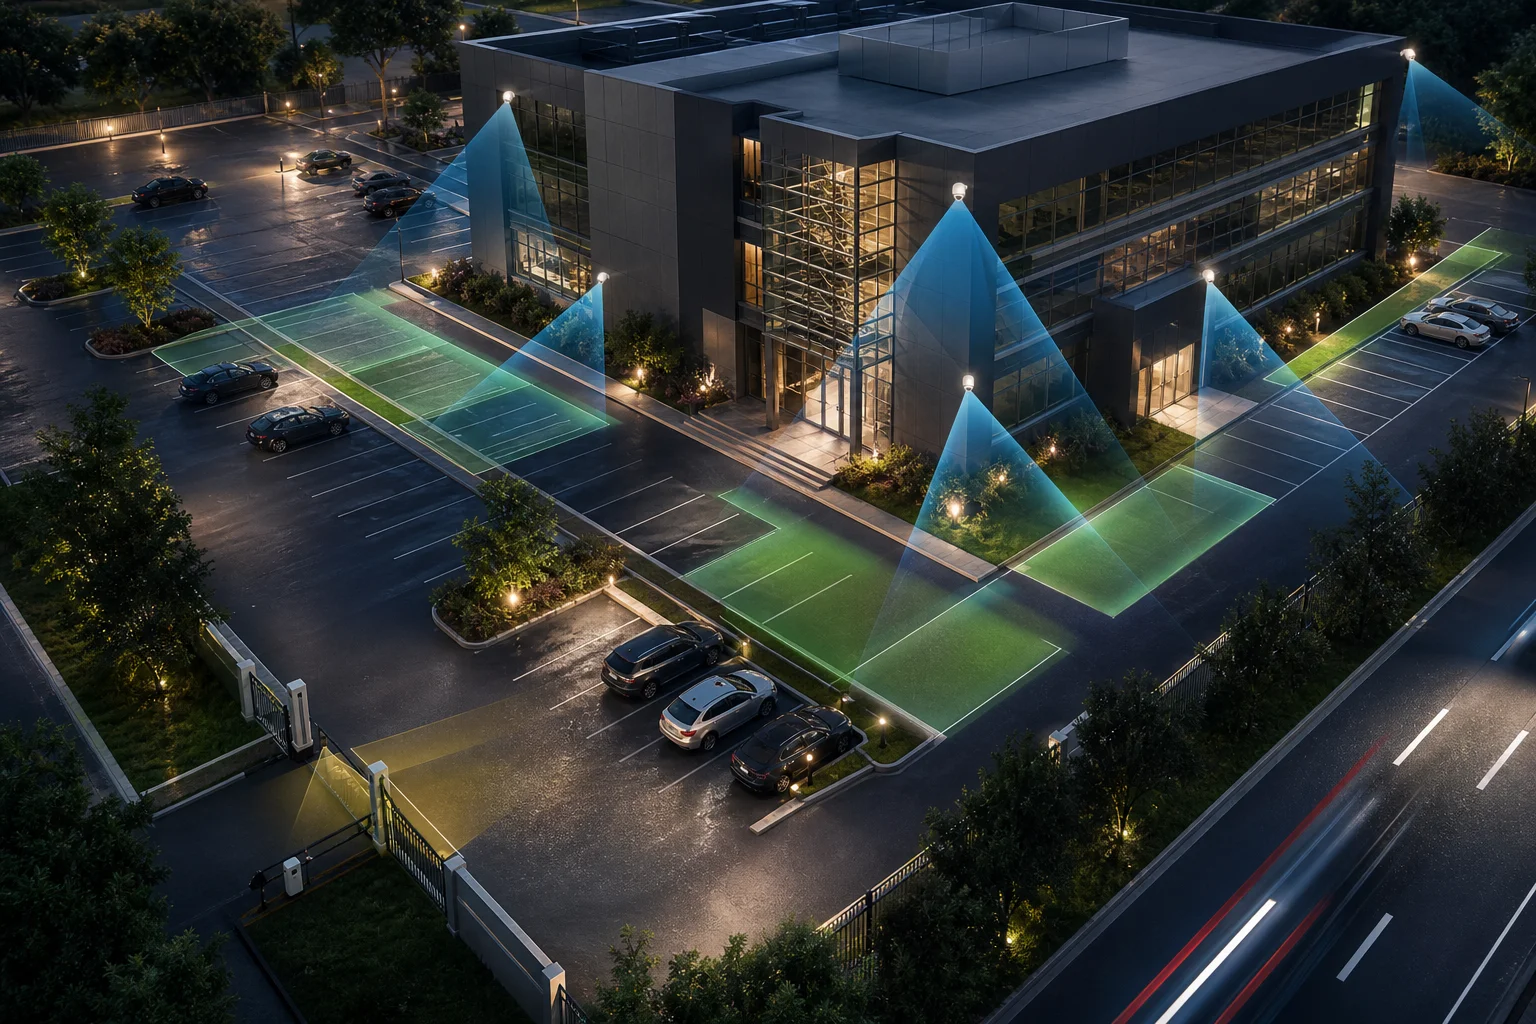
Draw virtual zones to focus detection where it matters. Exclude roads or trees to cut false alerts. Then, add customizable time thresholds so a bag left 10 seconds in a café doesn’t ping you, but 90 seconds does.
- Zone-Based Monitoring: lobbies, perimeters, cash wraps, server doors
- Time thresholds: 10s for entry breaches; 60–120s for unattended objects
- Schedules: business hours
Step 6: Test and Iterate Your Video Monitoring
Run a one-week pilot with test cases. Walk past a fence at 01:00. Leave a tote at reception for 2 minutes. Trigger a safe smoke test under controls. Tune zones, thresholds, and alert routes based on actual clips, not theory.

Also Read!
The Complete Guide to CCTV Systems: How to Choose, Install, and Get the Most from Video Surveillance
The Complete Guide to Dome CCTV Cameras: How to Choose, Install, and Get the Most From Them
5 Common Video Monitoring Mistakes That Leave You Exposed
You can spend thousands on cameras and still miss the moment that matters. Avoid these five traps.
1) Buying Cameras but Never Reviewing Footage
Cameras alone don’t prevent loss. Without real-time alerts, you only learn after the fact. Shift to monitored events and you stop treating video as a filing cabinet.
2) Ignoring Alert Fatigue
If you get 50 false pings a night, you’ll mute everything. Use platforms with pattern recognition for a low false alarm rate, then trim zones and cross-lines to ignore irrelevant motion like street traffic or wind-blown trees.
3) No Cloud Backup Strategy
Local storage fails, gets stolen, or fills up. Keep at least 7 days offsite for incident review while your primary alerts run in real time. Cloud storage also helps multi-site teams work from the same clips.
4) Forgetting About Privacy and Compliance
If you monitor clinics or schools, privacy rules are not optional. Choose vendors that are GDPR compliant and HIPAA compliant, and configure data retention to match your policy. For governance specifics, the General Data Protection Regulation text explains lawful processing and storage limits.
5) Treating All Zones Equally
A back stairwell and a pharmacy cabinet don’t carry the same risk. Prioritize zones that tie to safety, cash, or high-value stock. Then, route alerts to the right person. Security gets intrusion; facilities gets smoke; the store lead gets cashier-area access.
“Within 3 weeks VideoraIQ identified a recurring pattern of after-hours cashier zone access. We discovered internal theft we had no idea was happening.” — Sujata Rao, Regional Operations Manager, 14-Location Retail Chain
Use this complete guide video monitoring mindset: fewer, smarter alerts routed to the person who can act now. That’s how you build trust in the system.
Tools and Platforms Worth Considering in 2026
There isn’t one “best” stack for every site. Your choice depends on scale, IT policy, and the risks you care about. Here’s a fast map of 2026 options.
NVR/VMS-Centric Systems
You run a local server that records and manages video. Think of classic VMS vendors like Milestone. Pros: strong on-prem control, mature features, and offline resilience. Cons: you own server care, GPU needs for AI, and upgrades.
Cloud-Native Platforms
These platforms store and analyze video in the cloud. Think Verkada-style systems. Pros: fast updates, simpler scaling, and easier multi-site views. Cons: bandwidth planning, and you depend on WAN uptime.
AI-Layered Solutions (Add-On Intelligence)
These layer AI onto your existing IP cameras without new hardware. Tools like VideoraIQ are one option in this space, integrating with existing IP-based CCTV systems without additional hardware. In addition, they focus on speed and accuracy: <3 seconds alert latency and 99.4% detection accuracy (Source: VideoraIQ Stats). Furthermore, 9 AI detection engines cover intrusion, fire & smoke, ANPR, face recognition, unauthorized access, unattended baggage, cashier absence, object detection, and line-cross.
- Works with existing cameras across 200+ brands
- Cloud-based AI, no on-prem server to maintain
- Real-time alerts with video proof, location, and timestamp
| Category | Where It Fits | Trade-Offs |
|---|---|---|
| NVR/VMS | Sites with strict data control and local IT | You manage servers and AI GPUs |
| Cloud-Native | Multi-site, fast rollout | Plan WAN/bandwidth and retention |
| AI Layered | Keep current cameras, add AI fast | Confirm camera firmware and RTSP stability |
“Our fire was detected 52 seconds before our smoke alarm triggered. The alert came with a live camera link — my team was already on their way.” — Nilesh Kapoor, Plant Safety Supervisor
As you compare, weigh not just features but results you can test in a week: speed to first alert, noise level, and how fast your team acts on clips. Use this complete guide video monitoring lens: does the tool help you respond faster with fewer false alarms?
**Get Instant Pilot Guidance →
Also Read!
The Complete Guide to Fisheye Cameras: How They Work, When to Use Them, and How to Choose One
The Complete Guide to Dome Security Cameras: How to Choose, Install, and Get the Most From Them
What to Do Next: Your First Week With Video Monitoring
You don’t need a six-month project plan to prove value. Run a tight 7‑day pilot and measure results.
Day 1–2: Walk and Map
Walk the site at the right hours. Mark 6–12 camera views you trust most. Sketch virtual zones for your top three risks and note lighting. Capture two photos per spot to brief vendors.
Day 3: Shortlist and Configure
Pick two or three vendors or approaches: an NVR/VMS, a cloud-native, and an AI-layered option. Confirm they work with your current IP cameras. Set Zone-Based Monitoring and customized time thresholds per zone.
Day 4–6: Trigger Tests
Stage real events during quiet times. Cross lines at gates. Leave a bag in view for 90 seconds. Use a safe smoke test under controls in a non-public area. Log alert time, clip clarity, and who got notified.
Day 7: Review and Decide
Score each tool on three numbers: alerts under 3 seconds, false alerts per day, and how quickly staff acted. If one option hits sub‑3‑second latency, fewer than 3 false pings per day, and clean clips, extend to 30 days with 7–30‑day cloud retention.
Keep this complete guide video monitoring cadence: start small, measure what matters, and scale the winner.

Key Takeaways
Before you expand beyond a pilot, make sure the core ideas stick. The bullets below condense the complete guide video monitoring into decisions you can make this month.
- Active beats passive: alerts with proof in under 3 seconds turn cameras into an early warning system (Source: VideoraIQ Stats).
- Prioritize risk: choose three events that matter, then draw zones and set time thresholds to cut noise.
- Keep your cameras: platforms that work with 200+ brands protect budgets and let you phase rollout.
- Prove it in 7 days: stage intrusion, unattended object, and smoke tests; measure latency, false alerts, and response time.
- Build trust and comply: route alerts by role, store 7–90 days in the cloud, and pick GDPR and HIPAA compliant vendors.
As you grow, aim for fewer, higher-quality alerts, not more motion pings. That’s how teams avoid fatigue and stay sharp in 2026 and beyond.
What to Do This Week
Block two hours to start. First, walk your property with a simple map and mark 8–10 camera views you trust. Second, write your top three detections: intrusion after hours, unattended object in the lobby for 90 seconds, and smoke in back stock.
Third, ask two or three vendors for a guided 7‑day pilot that works with your current IP cameras. Fourth, stage controlled tests and record alert time, clip clarity, and who acted. Finally, pick the option that shows <3 seconds alert latency, a low false alarm rate through pattern recognition, and clean video proof.
If you want a confidence check on camera choices before you pilot, skim this practical guide to choosing cameras. Then book a short call to align zones, thresholds, and alert routing on day one.
**Schedule Your Pilot Call Today →
Security note: Look for GDPR compliant and HIPAA compliant vendors, especially for healthcare, education, and public spaces. Social proof helps too, “10,000+ cameras monitored” across 7+ countries is a strong sign a platform can handle real-world noise while keeping signals clear.