

85% of CCTV footage is never reviewed (Source: VideoraIQ Stats). Use this guide to choose video intercom system wisely in 2026 and avoid paying twice for the same door.
To pick the right setup, map your entry points, decide on wired or wireless, choose at least 1080p cameras with IR, check PoE and weather ratings, test two-way audio, confirm integrations and storage, and plan for growth. That short list covers 90% of costly mistakes I see on jobs.
If you’re protecting a single-family home, a shop front, or a multi-tenant office, the right choice starts with your door count and how people use them. Then, you line up tech that fits your wiring, your budget, and your privacy rules. I’ll show you the exact steps and pitfalls to watch for in plain language.
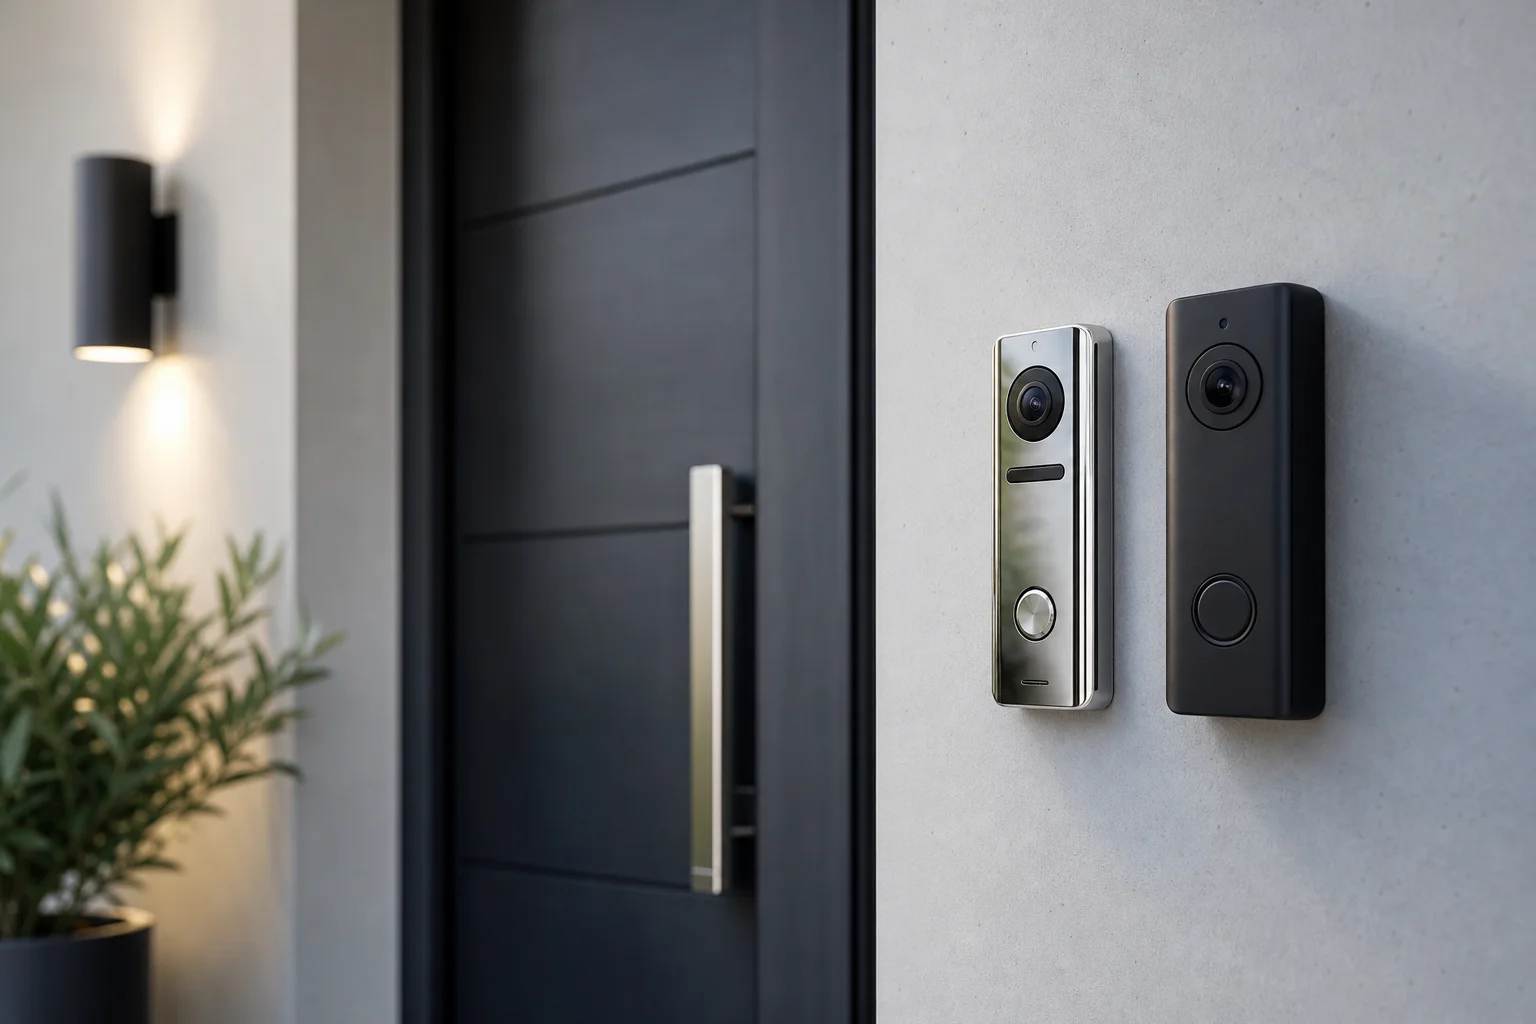 , PoE support, IP ratings (IP65, IP66), and storage types (cloud vs local); neutral color palette; legible labels; suitable for a 2026 technology guide)
What Is a Video Intercom System and Why Does It Matter?
A video intercom system lets you see and speak with people at a door, then unlock it remotely if you choose. It sounds simple. In practice, the right setup can cut missed deliveries, stop tailgating, and give you clean video proof if something goes wrong. That’s true for a small home and a 200-door office.
At its core, the system has four parts: a camera at the door, a screen or app to view it, a two-way audio link, and a door release. Add a bit of network gear, and you’re set. If you match these parts to your site, the result feels like it was made for your building. If you don’t, you end up with lag, noise, or doors that don’t open on cue.
Core Components
- Camera: Aim for 1080p or higher with infrared night vision.
- Display/App: Wall station, desk console, and/or mobile app for remote answers.
- Communication: Two-way audio, echo cancel, and low latency under 400 ms.
- Door Release: Electric strike or magnetic lock, triggered from the app or station.
For homes, think porch visibility, package checks, and fast voice calls to your phone. For apartments, think multi-tenant directories, key fobs, PINs, and visitor codes that expire. For offices, you may pair the door station with badges, mobile credentials, or visitor flows. For commercial campuses, you may need multiple entrances, guard desks, and audit logs tied to your identity system.
Moreover, weather can make or break your install. Outdoor stations should carry an IP65 or better rating to handle dust and rain. Indoors, lobby noise and echoes demand strong microphones and echo suppression. In both cases, a clean mount and proper height (about 54–60 inches to the lens) will give you faces, not foreheads.
“Installation was quick, and it worked with our current CCTV—no downtime, no extra investment.” — Sana Ibrahim, Hotel Security Lead
As a result, the right match saves time each day and pays off the first time you need video and audio proof.
Step-by-Step Guide to Choosing the Right Video Intercom System
You can choose video intercom system gear in seven steps. Follow them in order and you’ll avoid the big traps.
-
Assess entry points and scale.
Count doors now and doors you’ll add in 12–24 months. Note traffic: staff-only, public, delivery, or garage. Mark door types: single, double, gate, or roll-up. Record power and network access at each location. -
Choose wired vs wireless. Wired (Ethernet) is stable and great for new runs and offices. It supports PoE, which sends power and data over one cable. See Power over Ethernet for the basics.
Wireless can work in smaller homes or where you can’t pull cable. However, walls, metal doors, or busy 2.4 GHz bands can kill signal. If you go wireless, test RSSI at the exact mount spot.
-
Evaluate resolution and night vision.
Pick at least 1080p (2MP). For dark entries, look for true IR LEDs and low-light sensors. Avoid wide dynamic range claims without samples; ask for a night clip at your site angle. For glass lobbies, backlight handling matters more than megapixels. -
Check smart home and access control integration.
Make sure it plays nice with your locks, badges, and mobile apps. For larger sites, open standards and broad camera support help you scale. Some cloud platforms work with existing cameras across 200+ brands, so you can keep your infrastructure and still add intelligence and alerts. -
Compare cloud vs local storage.
Cloud recording means no on-prem servers to patch, and you can pull clips from anywhere. Local NVRs avoid monthly fees and keep footage on-site. Weigh retention needs: seven, 30, or 90 days change your cost curve a lot. Also, confirm who owns the data and how you export clips for legal use. -
Consider two-way audio quality.
Ask vendors to call your phone from a demo unit. Stand three feet from the mic with moderate traffic noise. Listen for clarity, volume, and echo. Latency under three seconds from press to ring keeps callers from hanging up. -
Plan for future expansion.
Choose gear that can add doors, users, and features without forklift swaps. Cloud-based systems with no need for on-premise servers scale fastest across sites. If you’ll add gates or garages, confirm relay control and vehicle detection options.
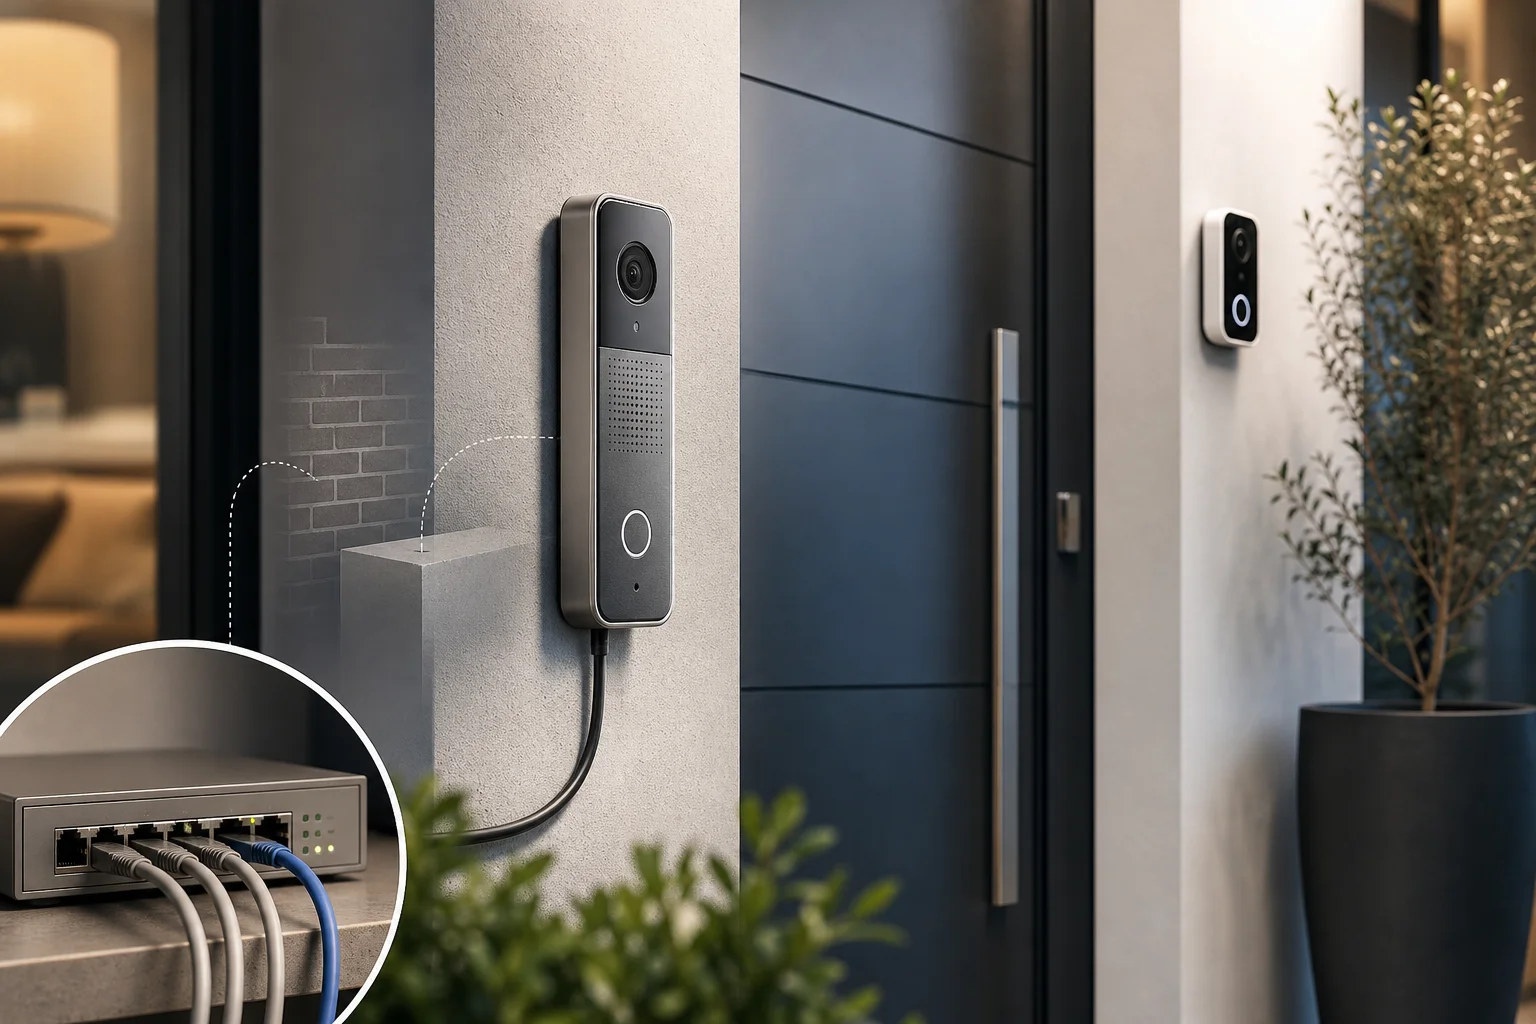
Moreover, plan power from day one. PoE simplifies installs and gives you central UPS backup. If you must use low-voltage power at the door, confirm amperage and cable gauge to prevent brownouts. In addition, label every cable run and record device MACs; this avoids hours of guesswork later.
Therefore, do a 24-hour test with motion, night scenes, and a rain or hose check. If the plate gets muddy in bad weather, swap the hood or angle before you mount for good.
**Get a free site review today →
Also Read!
How to Choose Wired Security Cameras for Your Home or Business
How to Choose a Smoke Detector Camera for Your Home or Business
Common Mistakes When Buying a Video Intercom System
First, people skip weather ratings. Outdoor hardware should meet IP65 or better. The IP Code explains dust and water standards. If you live near the coast, salt fog eats cheap housings fast. Stainless screws and gaskets are small upgrades that save you replacements.
Second, planners forget PoE. Without it, you juggle wall warts, low-voltage runs, and random outlets that die with a tripped breaker. PoE lets you power and reboot devices from the rack. It also pairs well with a UPS so a short outage doesn’t lock people out.
Third, cloud fees surprise buyers. Cloud storage and AI plans add up over 12–36 months. List the monthly per-door cost next to local NVR costs. Include retention (7, 30, 90 days) and multi-site admin time. Transparency beats a low sticker price.
Fourth, low-res cameras miss faces. Sub-1080p sensors struggle with ID at dusk or in backlight. Ask for real clips at your door height and angle. Avoid fisheye-only views at entrances; they distort faces where you need detail most.
Scaling and Cybersecurity
Fifth, multi-tenant scaling gets ignored. A four-unit intercom won’t stretch to 80 mailboxes. Make sure the directory, call routing, and user management can handle your end state. Moreover, check how guest pins expire and how you onboard new tenants.
Sixth, cybersecurity gets sidelined. Look for encrypted transport, strong passwords, and regular firmware updates. If you handle EU residents’ data, your vendor should be GDPR compliant. You can read the text in EU law at GDPR Regulation 2016/679. Also, ask how alerts and clips are shared so links don’t leak.
Quick Checks Before You Buy
- IP65+ outdoors, vandal-resistance if the door is street-facing.
- PoE support with documented power draw (802.3af/at).
- Clear pricing on storage and AI features; note retention days.
- 1080p or higher, with IR night vision and backlight handling.
- Multi-tenant directory capacity that matches your growth plan.
- Security posture: encryption, patch cadence, and access logs.
As a result, you’ll dodge the most common do-overs and save real money.
Top Tools and Platforms for Video Intercom and Entry Security
Residential and Small Offices
You have solid choices across home and commercial needs. For residential doors, Ring and DoorBird are popular for quick installs and mobile apps. They suit single-family homes and small offices that need fast remote answers, basic logs, and clear video at the door.
Commercial and Multi-Tenant
For commercial sites, Aiphone and 2N are long-standing names with pro-grade door stations, desk consoles, and wide access control support. They shine where you have guard desks, multi-tenant directories, and compliance needs. Moreover, their hardware options span surface and flush mounts, keypad and RFID, and weather-hardened builds.
AI Overlay With Existing Cameras
For sites that already have cameras and want smarter detection and alerts, tools like VideoraIQ layer AI on top of existing infrastructure. It works with existing cameras across 200+ brands and is cloud-based with no need for on-premise servers. You get 9 AI detection engines, including face recognition and intrusion detection, and real-time alerts with video proof, location tag, and timestamp.
According to published stats, the platform has 99.4% detection accuracy, <3 seconds alert latency, monitors 10,000+ cameras, and is deployed in 7+ countries. Tiers offer 7-day, 30-day, or 90-day cloud retention, so you can match budget and risk. It’s also GDPR compliant, which matters if you operate in or serve the EU.
“We went from finding out about incidents in the morning briefing to being notified in real time. That one event alone justified the entire platform cost.” — Ananya Mehta, Head of Facilities, 200-Camera Corporate Campus
Therefore, your pick can be a single door station with an app, a full intercom suite, or an AI layer that adds smart alerts to the cameras you already own. Choose based on door count, growth, and how you plan to respond to events.
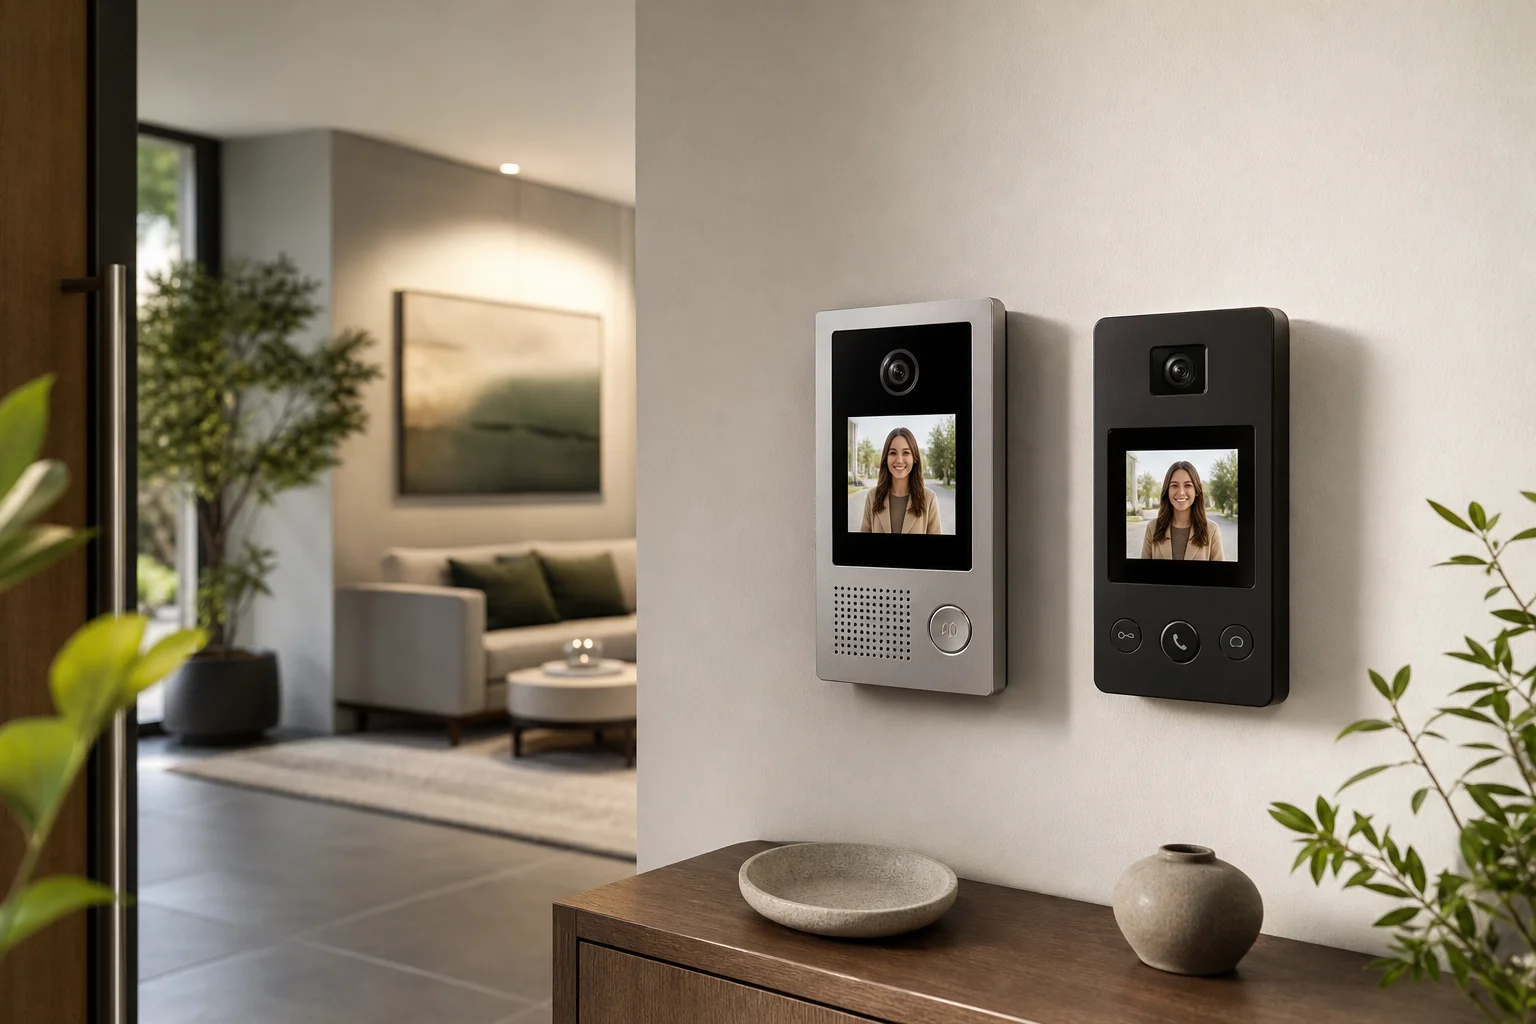 , commercial systems (Aiphone, 2N), and an AI overlay platform (VideoraIQ) mapped against features like multi-tenant support, PoE, IP rating, AI detections, cloud retention)
Also Read!
What to Do Next: Your Video Intercom Action Plan
Here’s a simple one-week plan that works for homes and businesses alike. It keeps you moving while leaving room to test before you buy.
- Day 1: Walk every entry. List doors, traffic types, and hours. Take photos from the visitor’s view and from where you’d mount the station.
- Day 2: Decide wired or wireless per door. Note PoE switch needs and outlet gaps. If wireless, test Wi‑Fi strength at the exact mount spot.
- Day 3: Shortlist 2–3 vendors per category (residential, commercial, AI overlay). Note must-haves: 1080p+, IR, IP65+, PoE, two-way audio, and integration with your locks or badges.
- Day 4: Request live demos. Ask for a night clip, a rain clip, and a sample call to your phone. Time the ring. Check audio clarity and echo.
- Day 5: Verify integrations. Confirm door release wiring, access control tie-ins, and whether they support your existing cameras.
- Day 6: Compare storage. Price out cloud vs local with 7-, 30-, and 90-day retention. Include export process, user roles, and audit logs.
- Day 7: Negotiate install terms. Lock in cable labeling, as-built docs, training, and a 30-day burn-in period to catch faults.
As a result, you’ll have a clear, priced plan and proof that the system works in your space.
**Schedule a free vendor walkthrough →
Key Takeaways
Choosing the right door tech is less about brand and more about fit. You want clear video, clean audio, and doors that open when and how you say. Here’s what to remember as you choose video intercom system features in 2026 and beyond.
- Start with the map. Door count, traffic types, and wiring paths shape every choice after that.
- Favor PoE and IP65+ outdoors. One cable to power and network, and a housing that survives rain and dust.
- Demand 1080p+ and real night clips. Pretty spec sheets won’t help if faces blur at dusk.
- Test two-way audio live. Call your phone from a demo unit and check echo and delay under real noise.
- Plan storage and privacy up front. Price 7-, 30-, and 90-day retention, and make sure the vendor is transparent on data ownership and GDPR if you need it.
Moreover, think about growth. If you’ll add tenants or sites, pick systems that scale without swapping hardware. Cloud-based options with no on-prem servers save you from a closet full of gear you’ll hate in two years. On the other hand, if your risk is low and you want one-time costs, a local recorder and a simple door station might be all you need.
Finally, use real numbers to compare. Pull quotes for hardware, cabling, licenses, and support over three years. Then add the soft costs you’ll avoid: fewer missed calls, faster entry, and clips you can pull in minutes, not hours. That’s how you decide with confidence.
What to Do This Week
Block two hours on your calendar to kick this off. First, walk your entries with a notepad and list power and network options at each door. Second, email two vendors for a live demo that includes a night clip and a phone call from their door station. Third, ask how their system handles PoE, IP65+ outdoors, and storage at 7, 30, and 90 days. Fourth, confirm integration with your current locks or badges, and whether they can work with cameras you already have across different brands.
Then, price a small pilot at your busiest door. Give it one week to run through day, night, rain, and deliveries. If it passes, scale to the rest with the same parts and settings. If it fails, you learned fast and cheap.
When you’re ready, bring in an installer for a quick site review and a firm quote. Clear specs now beat surprises later.