

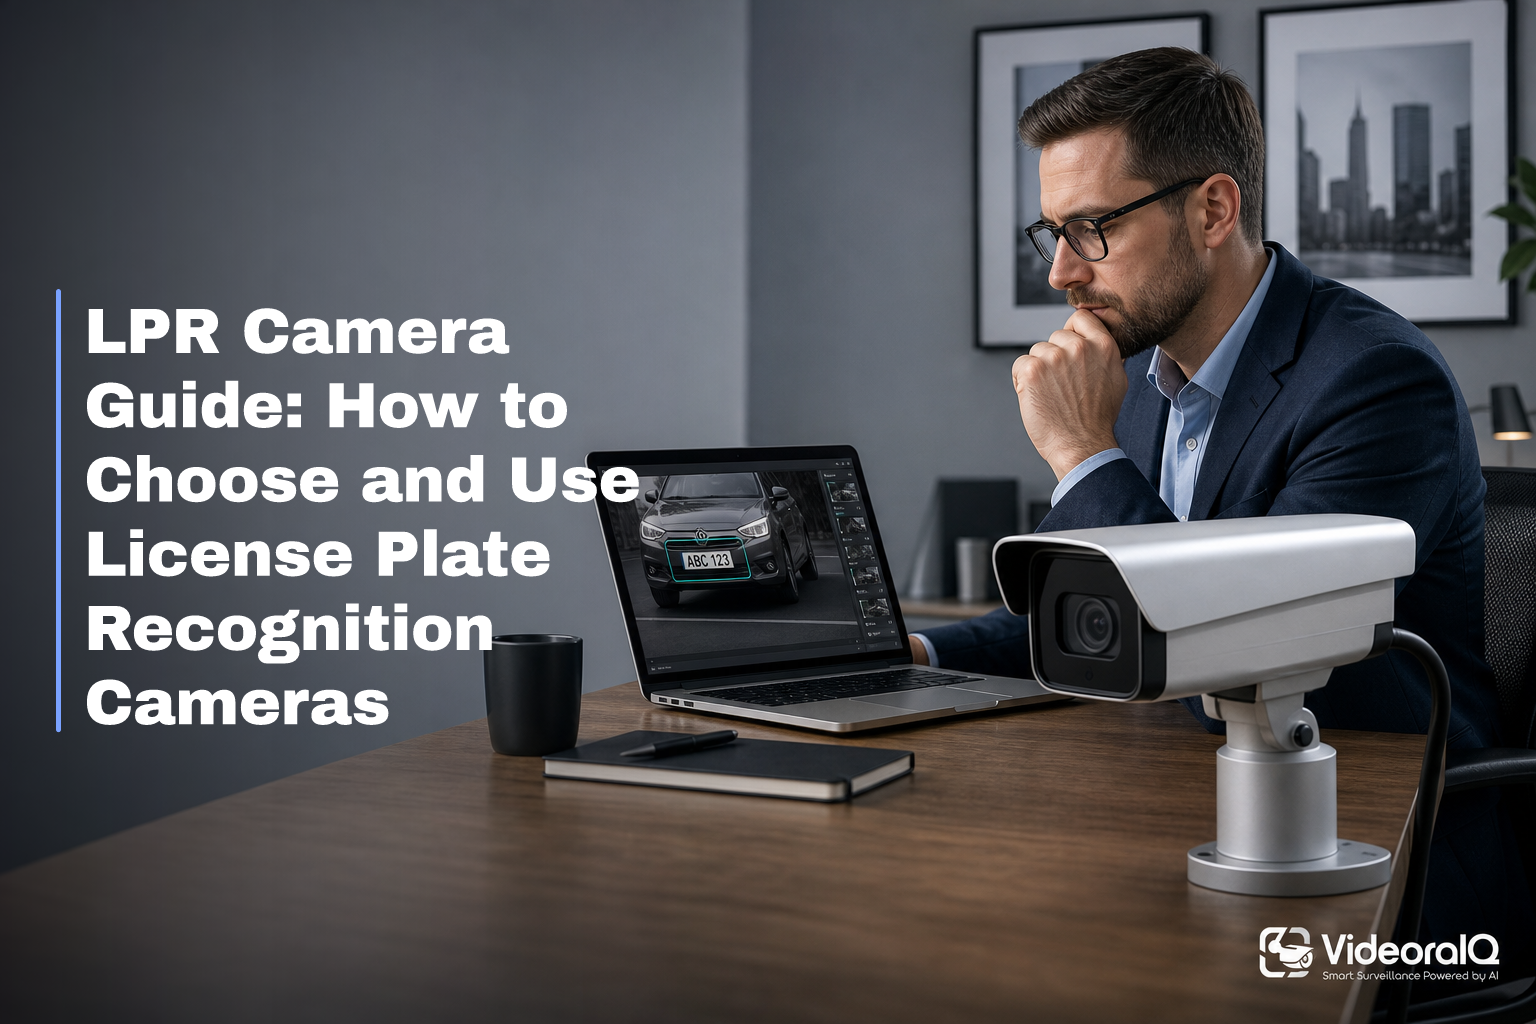
At 2:03 a.m., your guard sees glare and a blur; the right setup reads the plate and pings your phone in seconds. You choose and use LPR by matching camera angle and lens to a single lane, forcing a fast shutter, adding IR for night, and pairing it with ANPR software that logs plates in your VMS. This lpr camera guide choose article gives you a step-by-step plan that installers use in the field in 2026.
As a result, you’ll stop guessing. You’ll know the target distance, lane width, shutter speed, IR range, and integration path before you buy a single part. Moreover, you’ll avoid the classic traps: bad mounting angles, headlight glare, and chasing “4K” while ignoring motion blur.
For background, Automatic Number Plate Recognition (ANPR) reads plates using computer vision and OCR. It works best when you design for one job: capture plates in a defined zone at predictable angles and speeds. Therefore, the goal of this guide is simple: make every plate read count, day or night, rain or dust.
What Is an LPR Camera and How Does It Work?
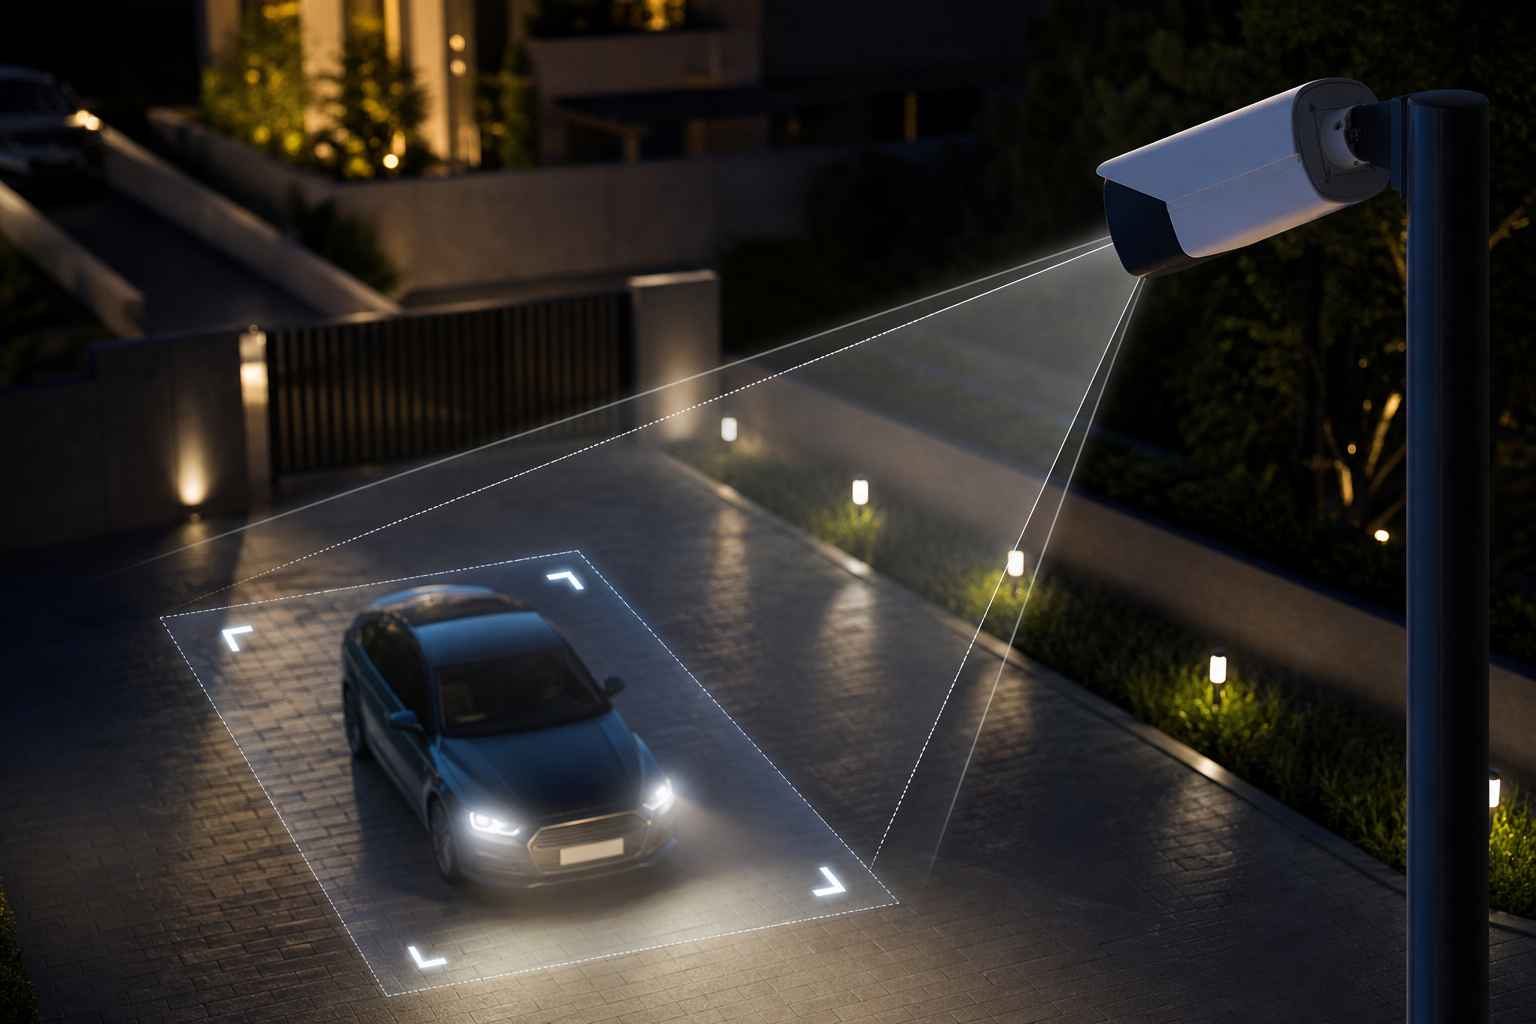
An LPR (or ANPR) camera is a camera-and-software combo that reads license plates. The camera captures a sharp image of the plate; software then uses OCR (optical character recognition) to turn pixels into text, like “MH12AB1234.” In addition, the system can run “object and license plate recognition” together, so it knows a vehicle is present and a plate is visible.
Here’s the flow. First, the camera frames a single lane so the plate fills enough pixels to be legible. Second, a fast shutter freezes motion to avoid blur from vehicles at speed. Third, built-in or add-on IR (infrared) light floods the capture zone so plates are bright and consistent at night without blinding drivers. Finally, ANPR software finds the plate, reads the characters, and stores the result with time, camera, and often GPS or site tags.
Real-world accuracy depends on capture quality, not just algorithms. Vendors advertise figures like “99.4% detection accuracy,” but those are often ideal lab conditions. In practice, dirty plates, bent plates, plate covers, non-standard fonts, reflective sheeting, rain, and glare all drag accuracy down. Therefore, plan for the field: keep angles modest, force short exposure times, and light the scene with IR so reflective plates don’t blow out.
Moreover, the term “capture camera” matters. A capture camera is tuned for plate reads, tight field-of-view, fixed focus, fast shutter, and strong IR. An “overview camera” shows the whole scene, who was driving, vehicle color, and context, but it may miss reads at night or at speed. You usually want both: one for plate certainty, one for scene awareness.
For a neutral primer on the concept, see Automatic number-plate recognition (ANPR).
Capture vs. Overview in One Look
- Capture: tight lane view, fast shutter, IR on, reads the plate reliably
- Overview: wider scene, slower shutter, color detail, may not read the plate
- Best practice: pair them and link events in your VMS
As you read this lpr camera guide choose section, remember: software can only read what the camera captures.
Also Read!
How to Choose Face Recognition and License Plate Camera Software for Corporate Campuses
How to Choose the Right LPR Camera: A Step-by-Step Framework
You can pick the right gear and settings in under an hour with a tape measure, Google Maps, and this plan. This lpr camera guide choose framework keeps each decision in order so you don’t rework mounts or buy the wrong lens.
Step 1: Define the Use Case
Decide where and why you want reads.
- Parking: 0–15 mph, repeat traffic, fixed lanes, access control lists
- Law enforcement/roadside: 20–70 mph, mixed plates, changing light
- Gate/lot access: stop-and-go, barrier arms, trigger by loop or line-cross
For access control, favor high confidence reads and tight views. For roads, favor fast shutters and clear angles.
Step 2: Calculate Capture Distance and Lane Width
Measure the distance from camera to the plate where you want the read. Measure the lane width you must cover. As a rule, design to cover one lane, not two. If your lane is 3.0–3.7 m wide, set your field-of-view to cover just that width at the capture distance so plates fill at least 130–200 pixels in width for solid OCR.
- If your pole is 12–18 m from the capture point, use a lens that frames 3–4 m of width at that range.
- Keep horizontal angle in the 15–40° “sweet spot” to reduce skew and reflections.
For more framing tips, see the general placement advice in how to choose the right outdoor camera for your property.
Step 3: Check Resolution and Shutter Speed Needs
Resolution alone doesn’t fix motion blur. Force a fast shutter (for example, 1/500–1/2000 s) so a car at 30–50 km/h stays crisp. Then raise gain/ISO or add IR to keep exposure bright. If you must pick, choose shutter over pixels for plate clarity. A 1080p stream with a 1/1000 s shutter often beats a 4K stream at 1/60 s for reads.
- Lock exposure: manual or shutter-priority, fixed gain at night
- Disable WDR in the capture preset at night if it adds ghosting
Step 4: Evaluate IR Range for Night Capture
Use IR to make plates look the same at 10 p.m. as at 10 a.m. Aim IR to cover your capture box, not the whole driveway. Too much IR at close range will clip reflective plates; too little and you’ll chase gain noise. If the camera’s IR falls short, add an external IR illuminator aimed low and tight.
- Match IR range to your 12–20 m capture zone
- Shield IR to avoid bouncing off nearby signs or walls
Step 5: Assess Integration with VMS or Access Systems
Confirm that your ANPR software logs plates to your VMS, triggers real-time alerts, and can open gates when a list matches. Cloud tools that “work with existing cameras across 200+ brands” reduce hardware churn. In addition, some platforms are “cloud-based with no need for on-premise servers,” which cuts install time and IT overhead.
Step 6: Budget for Software/Cloud Costs
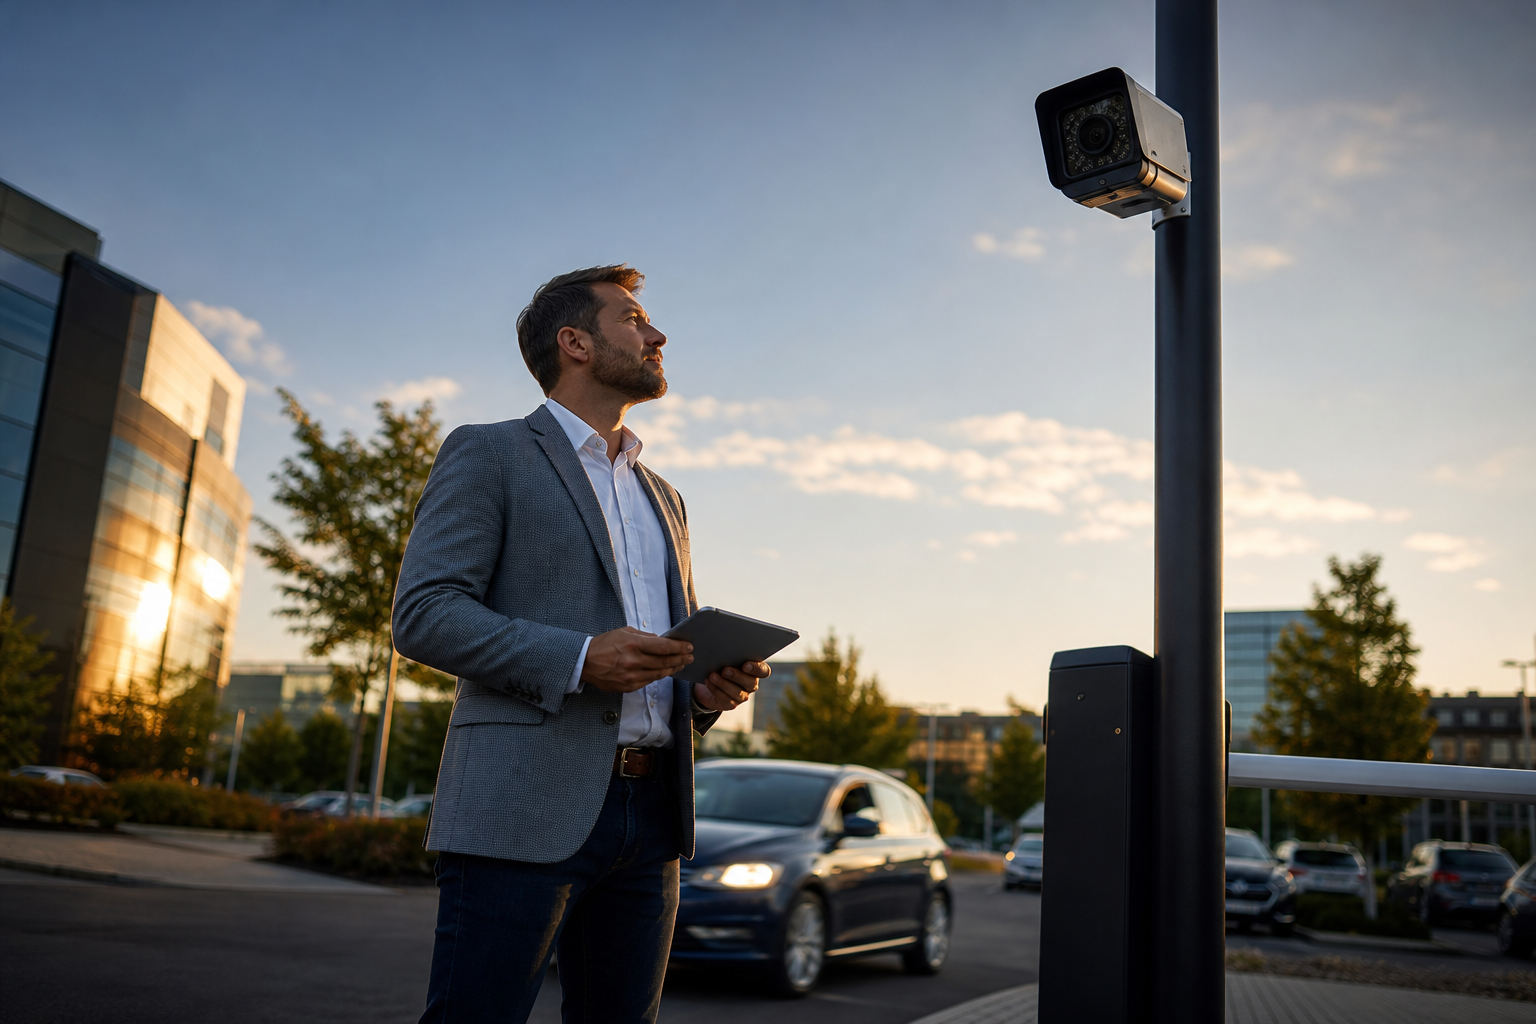
Add up the true cost: camera(s), mounts, IR, cabling, and the ANPR software license. Cloud ANPR is priced per camera per month; on-prem is a per-server license plus maintenance. Include storage for clips and plate logs. Build a 2026 budget line for a 30-day pilot and a scale-up phase so you can prove value before a full rollout.
Tip: If you’re comparing options, test one lane for two weeks, nights included, and track read rate, false reads, and alert time to action.
Finally, don’t forget privacy. If your site must meet GDPR or HIPAA rules, make sure the vendor’s data handling is GDPR compliant and HIPAA compliant for peace of mind.
**Get instant ANPR alerts set up →
5 Common LPR Camera Mistakes That Kill Accuracy
Good gear fails with bad setup. This lpr camera guide choose section lists the five mistakes that cause missed plates, and the quick fixes.
1) Mounting Outside the 15–40° Rule
If you shoot from 60° off to the side or too high, the plate skews and reflects. Fix it by re-aiming or moving the mount so the horizontal angle is 15–40° and the vertical angle is modest (for example, 10–20°). Keep the plate near the center of frame at the capture point.
2) Ignoring Headlight and Retroreflective Glare
High beams will wash plates if exposure is slow or IR is too strong. Use a fast shutter, reduce gain, and aim IR slightly off-axis. If glare persists, add a polarizing filter and test again at night.
3) Underestimating Bandwidth Needs
A 1080p stream at high shutter and bitrate can be 4–8 Mbps per camera. If you run four LPR streams plus overviews, you can saturate a small uplink. Fix it with VBR limits, scene-based recording, or on-camera ANPR that sends only plate events upstream.
4) Skipping Night Testing
Day-only tests hide your biggest risks. Run a full dark test across weather, including rain, fog, and dust. Then tune IR and shutter and recheck the read log. Some cloud tools deliver “real-time alerts with video proof, location tag, and timestamp,” so you can review fast and act.
5) Choosing Resolution Over Shutter Speed
A 4K stream at 1/60 s will smear a plate. A 1080p stream at 1/1000 s will likely nail it. Lock shutter first, then pick resolution. Finally, confirm alert speed. Systems that hit “<3 seconds alert latency” from read to push can make the difference between a blocked exit and a getaway.
"We went from finding out about incidents in the morning briefing to being notified in real time. VideoraIQ caught an intruder at 2AM that our overnight guard missed. That one event alone justified the entire platform cost." — Ananya Mehta, Head of Facilities, 200-Camera Corporate Campus
Moreover, document each fix you make so you can replicate it across lanes without guesswork.
Also Read!
How to Choose Face Recognition and License Plate Camera Software for Retail Stores and Chains
LPR Camera Software and Tools Worth Considering
Hardware alone won’t read plates. You need analytics that run ANPR on the stream, log results, and trigger actions. You have three broad paths: open-source ANPR, dedicated LPR hardware, and cloud AI that adds ANPR to IP cameras you already own. This lpr camera guide choose segment outlines each.
Open-source options like OpenALPR can run on a local server or edge box. They’re flexible, and you keep control, but you’ll manage updates, plate country packs, and GPU needs yourself. Dedicated LPR hardware from brands like Axis, Hikvision, or Dahua bundles tuned sensors and built-in ANPR apps. It’s simple to deploy lane-by-lane but can cost more per lane and may lock you into one vendor.
Cloud AI platforms, such as VideoraIQ, add ANPR to existing IP cameras. They “integrate with existing IP-based CCTV systems without additional hardware” and offer “9 AI detection engines including number plate (ANPR).” In addition, they’re designed for “smooth integration with most existing surveillance infrastructure,” so you can keep your VMS and cameras and still get real-time plate alerts and searchable logs. If you need proof and audit trails, look for “Real-time alerts with video proof, location tag, and timestamp” and exports your compliance team will accept.
For scale, check two more boxes: deployment footprint and data handling. Platforms that have “10,000+ cameras monitored” and are “Deployed in 7+ countries” have been proven in many environments. If you process personal data, confirm they are GDPR compliant and, for health campuses, HIPAA compliant.
Finally, match the tool to your site. Law enforcement needs more on-vehicle, in-vehicle, or roadside options. A corporate gate needs lists, schedules, and a clean access-control handshake. Parking needs plate-based payment links and clear logs.
What to Do Next: Your LPR Camera Action Plan
This is the fast path from idea to live reads. Use this lpr camera guide choose action plan to reduce risk and speed up your first lane.
- Audit current camera positions. Note height, angle, distance to plate, and night lighting.
- Test one lane first. Pick a single entrance or exit with clear sight lines.
- Document capture requirements. Write target distance (e.g., 15 m), lane width (e.g., 3.5 m), and shutter (e.g., 1/1000 s).
- Request demos from 2–3 vendors. Ask for daytime and nighttime test clips on your lane.
- Plan a 30-day pilot. Track read rate, false positives, alert speed, and operator effort.
Before you scale, loop in IT for bandwidth and storage, legal for retention and privacy, and ops for gate logic. Moreover, if you’re evaluating “cloud-based with no need for on-premise servers” options, confirm how they handle loss of connectivity and how alerts retry.
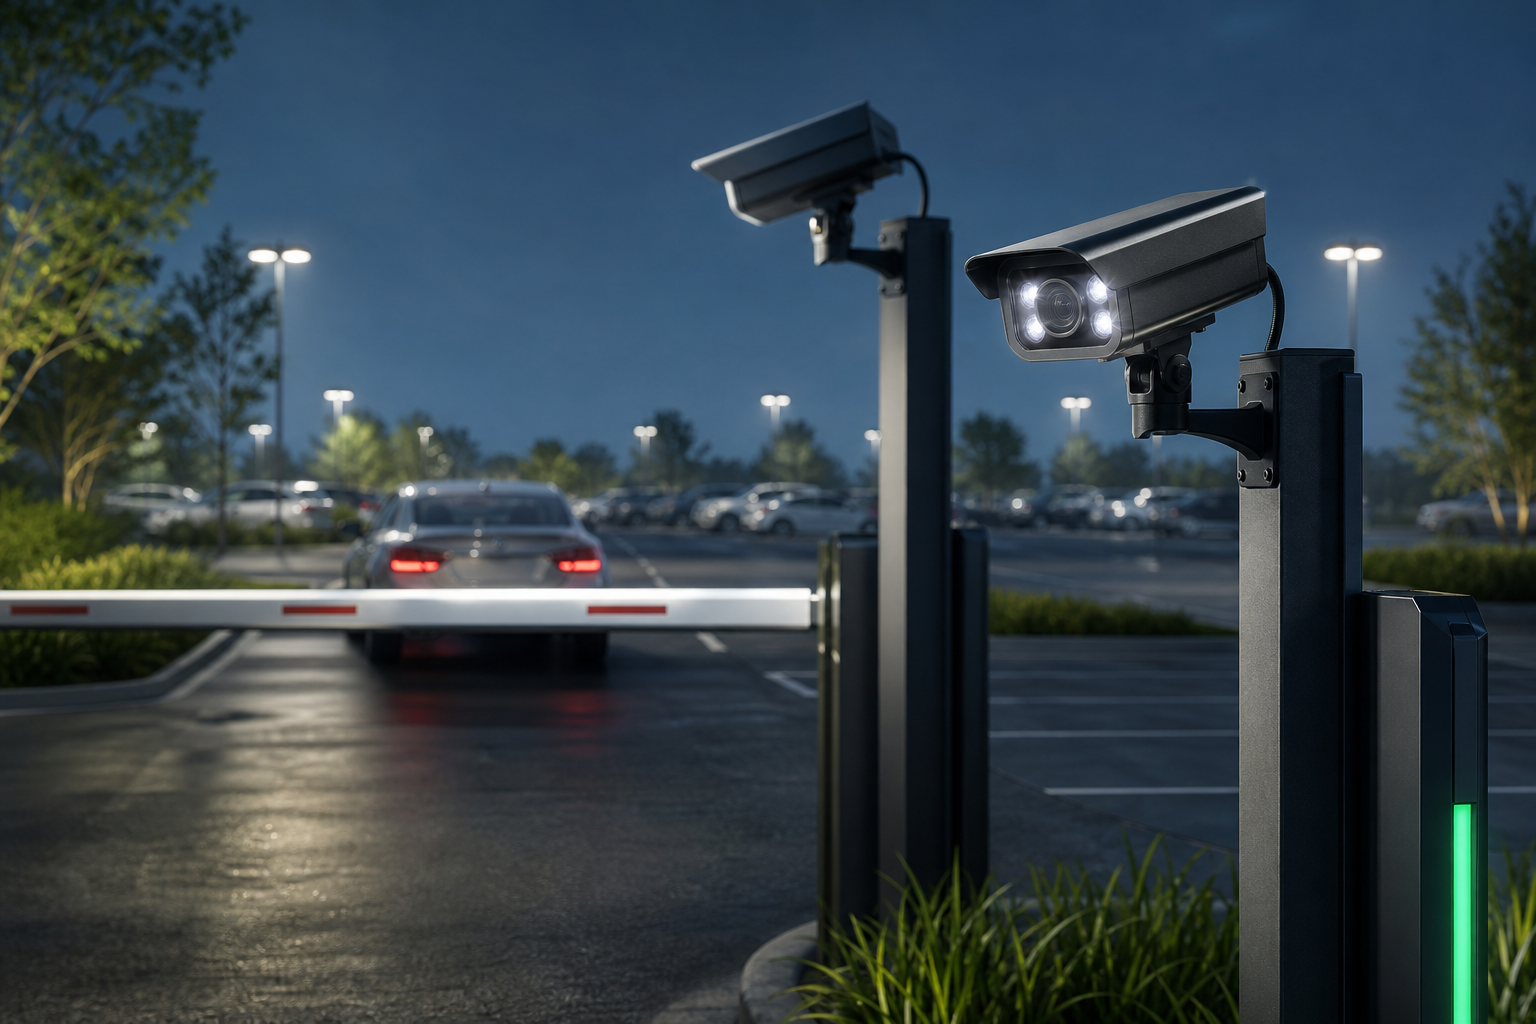
If you want more placement ideas for stealth form factors, see how to choose a smoke detector camera for your home or business.
**Schedule your pilot, instant setup →
Key Takeaways
- Design for one lane at a time. Keep angles in the 15–40° window and plates large in frame.
- Shutter speed beats resolution for reads. Think 1/500–1/2000 s with IR to keep it bright.
- Pair capture and overview cameras. Read the plate and see the scene.
- Cloud ANPR can “work with existing cameras across 200+ brands,” cutting install time in 2026.
- Pilot for 30 days. Measure read rate, false reads, and alert latency before you roll out.
What to Do This Week
Walk your entrance with a tape and notepad. Pick one lane, mark a capture box at 12–18 m, and pick a mount point that yields a 20–30° horizontal angle. Then request two demos that include night clips and a 30-day trial. Finally, prepare your VMS to receive plate events and alerts so your team can act fast.
**Start your pilot, no extra hardware →
Moreover, keep a simple log of settings and outcomes. By week’s end, you’ll have your first reliable lane and a template you can repeat across the site in 2026.