

85% of CCTV footage is never reviewed (Source: VideoraIQ Stats). To set up unattended baggage detection in 2026, use your existing IP cameras, draw virtual zones, tune time thresholds by area, and route fast alerts into a clear, rehearsed response plan.
Unattended baggage detection helps you spot a bag left near Gate B12 during a boarding rush before it becomes a platform hold or terminal sweep. The system uses computer vision to flag static objects, measure how long they remain, and alert when they cross a time limit you set. As a result, you shrink the gap between “bag is left” and “team is moving,” which is where risk grows.
Moreover, you don’t need to replace your cameras. Modern AI models watch the live feeds you already have and send alerts with clips, timestamps, and camera names. Legacy rule-based analytics struggle in crowded scenes and fire on shadows and carts. However, AI-driven pattern recognition now cuts false alerts by learning what “normal” looks like in each zone.
For clarity, this is a force multiplier. It does not replace patrols or control room eyes. Instead, it watches every feed at once, 24/7, and calls out events your team would miss after six screens and 90 minutes.
Why Unattended Baggage Detection Is a Critical Gap in Airport and Transit Security
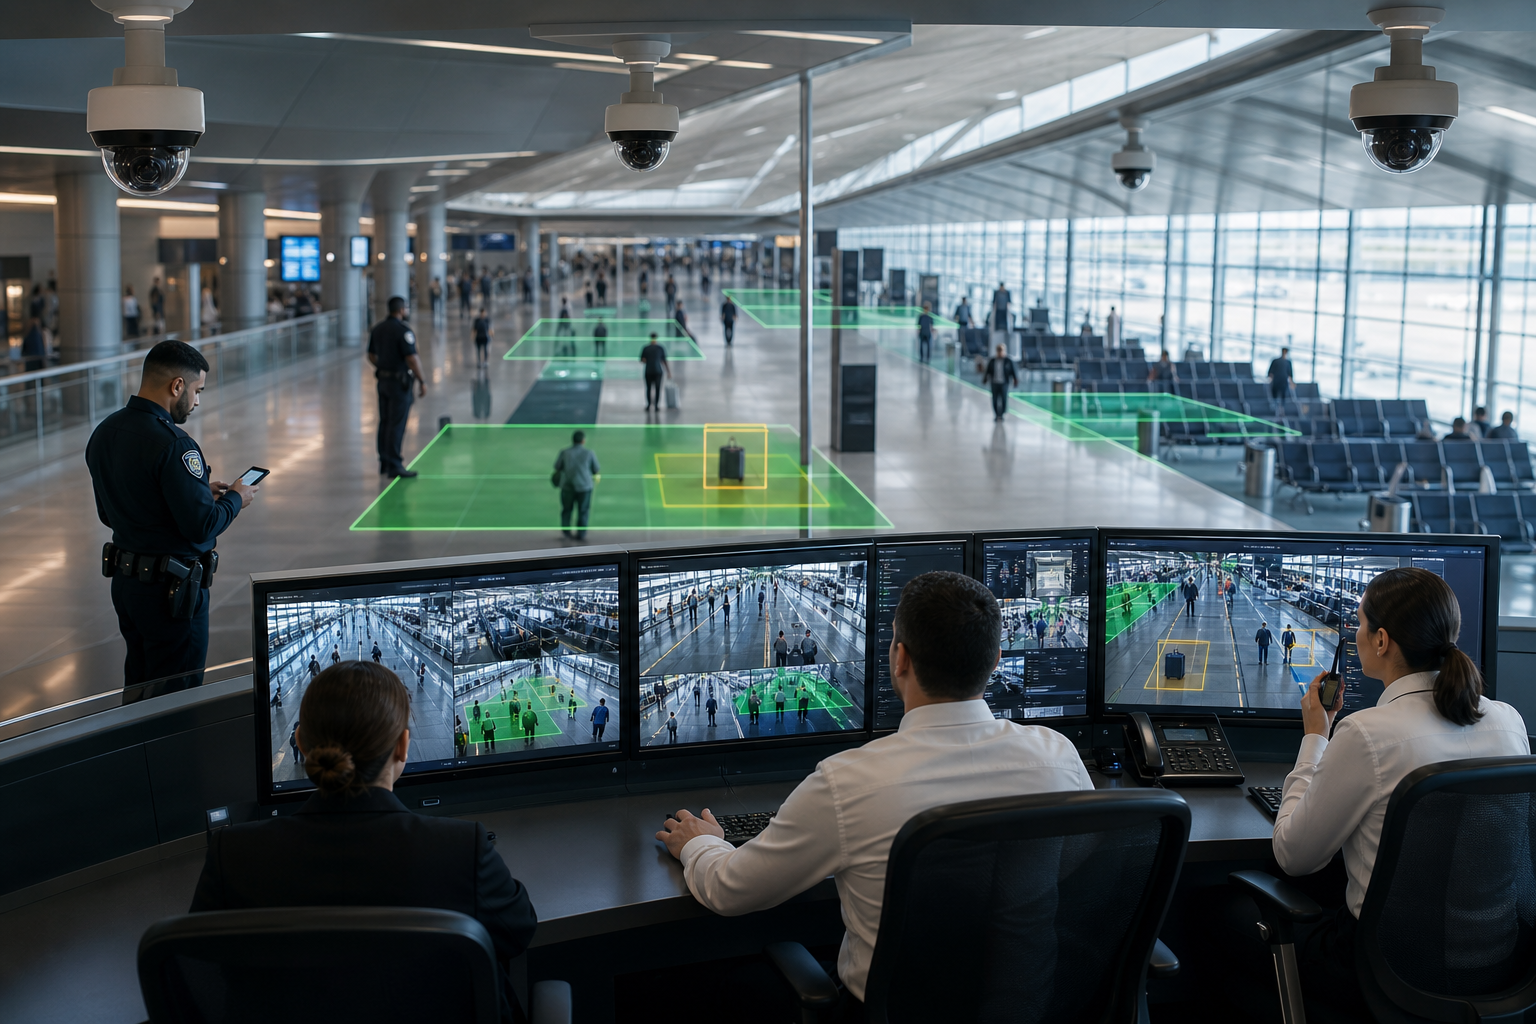
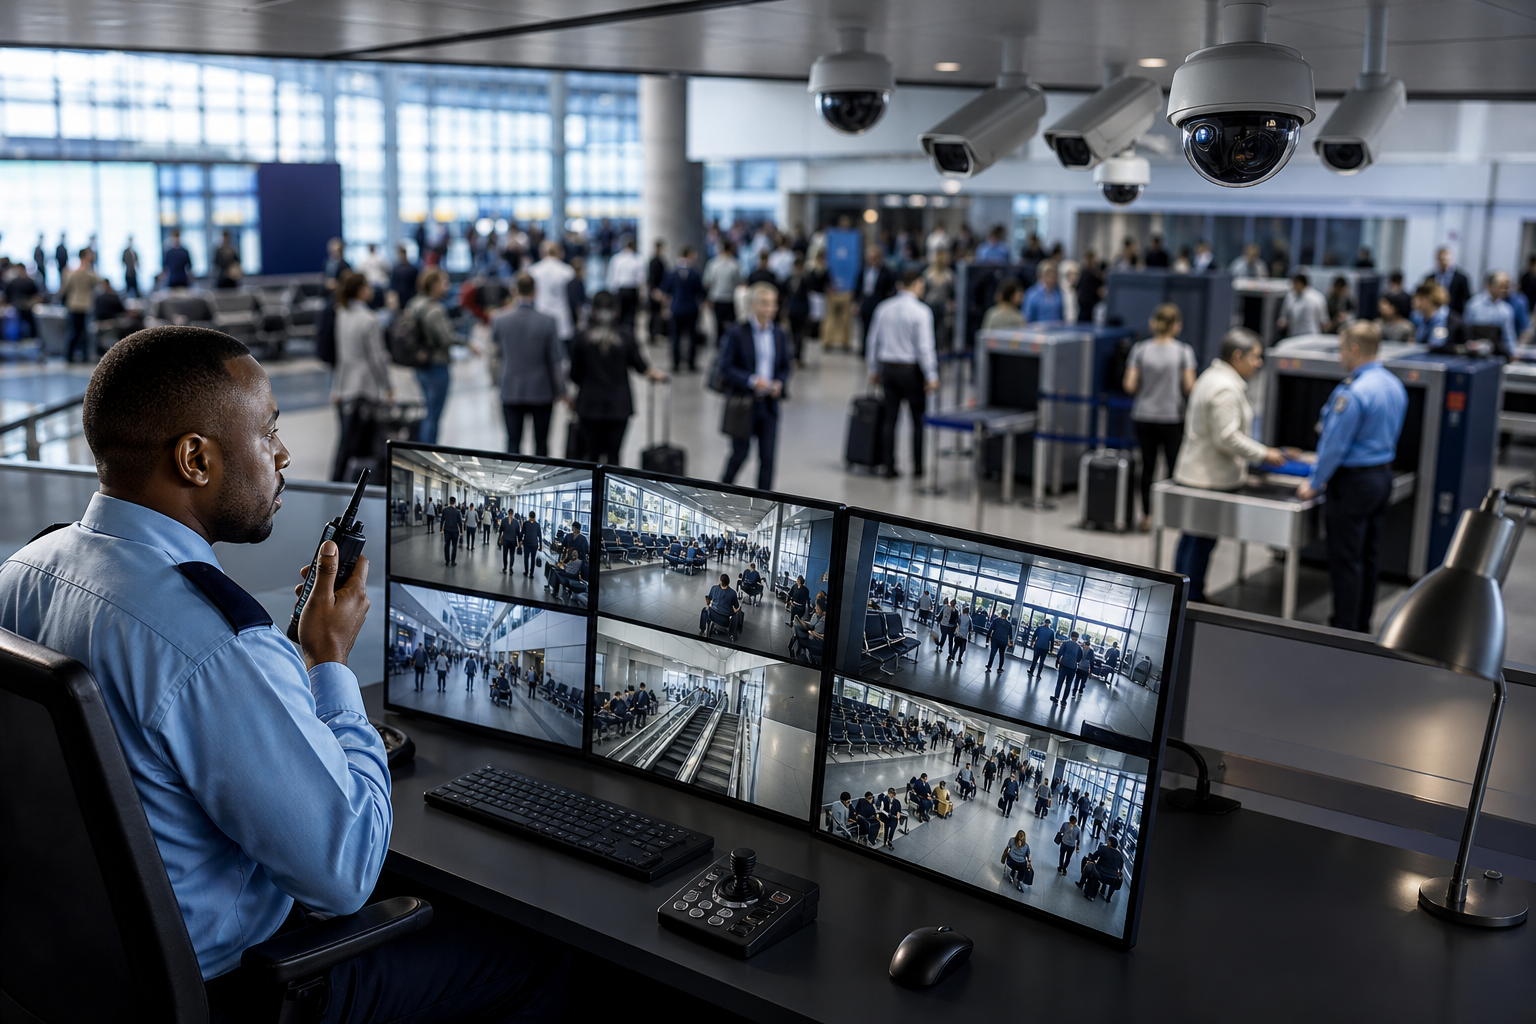
Most control rooms are outnumbered by screens. Per VideoraIQ Stats, 85% of CCTV footage is never reviewed. In busy terminals, a bag can sit for 6–12 minutes before anyone notices. Meanwhile, manual patrols and periodic PA reminders create gaps, especially at shift change, during gate holds, and at platform turnarounds.
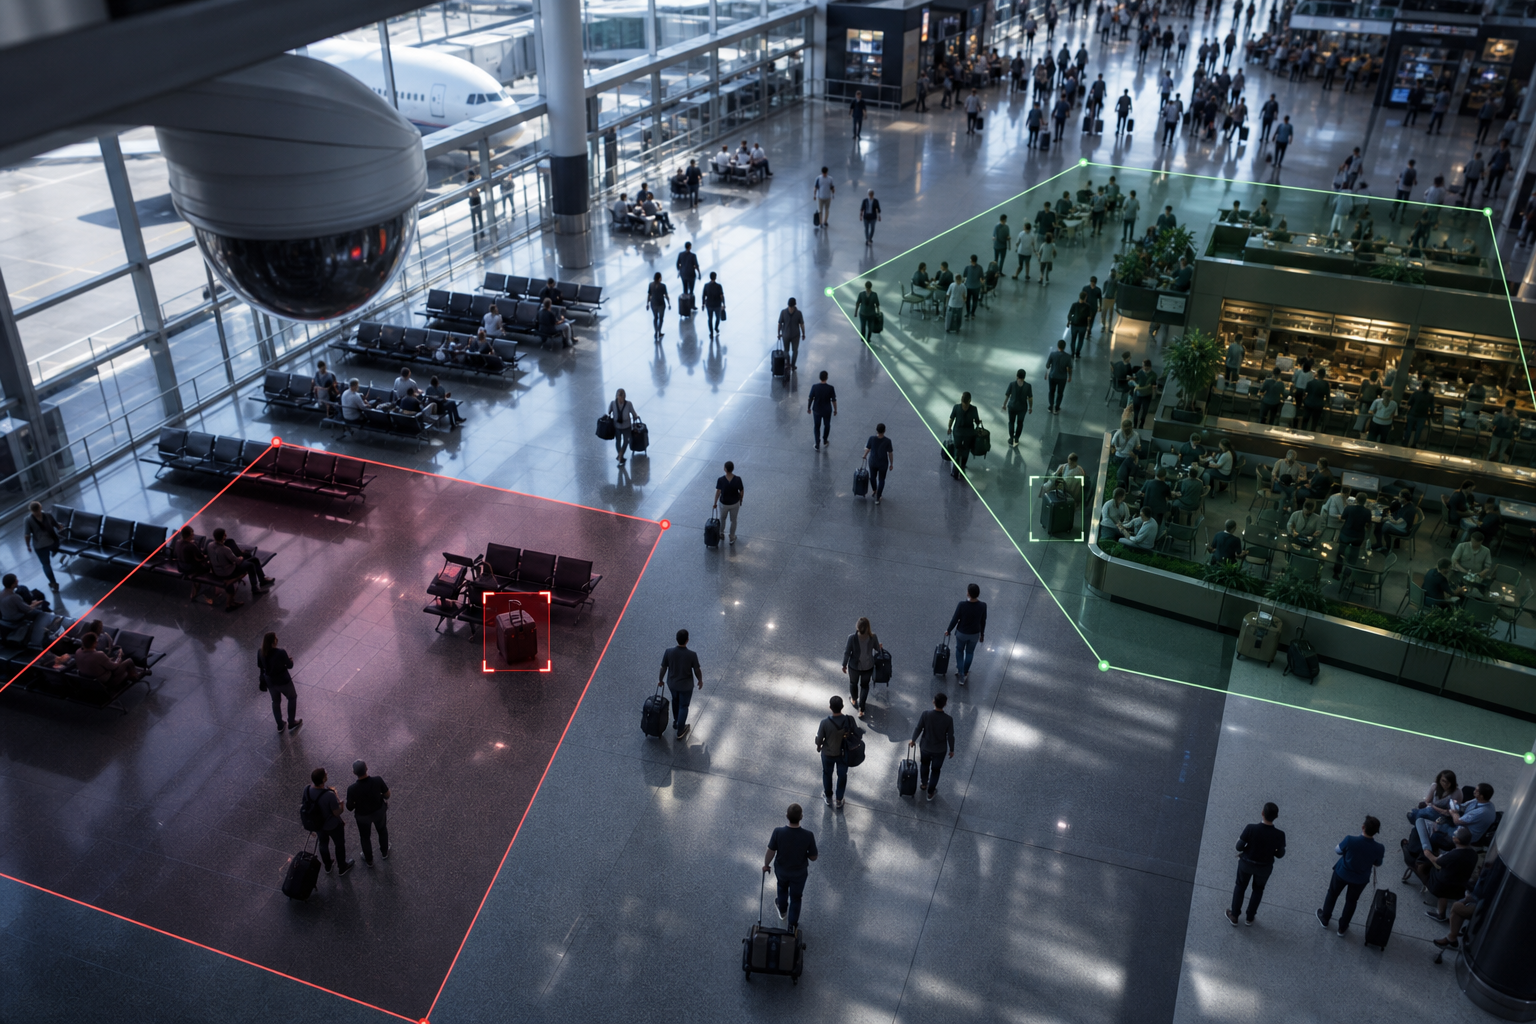
Modern systems use AI-powered object recognition to identify static items in live video feeds, then track dwell time. Specifically, you define how long an item can remain before an alert fires, 30 seconds in a sterile corridor, 3–5 minutes in a food court. Therefore, you get fewer noise pings and more actionable alerts.
On the other hand, rule-based analytics fire on simple pixel changes. That inflates false positives in crowds, wheelchairs, strollers, cleaning carts. In contrast, AI-driven pattern recognition learns the scene. It can tell a bag that is next to a seated owner from one left against a column, and it adjusts to lighting and crowd flow across the day.
Importantly, this isn’t about fewer people. It’s about better timing. The system flags events within seconds, with a clip, time, and camera name. Your operators decide the next step, then dispatch field teams with context. As a result, you tighten the loop from detection to action without adding more screens to watch.
- Common miss points you can close:
- Bags left during boarding holds at B gates when crowd density peaks
- Items set down near platform edges while riders check phone apps
- Luggage parked at baggage reclaim belts during carousel jams
- Back-of-house corridors with intermittent patrol coverage
How AI Detection Works, Briefly
- It finds “new static objects” against a learned background.
- It tracks the object’s dwell time inside defined polygons.
- It suppresses alerts when a human is attached to the object.
- It fires only when your time threshold is crossed.
For background on the science behind this, see computer vision.
Also Read!
Best Face Recognition & License Plate Camera Software for Retail Stores and Chains in 2026
Step-by-Step: Deploying Unattended Baggage Detection in High-Traffic Environments
Rolling this out in a live terminal or station needs a simple, steady plan. Here’s the six-step framework I use with peers across airports and metros.
-
Audit your camera infrastructure
First, inventory every IP camera: model, FOV, height, frame rate, resolution, and mounting point. Map coverage and note glare, occlusion, and overlaps. In practice, you can keep your hardware, modern platforms work with existing cameras across 200+ brands. As a result, you avoid the cost and downtime of a rip-and-replace. -
Identify high-risk zones
Second, mark ticketing halls, boarding gates, platform edges, baggage carousels, and concourses. Draw virtual “watch zones” over those areas. Zone-based monitoring keeps analytics focused where unattended items cause operational impact, like delaying pushback at Gate A14 or forcing a platform clear during peak headways. -
Define detection thresholds
Third, set per-zone time limits. In sterile corridors or staff-only rooms: 20–45 seconds. At gates: 90–180 seconds. In concourses and food courts: 3–5 minutes. Moreover, use your baseline: if average “set down, look up, pick up” is 40–60 seconds at Gate C7, a 90-second threshold will avoid noise while staying safe.
Configure, Pilot, and Scale
-
Configure alert workflows
Fourth, decide who gets what and where. Control room operators need a dashboard alert with a live link, timestamp, and camera label. Field officers may need a 10–15 second clip pushed to mobile. Law enforcement can receive escalations only when a second check confirms no person is attached. Therefore, you keep speed without over-alerting everyone. -
Run a focused pilot (2–4 weeks)
Fifth, choose one terminal or one platform group with real traffic. Measure three numbers: detection accuracy, false alarm rate, and response time. For example, aim to cut detection-to-alert time from 12 minutes to under 30 seconds and keep false alarms under 5% across the week. In addition, log causes of noise (glare at 4 p.m., cleaning carts at night) and adjust zones or thresholds. -
Scale and integrate
Sixth, expand zone-by-zone. Then connect alerts to your incident platform, access control, and PA system for scripted announcements. Cloud-based platforms mean no on-prem servers to maintain, which speeds rollouts. Furthermore, auto-captured video evidence with timestamps and camera locations speeds after-action reviews and training.
Practical tips that save time:
- Mount cameras high and forward to reduce occlusion from crowds.
- Lock frame rates at 15–25 fps for reliable tracking in movement.
- Avoid reflective floors without a polarizing filter or angle tweak.
- Test with real scenes: rush hour, cleaning shifts, and gate holds.
“Calibration wins pilots. Spend two hours tuning thresholds and drawing zones, and you’ll cut your false alarms by half in week one.” — Field note from a major metro operations lead
Common Mistakes Airports and Transit Stations Make with Baggage Detection
Mistake 1: Uniform thresholds everywhere
A single 30-second timer sounds tough but creates chaos in a lounge. People set bags down to scan a boarding pass or grab a coffee. Instead, base dwell thresholds on measured patterns in each zone. For instance, your restricted corridor can sit at 30 seconds, but Gate D4 may need 150 seconds to prevent alert fatigue during boarding.
Mistake 2: Ignoring false alarm fatigue
If operators see hundreds of false pings per shift, they mute all pings. AI-driven pattern recognition helps by linking bags to nearby owners and suppressing alerts until separation persists. Therefore, ask vendors to show low false alarm rates on your real footage, not lab clips.
Mistake 3: Treating detection as a standalone fix
Detection without a 60-second response playbook adds noise, not safety. Define the path: operator verification (under 10 seconds), radio dispatch (under 20 seconds), field arrival (under 60 seconds), and PA if needed. Moreover, train shifts with recorded clips and your SOP.
Privacy and Compliance
Mistake 4: Skipping the pilot phase
Lighting, crowd density, and camera angles vary by terminal and time. A 2–4 week pilot surfaces issues fast and lets you tune zones. As a result, your airport avoids rolling changes across 400 cameras mid-peak season.
Mistake 5: Neglecting privacy and compliance
AI video analytics in public space must align with GDPR and local laws. Ensure data minimization, retention limits, and clear lawful basis. Vet that your platform is GDPR compliant and, if feeds touch clinical areas. HIPAA compliant. For a plain-language breakdown of accuracy, privacy, and controls, see these accuracy, privacy, and compliance details.
- Quick checks before go-live:
- Confirm retention windows match policy (e.g., 30 or 90 days).
- Mask faces in stored clips when possible.
- Log access to alerts and clips for audits.
- Post clear signage about CCTV analytics where required.
Also Read!
How to Add AI to Existing Security Cameras for Corporate Offices and Campuses
How to Add AI to Existing Security Cameras for Retail Stores and Chains
Tools and Platforms for Unattended Baggage Detection
There are three main approaches in 2026. Each can work; the right fit depends on your network and scaling plan.
-
Edge-based appliances
These process video near the camera, on dedicated boxes. They suit air-gapped networks and sites with strict data egress rules. However, per-camera hardware grows costs at scale and adds field maintenance. -
Cloud-based AI platforms
These pull RTSP/ONVIF feeds from your existing IP cameras and process centrally. You avoid on-prem servers, roll out faster, and update models without site visits. On the other hand, you need stable bandwidth and sound network segmentation. -
Hybrid models
These run a light detector on the edge and send only flagged events to the cloud for a stronger, second look. As a result, you reduce bandwidth while keeping accuracy high.
Evaluate with your footage, not a brochure:
-
Detection accuracy: vendors quote >99% in testing; verify against a 2–4 week pilot on your cameras. – Alert latency: sub-3-second delivery is the bar for real action on the floor. – False alarm rate: demand results in high-density zones during peak traffic.
-
Camera support: look for broad support (200+ brands) without extra encoders. – Integration: APIs for your incident and access systems are a must. – Compliance: confirm GDPR and HIPAA claims in writing.
Tools like VideoraIQ offer cloud-based detection that works with existing CCTV infrastructure across 200+ camera brands, integrates without extra hardware, and provides <3 seconds alert latency with real-time video proof, a location tag, and a timestamp. According to VideoraIQ Stats, platforms in this class monitor 10,000+ cameras and are deployed in 7+ countries. Therefore, put it on your shortlist next to other established players, then insist on a proof-of-concept from at least two vendors on the same zone so you can compare apples to apples.
What to Do Next: Your First 30 Days Toward Smarter Baggage Detection
Week 1: Run a camera audit and build a coverage map. Note glare sources, crowd pinch points, and areas where your team can’t watch every feed. As a result, you’ll know where a bag could linger unseen.
Week 2: Document your current response protocol and baseline times. For example, track the average delay between an item being left and a human noticing it. If it’s 12 minutes at Gate F6, that’s your benchmark to beat.
Week 3: Shortlist two or three vendors (edge, cloud, or hybrid) that match your network. Ask for proof on false alarms in high-density scenes like baggage claim at 5 p.m. Moreover, review compliance claims, including GDPR and HIPAA, and ask for data handling docs.
Week 4: Pick one terminal, platform, or concourse for a pilot. Define success upfront: reduce detection-to-alert time from 12 minutes to under 30 seconds, hold false alarms below 5%, and deliver sub-3-second alerts to operators and field staff. Then use Heatmaps & Analytics to spot unattended-item hotspots and refine patrol routes.
- Suggested pilot metrics and targets:
- Detection accuracy ≥99% on your footage
- Alert latency <3 seconds end-to-end
- False alarms ≤5% during peak hours
- Response start ≤60 seconds from alert
For a related stack layer you might add later, here’s practical guidance on intruder detection, which pairs well with unattended-item monitoring on the same cameras.
Key Takeaways
- Start with what you have: your existing IP cameras can support AI detection without new servers.
- Tune by zone: set longer thresholds in lounges and shorter ones in sterile corridors.
- Measure, then scale: pilot for 2–4 weeks, hit sub-3-second alerts and ≤5% false alarms, then expand.
- Build the response loop: fast alerts only help if your 60-second playbook is clear and drilled.
What to Do This Week
Block two hours for a camera audit, then pick one high-risk zone for a pilot plan. Email two vendors to request a proof-of-concept on your feeds with a goal of sub-3-second alerts and ≤5% false alarms. Draft your 60-second response playbook and schedule a 30-minute drill with the next shift.
**Schedule a no-pressure demo →
Security and privacy note: Confirm the platform is GDPR compliant and, if needed, HIPAA compliant. Keep retention aligned with your policy, and ensure role-based access to clips.