

**Get free expert advice today →
A fisheye camera captures an ultra-wide view, up to 180° or more, by bending straight lines into arcs so one frame covers a whole room. This complete guide fisheye cameras focuses on clear, practical answers you can use in 2026 without getting lost in jargon.
You’ll get a plain-English look at what fisheye lenses do, when they shine, and how to pick the right one. You’ll also see where people slip up: overusing distortion for “wow” shots, picking the wrong field of view (FOV), and skipping dewarping tools. By the end, you’ll know how to test a lens, match it to your sensor and space, and avoid the time sinks I learned the hard way.
For context, a fisheye is not just “very wide.” It embraces strong barrel distortion to trade straight lines for reach. That trade makes sense for tight rooms, VR workflows, creative video, and single-camera surveillance coverage. If you need natural lines, you’ll want a rectilinear wide-angle instead. But if you want to see more with one lens, you’re in the right place.
What Is a Fisheye Camera and How Does It Work?
At its core, a fisheye camera uses an ultra‑wide lens that projects a hemispherical scene onto a flat sensor. As a result, straight lines away from the image center bow into curves. In exchange, you gain an extreme field of view, typically 100° to 180°, and, with exotic optics, even past 200°. Therefore, one camera can cover an entire room or a city plaza corner to corner.
Unlike rectilinear wide-angle lenses that aim to keep lines straight, fisheyes accept distortion as a design choice. Different lens makers use different projection “maps” (for example, equidistant or equisolid‑angle), which explains why two 180° fisheyes can look slightly different. If you want a quick primer on the optics background, the Fisheye lens article on Wikipedia is a helpful overview.
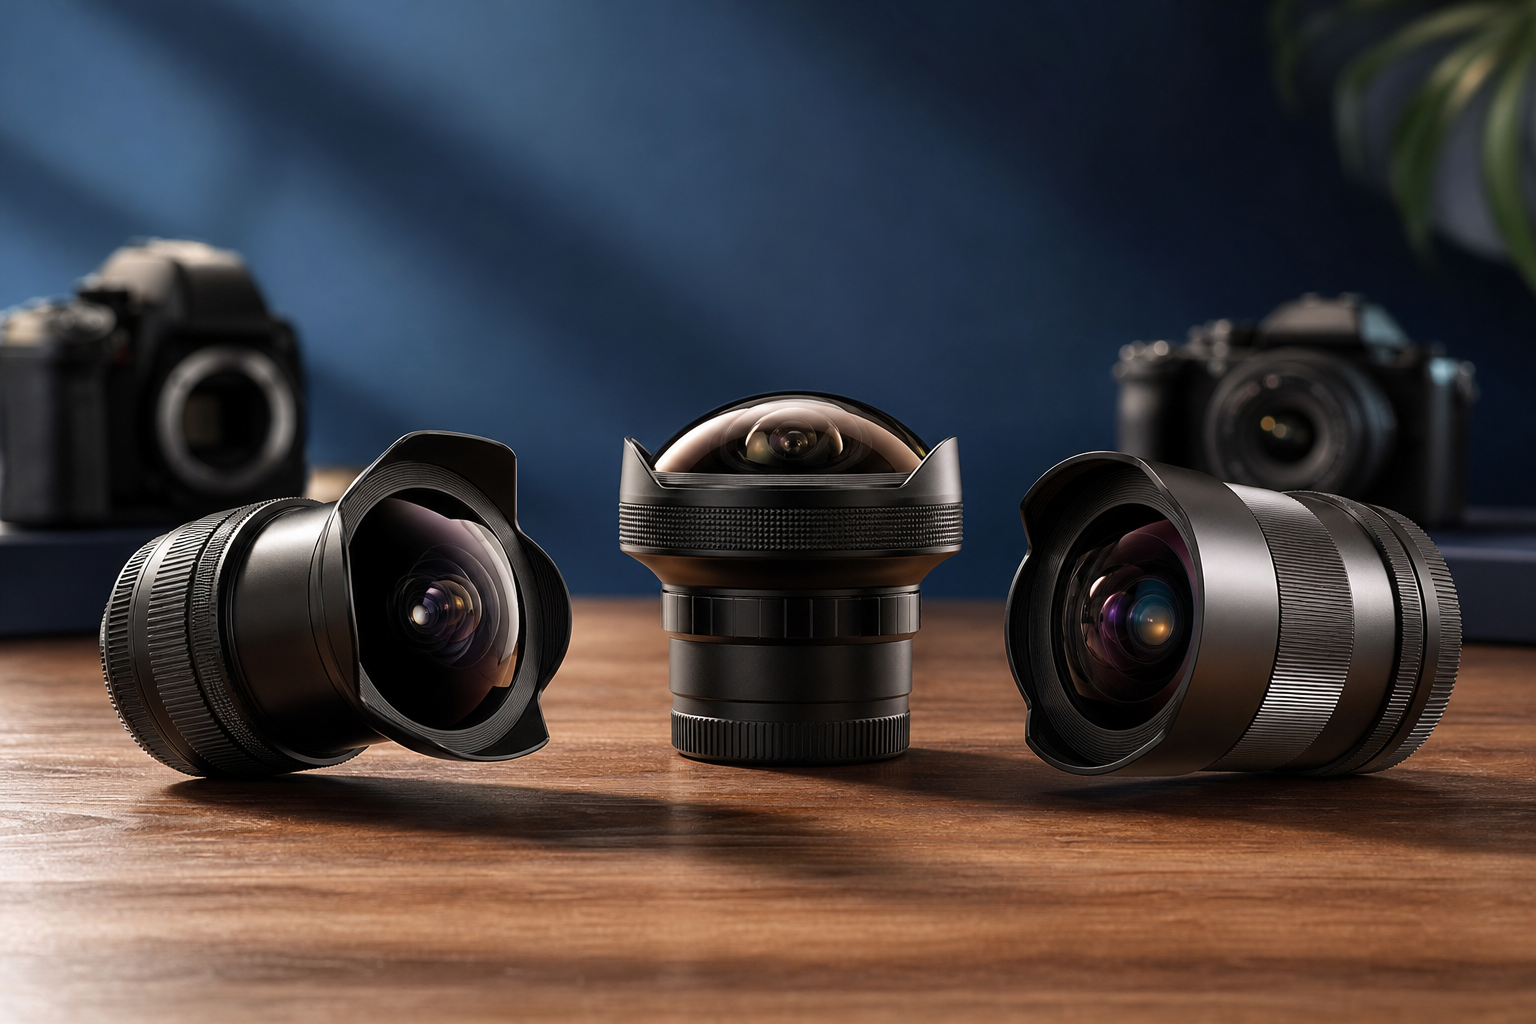
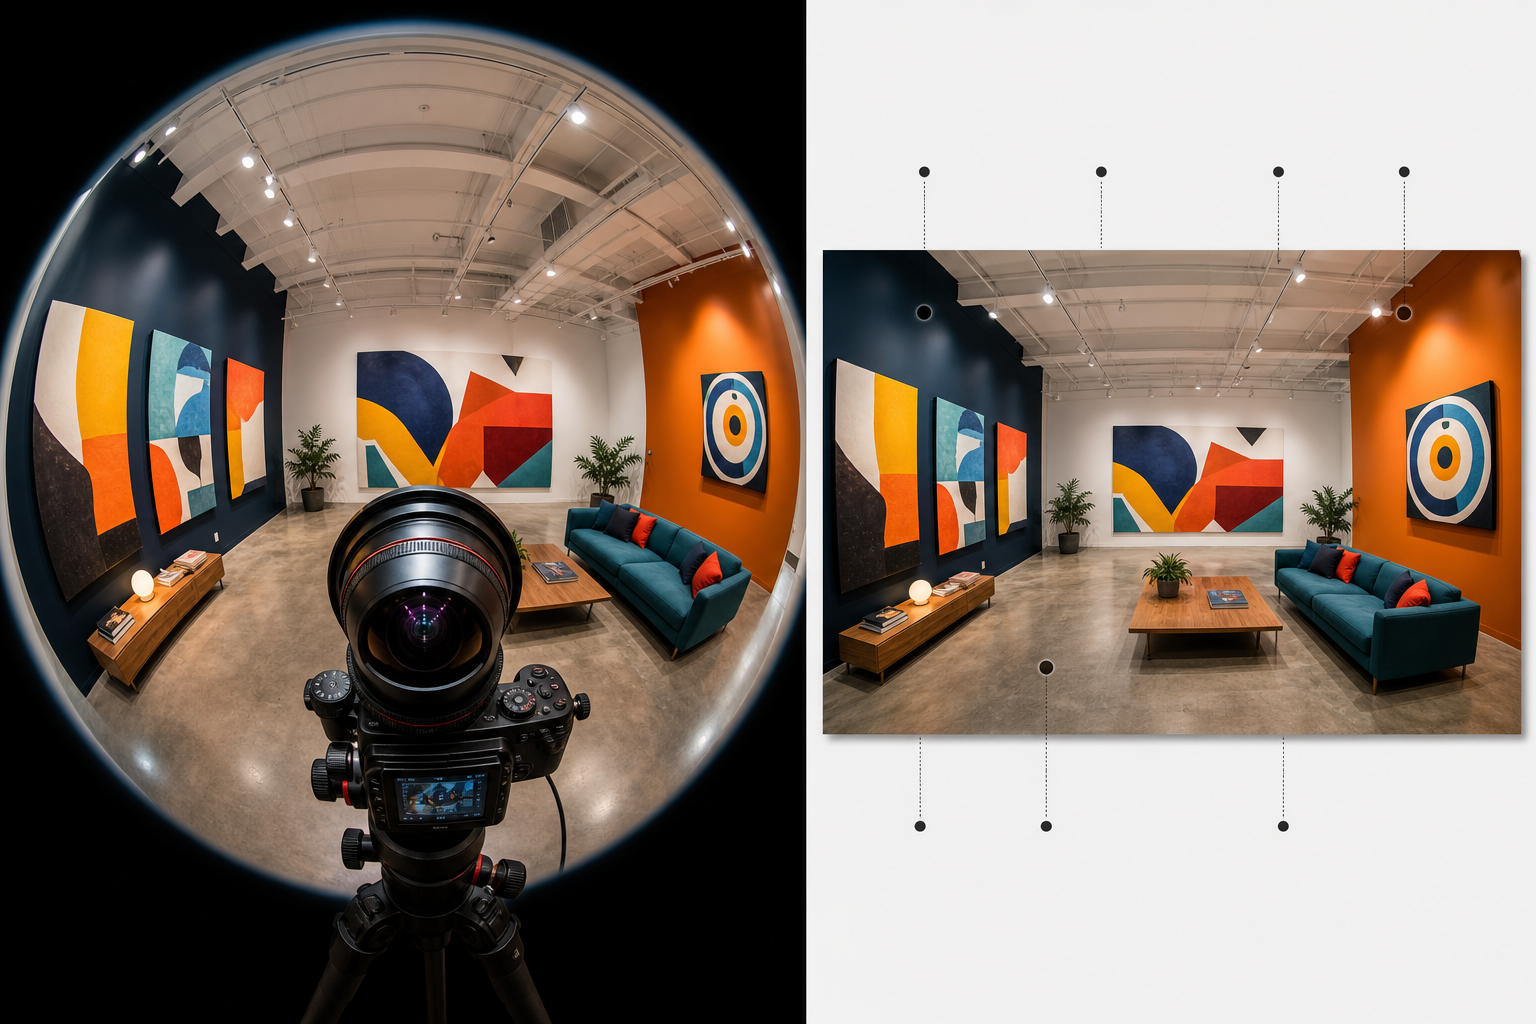
There are two main types you’ll see on interchangeable‑lens cameras. A circular fisheye records a full circle on the sensor, black corners included, which can reach 180° vertical and horizontal FOV. A full‑frame fisheye fills the frame edge to edge, usually giving about 180° along the diagonal but not across the entire width and height. On full‑frame bodies, a Canon EF 8–15mm f/4L can switch between both effects; on APS‑C bodies, fixed lenses like 8mm f/3.5 from Rokinon/Samyang are common.
Furthermore, action cameras and 360 cameras use back‑to‑back fisheyes. For example, GoPro MAX and Insta360 models stitch two hemispheres into a full sphere for VR or reframe‑later edits. In surveillance, single‑sensor “panoramic” domes use a fisheye to capture a full room and then dewarp to flat views in software.
Fisheye vs. Wide-Angle at a Glance
- FOV: Fisheye ~100°–180° (or more)
- Lines: Fisheye curves straight lines; rectilinear tries to keep them straight
- Types: Circular (round image) vs full‑frame (fills sensor)
- Use: Creative looks, one‑camera room coverage, VR/360 capture
Specifically, the complete guide fisheye cameras way to think about it is this: you accept curved lines to see far more in one shot, then decide in post if you want to keep the look or “dewarp” it.
Also Read!
The Complete Guide to Dome Security Cameras: How to Choose, Install, and Get the Most From Them
The Complete Guide to DIN Rail Mounting: What It Is, How It Works, and When to Use It
How to Choose the Right Fisheye Camera: A Step-by-Step Framework
You’ll make a better choice if you decide what you want the lens to do before you shop. Here’s a five‑step flow I use on paid gigs and personal shoots alike.
Step 1: Identify your use case
Write down the job in one line. For example, “Cover a 12×10 ft meeting room with one ceiling camera,” or “Shoot skate park videos with in‑your‑face motion,” or “Make 360° room walkthroughs for VR.” As a result, you’ll know if you need full‑spherical coverage, one‑frame room views, or pure creative flair.
Step 2: Choose lens type (full-frame vs circular)
Second, pick the look. A circular fisheye gives a classic round image with full 180° in every direction, not subtle. A full‑frame fisheye fills the sensor but still pushes lines into bold curves. Therefore, if you want edge‑to‑edge coverage on DSLRs or mirrorless, choose full‑frame. If you plan to remap or want the most “all‑around” data for VR, circular is useful.
Step 3: Match sensor and resolution to your need
Third, pair the lens with the right sensor and pixel count. On surveillance, think in pixels‑per‑foot (PPF) at the area of interest. For a small store entry, 4K (8MP) panoramic domes give more detail than 1080p when you dewarp to a flat view. On DSLRs, a 24MP or 45MP body leaves more room to crop. On action cams, 5.6K 360 capture (like GoPro MAX or Insta360 X3 at 5.7K) gives better reframes than 4K.
Step 4: Consider dewarping software and workflow
Fourth, plan your dewarping. For stitched 360 and panoramic correction, PTGui and Immervision tools can remap fisheye footage to rectilinear, cylindrical, or equirectangular. In addition, many NVR/VMS systems offer built‑in dewarping for fisheye surveillance streams. Test with sample clips from your exact model to make sure the plugin or platform supports your lens projection.
Step 5: Set a realistic budget
Fifth, set your range before you browse. A used DSLR fisheye can land in the $200–$350 range (manual focus 8mm), while premium zoom fisheyes sit closer to $1,000–$1,400 new. Panoramic IP fisheye domes vary from $180 for basic 1080p to $800+ for 8MP with better low‑light. 360 action cams span about $350–$500. Therefore, it helps to price the entire path: lens/camera + mounts + software.
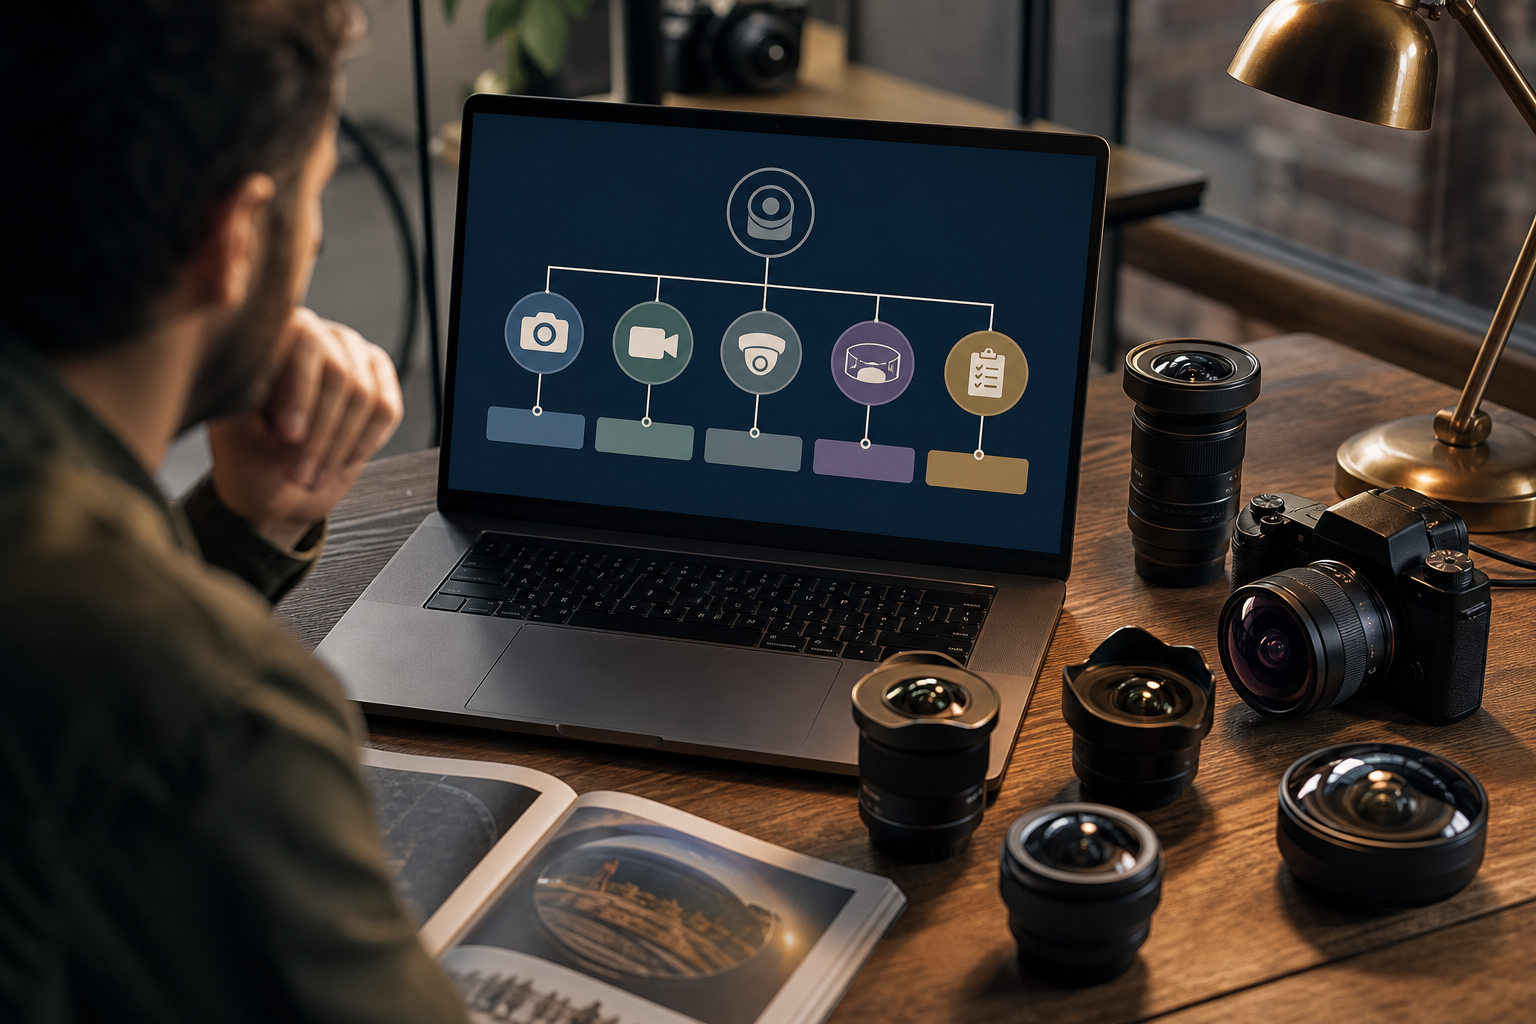
As you follow this framework, drop sample clips into your edit or VMS to see the real‑world result. The complete guide fisheye cameras mindset is to test one setting at a time. FOV, height, and tilt, so you can trace what changed the image.
5 Common Fisheye Camera Mistakes Beginners Make
Everyone loves that first “whoa” look. However, the same traits that make fisheyes fun can wreck a project if you don’t plan for them. Here are the slip‑ups I see the most, plus how to fix them fast.
1) Overusing distortion for gimmick shots
The curved look turns heads, but too much becomes a gimmick. Use strong curves where they add story: tight action, dramatic scale, or playful scenes. For client work, mix in straight‑looking shots (via dewarping or a second camera) to keep attention on the subject.
2) Ignoring dewarping for surveillance review
A ceiling‑mounted fisheye can cover a whole room. Yet, without dewarping, reviewing events is slow and confusing. Enable fisheye dewarping in your NVR/VMS, or export to software like PTGui for post review. As a result, you’ll scan incidents quicker and with less eye strain.
3) Choosing the wrong FOV for the space
180° sounds great until your subject is tiny. For a 20‑ft wide room, place the camera closer to the action or use a narrower FOV region after dewarping. In addition, test height: 9–10 ft is fine for small rooms, while higher ceilings may need more pixel count to hold detail.
4) Neglecting edge image quality
Most fisheyes go soft or smear at the far edges, more so wide open. Therefore, stop down to f/5.6–f/8 for crisper corners if you have the light. On action cams, avoid placing key faces at the very edge. For stills, center the subject unless you want the stretch on purpose.
5) Forgetting how light behaves at extreme angles
At 180°, you’ll catch light sources at harsh angles. Glare, veiling flare, and vignetting show up fast. Use hoods where possible, shield bright bulbs from direct view, and expect the “cosine‑fourth” falloff to darken corners. Moreover, expose for the highlights; you can lift shadows later.
When you plan for these, you keep the style while saving detail where it matters. The complete guide fisheye cameras principle here is simple: control placement, plan dewarping, and mind the edges.
Also Read!
LPR Camera Guide: How to Choose and Use License Plate Recognition Cameras
Best Tools and Platforms for Getting the Most from Fisheye Cameras
Good gear is step one; smart software makes it work day to day. Below are tools I reach for, from creative post to 24/7 security.
For dewarping and stitching, PTGui handles bracketed panoramas, batch jobs, and fine control over projection types. Immervision offers SDKs and plugins used in many security platforms, which helps standardize lens‑to‑view transforms. As a result, you can keep the creative look or convert to “flat” views for clean lines.
For action and VR, GoPro MAX and Insta360 models capture dual‑fisheye, full‑sphere video. GoPro’s 360 capture at 5.6K and Insta360’s 5.7K give enough detail to punch out flat 1080p edits. In addition, Insta360 Studio and GoPro Player let you keyframe “look‑here” reframes without fresh shoots.
For interchangeable‑lens cameras, Canon’s EF 8–15mm f/4L Fisheye USM is a workhorse on full‑frame bodies and still useful adapted to mirrorless. Budget picks like the Rokinon/Samyang 8mm f/3.5 get you the look with manual focus and a fair price. Moreover, many mirrorless mounts have compact 7.5–8mm fisheyes in the $200–$350 band that punch above their weight.
Surveillance and analytics
For surveillance, tools like VideoraIQ plug into your existing IP cameras and add cloud AI. It works with existing cameras across 200+ brands, includes 9 AI detection engines (object detection and intrusion detection among them), and is cloud‑based with no need for on‑premise servers. In practice, that means you can drop a 180° fisheye in a lobby and still get real‑time alerts with video proof. The platform monitors 10,000+ cameras and delivers alerts in <3 seconds, and it’s GDPR and HIPAA compliant. That mix matters if you need results at scale without ripping and replacing hardware.
“We went from finding out about incidents in the morning briefing to being notified in real time. VideoraIQ caught an intruder at 2AM that our overnight guard missed. That one event alone justified the entire platform cost.” — Ananya Mehta, Head of Facilities, 200‑Camera Corporate Campus
If you’re testing a fisheye for security this year, try a time‑boxed pilot. Therefore, record one week, enable dewarping, check alert latency, and review clip quality at the room edges. The complete guide fisheye cameras approach here is to prove it with your own footage before you scale.
What to Do Next: Putting Your Fisheye Camera Knowledge into Practice
You know the concepts; now make them real. In 2026, gear choice is wide and good, so the edge comes from clear tests and a tight workflow.
Start by renting a fisheye for your main camera body (or borrowing a 360 action cam) for one weekend. Next, plan three scenes that match your use case: one tight indoor space, one outdoor shot with sky and sun off‑axis, and one shot where faces matter. As a result, you’ll learn how each scene stresses flare, edges, and subject scale.
Then, run short clips through dewarping. Export a 180° frame to PTGui or use your NVR/VMS fisheye dewarp, and test Immervision‑based plugins if they’re available to you. Furthermore, try at least two output views: rectilinear for “straight” looks and equirectangular if you aim for VR or 360 hosting.
Finally, write your one‑line use case and a budget band you’re okay with. For example: “Single fisheye to cover a 12×10 ft room; budget $400–$800 including software.” Therefore, you’ll shop with a plan instead of chasing specs.
To lock this in fast, work through this quick list:
- Define your primary use case in one sentence.
- Capture 3 test scenes with a rental or loaner.
- Dewarp 2–3 clips with PTGui or an Immervision‑based tool.
- Write a budget range that includes mounts and software.
- Decide circular vs full‑frame for your look and workflow.
As you do this, keep notes on what made review fast and where detail held up. The complete guide fisheye cameras habit is to test once, decide, and move on, no endless tinkering.
Key Takeaways
- A fisheye trades straight lines for reach, covering up to 180° (and beyond) in one frame.
- Pick circular vs full‑frame based on your look and whether you plan to dewarp.
- Plan the workflow: sensor resolution, dewarping software, and mounting height matter.
- For security, add AI analytics and dewarping to make one camera cover more ground.
- Test three scenes, review the edges, and write a one‑line use case before you buy.
What to Do This Week
Block two hours. Rent or borrow a fisheye, film three short clips, and dewarp them with the tools above. Write your one‑line goal and budget, then decide if you need circular or full‑frame. If you’re considering analytics on existing cameras, schedule a short call to map it to your site.